Installing a pre-hung interior door for the first time can feel like a daunting task, but it’s a process that’s easy to master with the right tools and a clear set of instructions.
What Tools Do You Need to Install a Pre-Hung Door?
Installing a pre-hung interior door requires a few essential tools to ensure a smooth and professional installation. Here’s a list of the tools you’ll need to get the job done right:
- Measuring Tape:
- A tape measure is essential for ensuring your door frame is the correct size and that the door fits properly in the rough opening. Accurate measurements prevent mistakes and unnecessary adjustments.
- Level:
- A level ensures your door frame is perfectly vertical (plumb) and horizontal (level). It’s crucial for proper door alignment to avoid issues like doors that don’t close properly or uneven gaps around the frame.
- Shims:
- Shims are small wedges used to level the door frame and adjust the fit in the opening. They are placed between the frame and the studs to ensure the door is plumb and square. Having a good supply of shims is key for precise adjustments.
- Hammer or Drill:
- You’ll need either a hammer for nails or a drill to drive screws. A drill is more efficient and allows for adjustable torque when securing the frame. It’s highly recommended if you’re using screws, as it makes the process quicker and more consistent.
- Nails or Screws:
- To secure the pre-hung door frame into place, you’ll need nails or screws. Screws are generally better for a more secure and lasting hold, especially when using shims.
- Screwdriver:
- A screwdriver is essential for installing hardware like the hinges, doorknob, and strike plate. You may need both a manual screwdriver or a drill with screwdriver bits to speed up the process.
- Utility Knife:
- A utility knife is useful for trimming shims, cutting any excess framing material, or adjusting door trim as needed. It helps ensure clean cuts without damaging the door or frame.
How to Install Pre-Hung Doors in Interior and Exterior Frames
Installing pre-hung doors in both interior and exterior frames follows similar principles but requires different considerations due to varying environmental factors and structural requirements. Here’s a breakdown of how to handle each situation:
Installing a Pre-Hung Door in an Interior Frame
- Prepare the Rough Opening:
- For interior doors, the rough opening should be about 2 inches wider and 2 1/2 inches taller than the door frame. This allows for space to adjust the door and frame properly. Make sure the opening is level and square before proceeding.
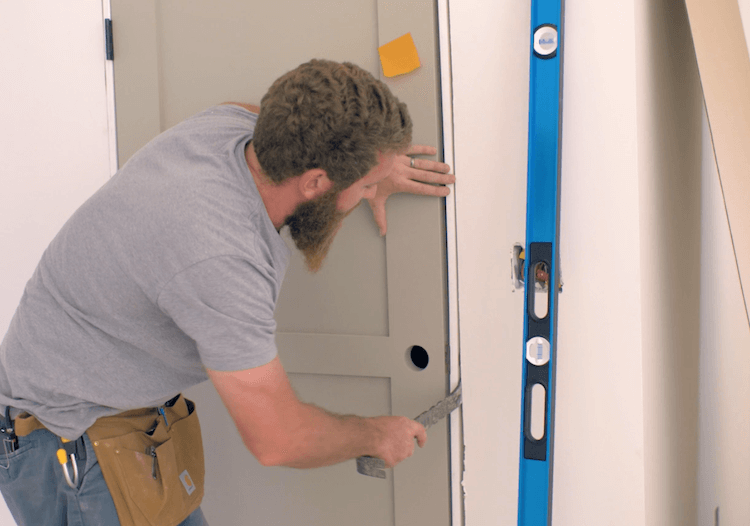
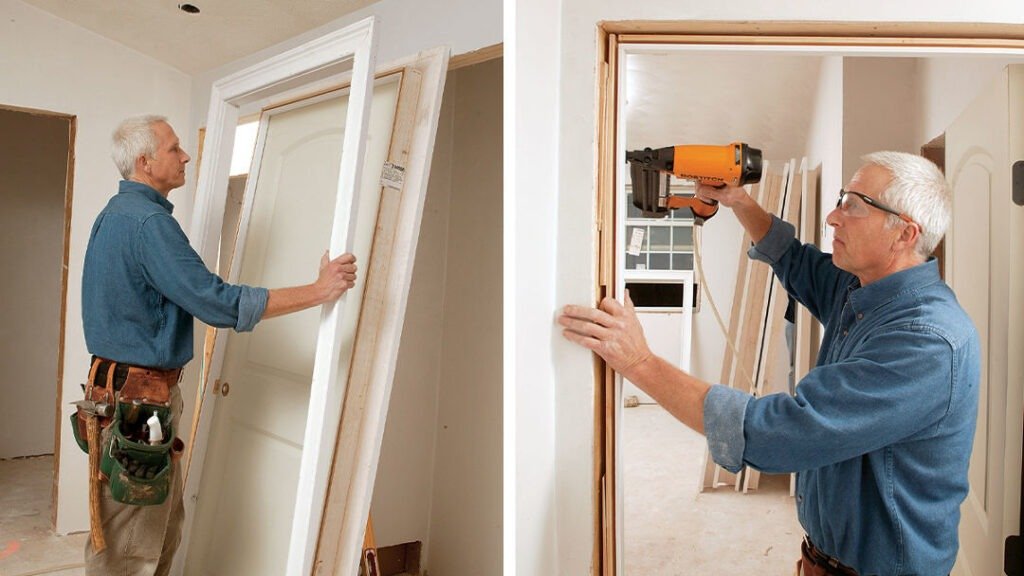
- Fit the Door Frame:
- Position the pre-hung door frame in the rough opening. Check that the door fits correctly and is centered in the opening. There should be a small gap (1/8 inch) between the door and the frame for smooth operation.
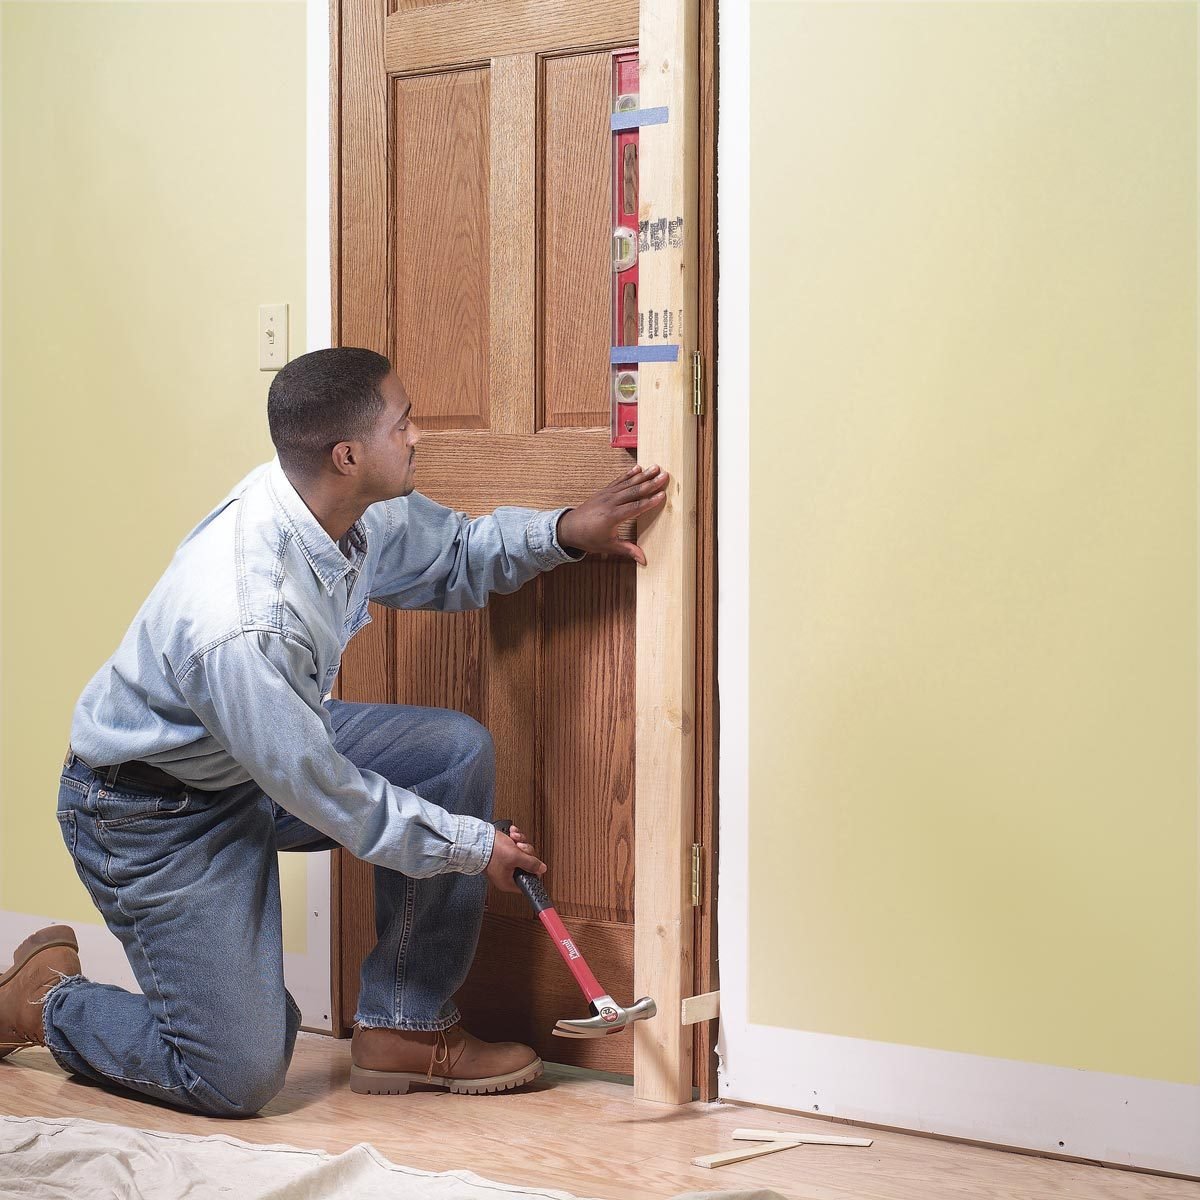
- Shim the Frame:
- Insert shims between the door frame and the studs at the hinge side. Ensure the frame is level and plumb. Adjust the shims until everything is perfectly aligned. Be mindful of the top, middle, and bottom of the door to make sure the frame stays level across the entire door.
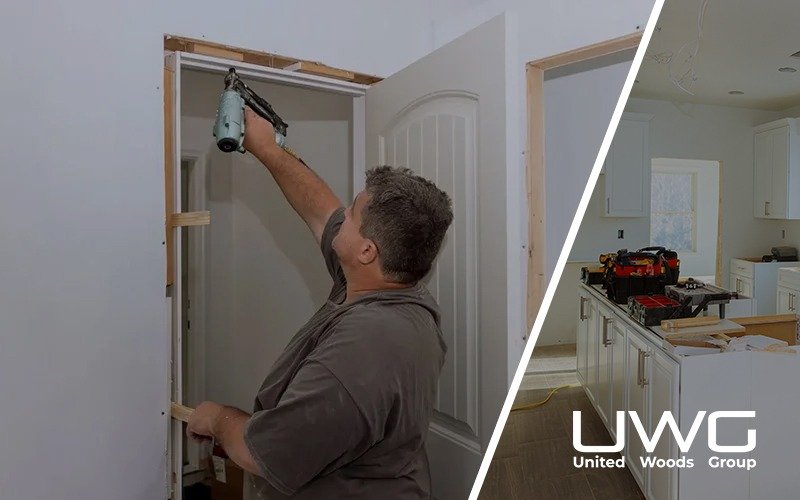
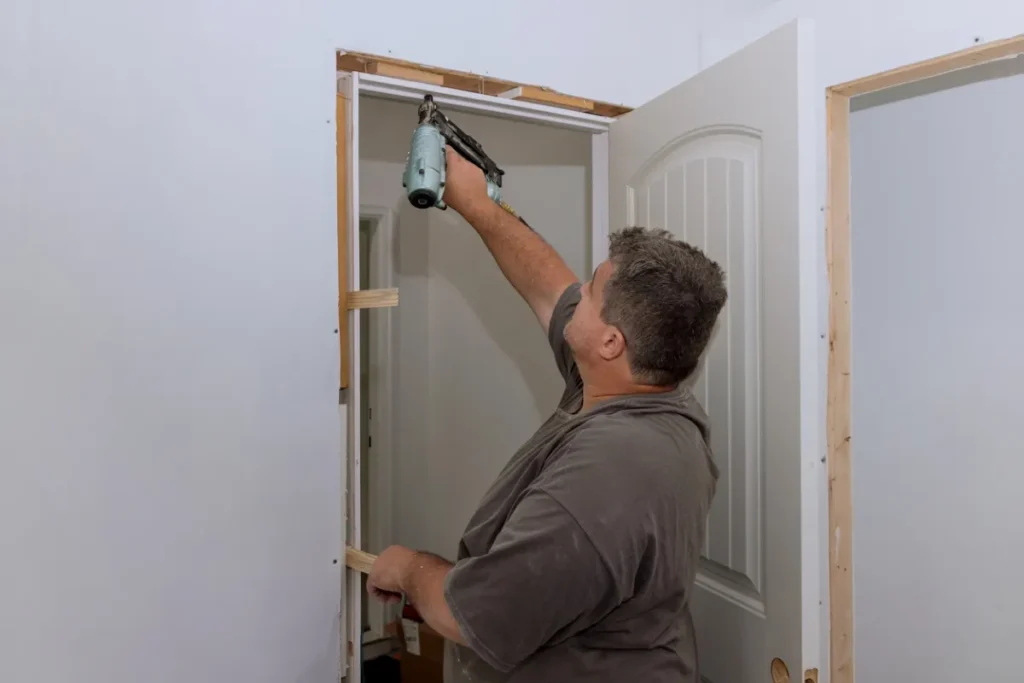
- Secure the Door:
- Once the door is aligned, fasten the frame to the studs using screws or nails. Start with the hinge side, securing the frame at multiple points to ensure stability. Do not overtighten, as this can warp the frame and misalign the door.
- Install the Door Hardware:
- With the frame secured, install the door hardware, such as the hinges, strike plate, and doorknob. Ensure everything is aligned and operates smoothly.
- Finishing Touches:
- After confirming the door works properly, you can add trim and paint for a clean, finished look. Make sure to caulk any gaps between the door frame and the wall to improve insulation and aesthetics.
Installing a Pre-Hung Door in an Exterior Frame
Installing pre-hung doors in exterior frames is slightly more involved, as it needs to account for weatherproofing and insulation. Here’s how to do it:
- Prepare the Rough Opening:
- For exterior doors, the rough opening should be larger than the door frame to allow space for insulation and weather stripping. Typically, the opening should be about 2 1/2 inches wider and 2 1/2 inches taller than the frame. It’s essential to ensure the opening is square, level, and plumb, as exterior doors bear more weight and exposure to the elements.
- Fit the Door Frame:
- Place the pre-hung door in the rough opening and check for proper fit. Ensure the door is centered and aligned with equal gaps on all sides. You may need to adjust the frame slightly before securing it.
- Shim the Frame:
- Insert shims around the frame, particularly at the hinge side and the strike side, ensuring the door remains plumb and level. This is crucial for a proper seal and smooth operation. For exterior doors, you should also use additional shims at the top and bottom of the frame to help prevent any movement over time.
- Insulate Around the Frame:
- When installing an exterior door, use foam insulation or fiberglass around the frame to provide energy efficiency and prevent drafts. Be sure not to overstuff the insulation, as this can affect the door’s ability to open and close freely.
- Seal the Door:
- Apply a bead of caulk around the frame to help seal the door against the elements. This is especially important for exterior doors, as they are exposed to weather, which could cause gaps to expand over time. Adding weather stripping along the frame will further improve insulation.
- Secure the Frame:
- Once everything is aligned and insulated, fasten the frame to the studs using screws or nails. Exterior doors require a more secure installation due to the extra weight and exposure to the elements, so make sure the frame is firmly in place.
- Install the Door Hardware:
- Attach the hardware, including the lockset, strike plate, and any additional security features, such as deadbolts. Be sure the hardware aligns properly and is secure.
- Final Adjustments:
- Open and close the door to ensure proper operation. Check for any gaps between the door and the frame, adjusting the weather stripping or insulation if necessary.
- Finishing Touches:
- After confirming that the door operates properly and is weather-tight, finish with trim, paint, or stain. Be sure to apply a weather-resistant finish for exterior doors to help protect against the elements.
Key Differences Between Interior and Exterior Door Installations:
- Weatherproofing: Exterior doors require additional sealing, insulation, and weather stripping to protect against the elements.
- Security: Exterior doors often need stronger hardware and more robust installation to secure against forced entry.
- Insulation: The gap around exterior doors must be insulated to prevent drafts, whereas interior doors do not require this level of concern.
- Frame Support: Exterior doors are often heavier, so the frame and installation method need to support this added weight.
By following these steps, you can ensure that your pre-hung doors are installed securely and efficiently, whether in an interior or exterior frame. Each process has its nuances, but with proper preparation and attention to detail, you’ll have a door that looks great and operates smoothly. If you have any problems, feel free to contact me (email: lynn@unitedwoods.group)