Ceiling moulding instantly adds character and visual value to any space. But for builders, questions around materials, installation time, labor pricing, and finish options often slow down the quoting process. In this guide, I’ll break down everything you need to know — from pricing to pro techniques — so you can quote faster, install better, and deliver premium results on every job.
Ceiling moulding costs vary by material and labor. Solid wood costs $3–$30 per foot, polyurethane $2–$10, plaster $6–$20, and MDF $1–$7. Total install cost ranges from $200–$700 per room. Builders should also factor labor at $3–$5 per foot. For a smooth install, measure accurately, use a mitre saw for clean corner cuts, apply adhesive plus finish nails, and caulk joints before painting to achieve a seamless, professional look.
Now let’s break this down into detailed sections — from product selection to estimating costs and executing a professional installation.
What Is Ceiling Moulding (aka Crown or Cornice Moulding)?
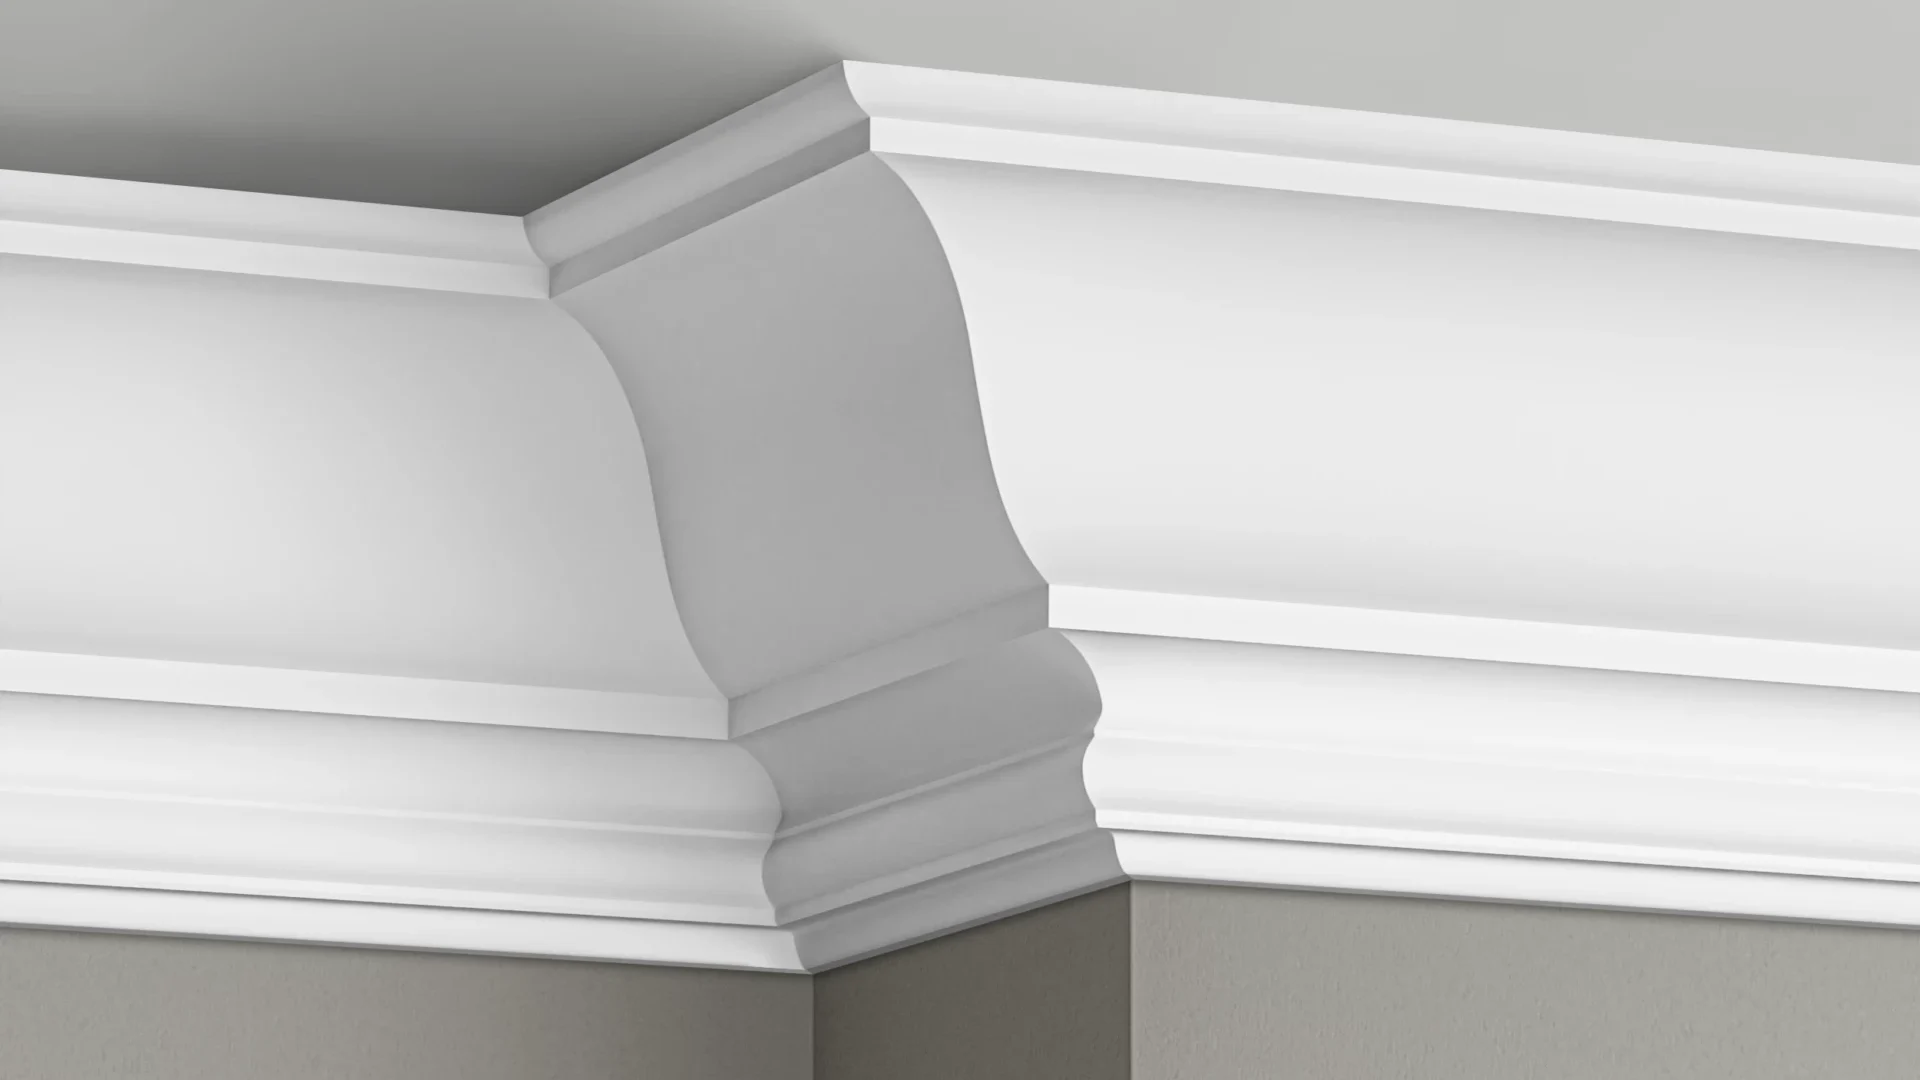
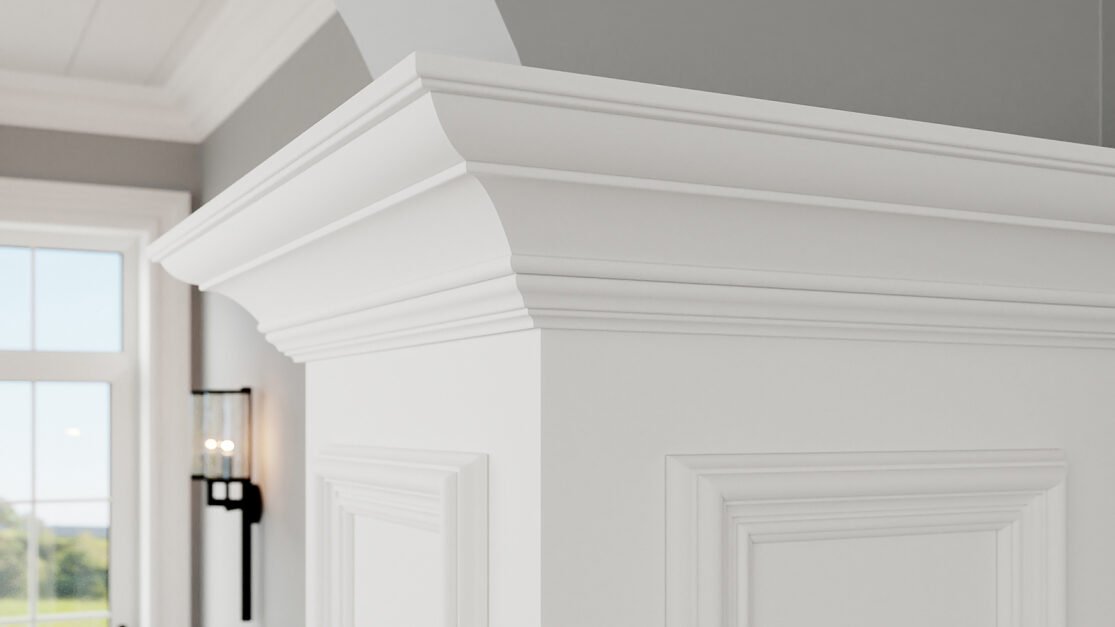
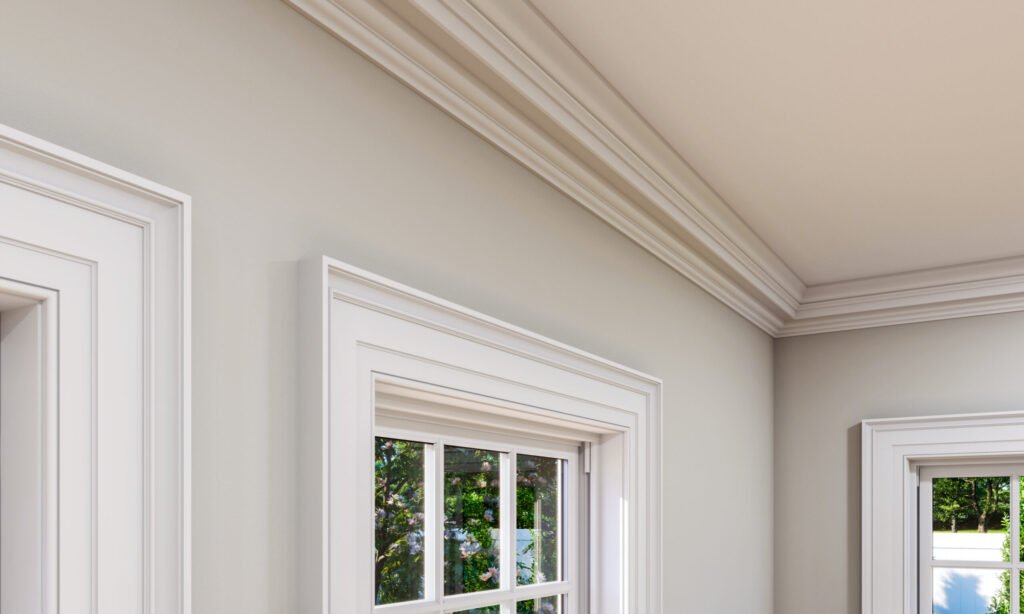
Ceiling moulding, also referred to as crown moulding or cornice, is the trim installed where the wall meets the ceiling. It adds a finished look and can create architectural interest, especially in living rooms, entryways, or high-ceiling areas.
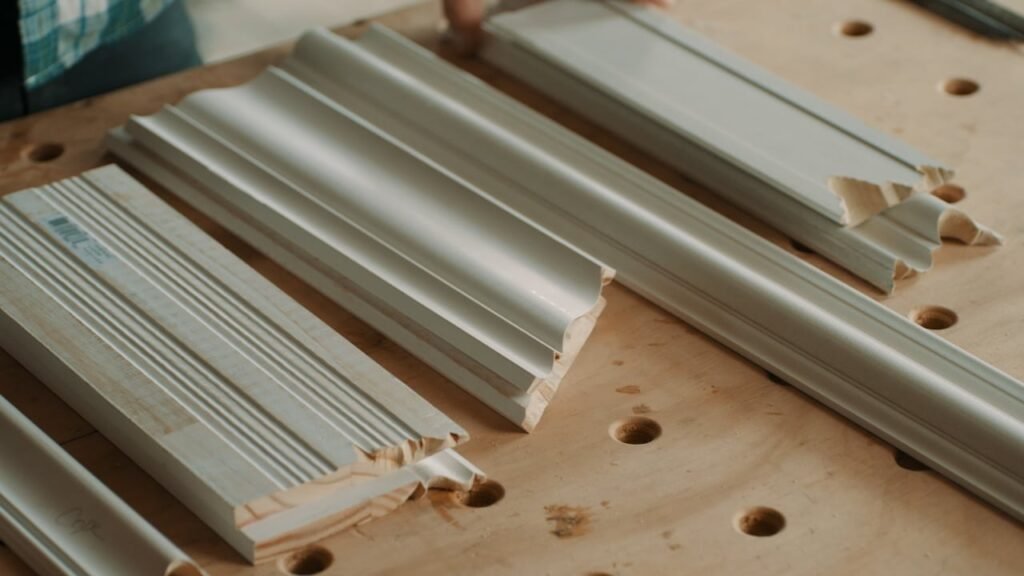
Common Types of Ceiling Moulding:
- Traditional Crown Moulding – angled profile, classic style
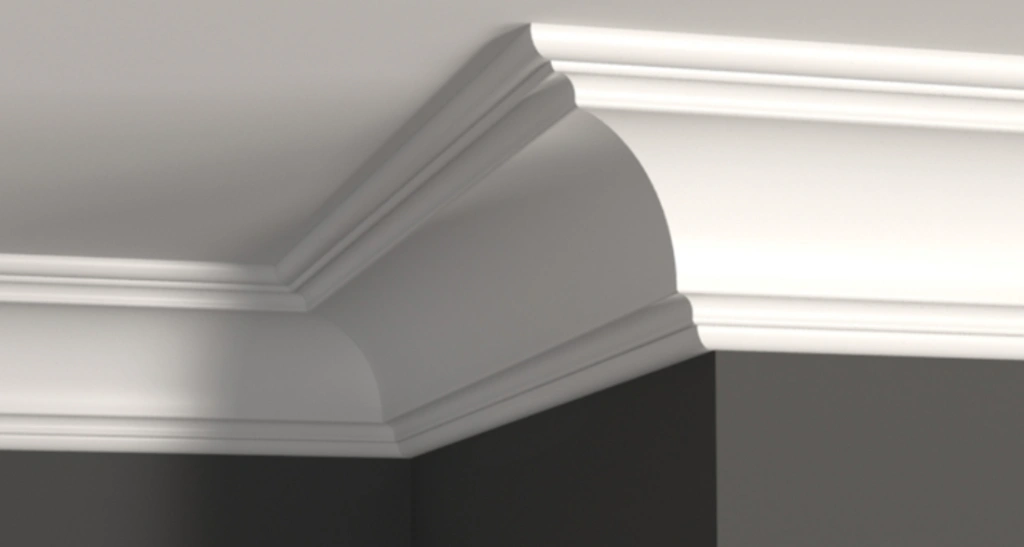
- Cornice Moulding – often more ornate or deeper profiles
- Cove Moulding – rounded inner curve, modern aesthetic
- Dentil Moulding – features repeating square “teeth,” often used in luxury homes
Crown moulding hides imperfections at wall-ceiling junctions and gives the room a more refined appearance. For builders, offering moulding upgrades is an easy way to increase project value with minimal material cost.
How Much Does It Cost to Install Ceiling Moulding?
Cost varies based on material, room size, ceiling height, and labor conditions. Here’s a breakdown:
Room-Based Averages
| Room Size | Linear Footage (approx.) | Estimated Cost |
|---|---|---|
| 10′ x 10′ | 40 ft | $200–$400 |
| 12′ x 14′ | 52 ft | $300–$600 |
| 20′ x 20′ | 80 ft | $500–$1,000+ |
Per Foot Breakdown**
- Material only: $1–$30/linear foot (depending on type)
- Labor only: $3–$5/linear foot
- Total installed: $4–$35/linear foot
High-end profiles or multi-layer mouldings (stacked or layered trims) can double the cost and labor time.
Trim vs Moulding: What’s the Difference (and Why It Matters)
Builders often lump crown moulding in with “trim,” but it deserves separate attention.
| Feature | Crown Moulding | Trim (Baseboard, Casings) |
|---|---|---|
| Location | Top of wall (ceiling) | Bottom and around doors |
| Angle Cuts Needed? | Yes (usually 45°) | Usually straight cuts |
| Install Difficulty | Medium–High | Low–Medium |
| Pricing (per foot) | $4–$30 | $2–$10 |
Crown moulding requires angled joints, especially on inside/outside corners. This adds time and skill. For builders, quoting crown at a higher rate than base or casing trim is standard practice.
Which Ceiling Moulding Materials Are Best for Builders?
Here’s a deeper look at the pros and cons of each common moulding material — from durability to install ease.
1. MDF (Medium-Density Fiberboard)
- Cost: $1–$7/foot
- Pros: Cheap, smooth surface, easy to paint
- Cons: Not moisture-resistant — avoid for bathrooms or damp climates
- Best For: Interior installs on a budget
2. Polyurethane
- Cost: $2–$10/foot
- Pros: Lightweight, easy to cut, resistant to rot/mold
- Cons: Needs solid support; slightly flexible
- Best For: DIY-friendly jobs, or curved walls
3. Solid Wood
- Cost: $3–$30/foot
- Pros: Classic, durable, can be stained
- Cons: Expensive, can warp with humidity
- Best For: High-end finishes or historic homes
4. Plaster
- Cost: $6–$20/foot
- Pros: Sharp detail, luxury feel
- Cons: Heavy, fragile, difficult to install
- Best For: Custom restorations or premium jobs
Crown Moulding Installation Cost Calculator: How to Quote It Right
Use this quick formula when quoting ceiling moulding jobs:
Installation Quote Formula:
(Room perimeter in linear feet) × (Material + Labor per foot) = Total Cost
Example:
- Room: 12′ x 14′ = 52 linear feet
- Chosen Material: MDF @ $3/ft
- Labor: $4/ft
- Estimate: 52 × ($3 + $4) = $364
Add 10% for waste and misc. supplies (caulk, nails, adhesive, etc.)
Optional Charges to Include:
- Ladder rental for high ceilings
- Custom profiles or double-stack mouldings
- Painting or staining
- Demolition of old moulding (if any)
How to Install Ceiling Moulding: A Builder’s Guide
Even skilled carpenters sometimes fumble ceiling moulding — it’s all about precision.
Step-by-Step Install Process:
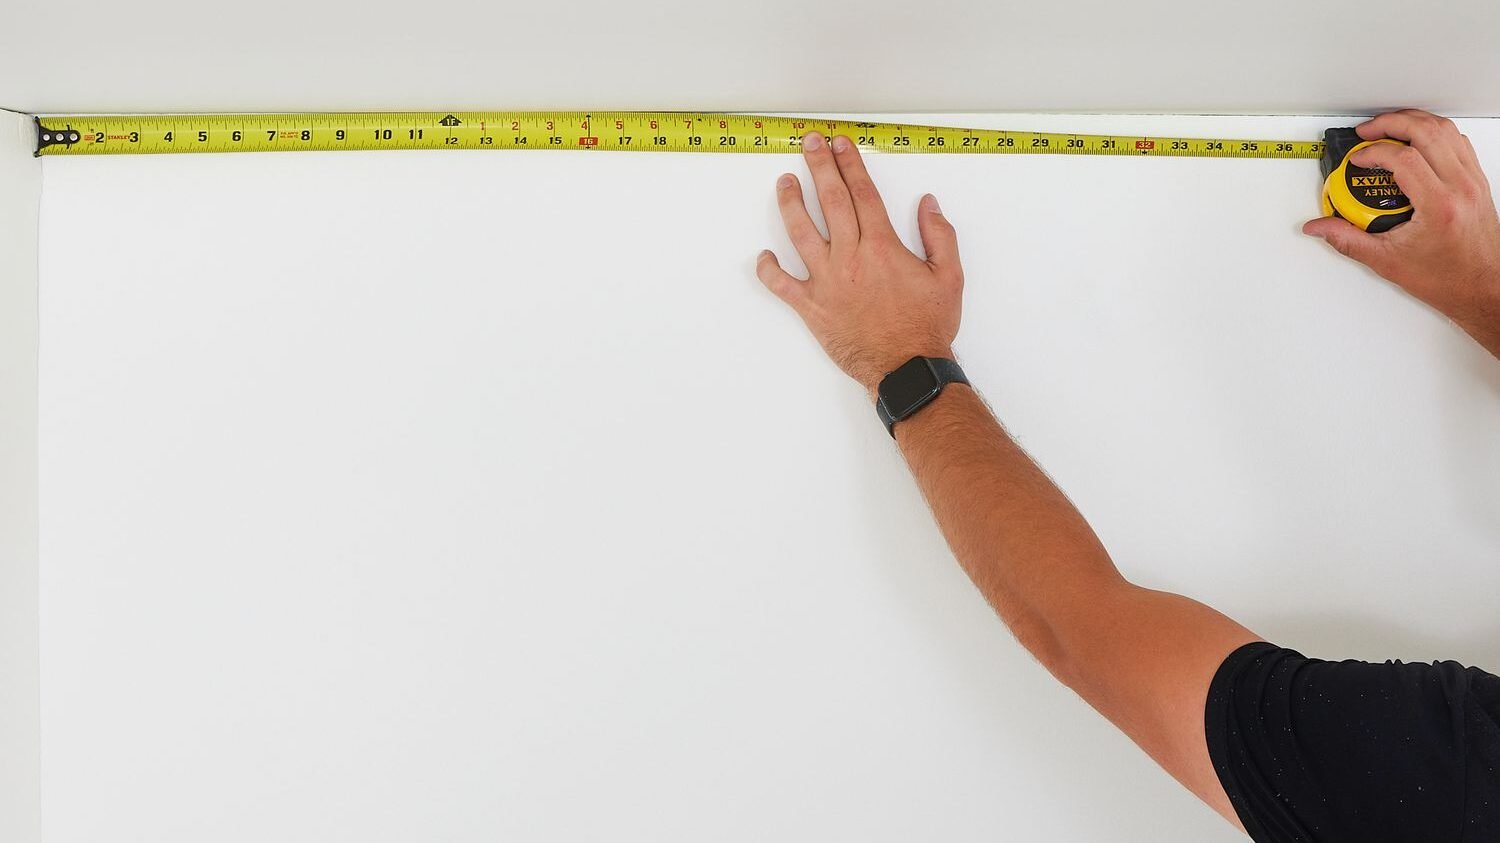
- Measure All Walls Accurately Record each wall’s length. Add 10% for waste.
- Mark Studs & Layout Corners Use a stud finder to pre-mark nailing points.
- Use a Compound Mitre Saw Cut moulding at 45° for corners. Always test-fit first.
- Dry Fit First Place each piece without fasteners to check joints.
- Apply Construction Adhesive Spread thinly on the back of the moulding.
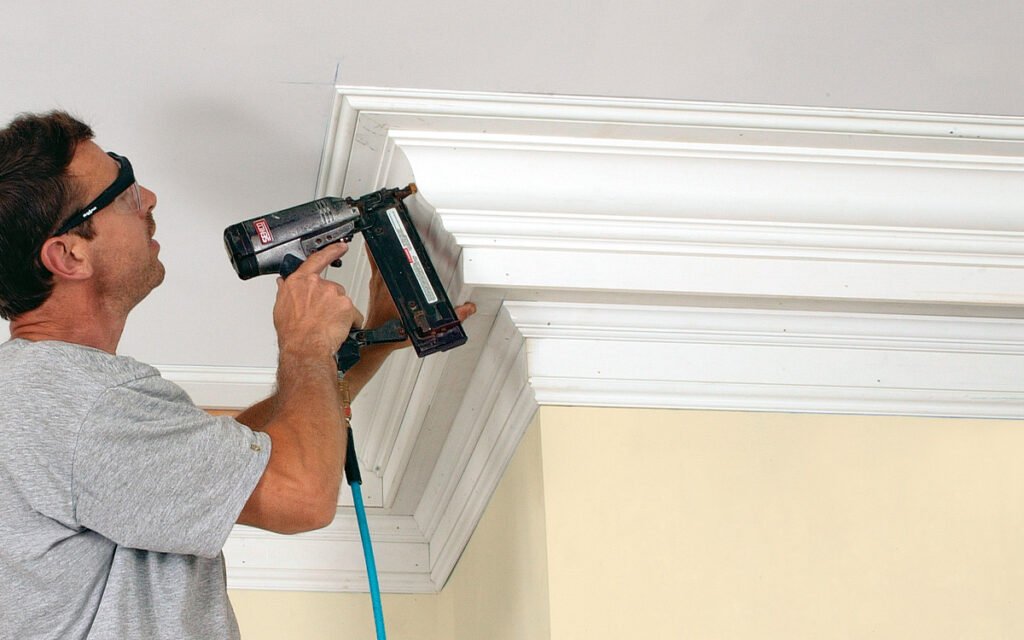
- Secure with Finish Nails or Brad Nailer Nail into studs. Use 2” brads at angles.
- Caulk Gaps and Fill Nail Holes Use paintable caulk at seams and corners.
- Prime and Paint Use semi-gloss or satin for cleanable finish.
Pro Tip: Always start with the longest wall first — it sets alignment for the rest of the room.
Common Mistakes to Avoid
- Using the wrong saw blade: Dull or wrong-angle blades ruin joints.
- Skipping caulking: Gaps look unprofessional and collect dust.
- Underestimating time: Even small rooms take 3–6 hours for clean install.
- Relying on glue only: Adhesive alone won’t hold long-term on ceilings.
Professional Advice for Builders
Here are real-world tips to help you stay profitable and deliver excellent results:
- Charge for your prep time – measuring, planning, and setup are part of the job
- Bundle moulding with paint jobs – upsell clients easily
- Stock extra corner blocks – these save time on mitre cuts
- Use laser guides – they help line up longer runs
- Document your method – make a repeatable checklist for crew training
FAQ: Quick Builder Questions
Q: Can ceiling moulding be installed on uneven walls? Yes, but expect extra caulking and possibly shimming the back of the moulding.
Q: How long does it take to install moulding in one room? For a skilled builder, 3–5 hours is average for a 12×12 room with four corners.
Q: Do you install before or after painting walls? Install moulding first, caulk and prime it, then finish all painting last.
Summary
Ceiling moulding adds real value — both aesthetically and financially — to any project. Whether you’re renovating a single room or building new construction, understanding your materials, labor time, and pricing strategy is key. Use this guide as your quoting tool and training reference. With the right planning, crown moulding is a low-risk, high-return upgrade that impresses every client.