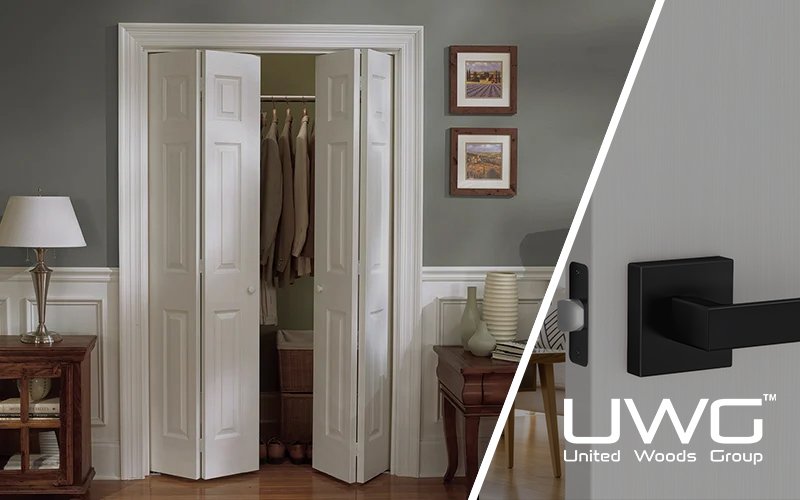
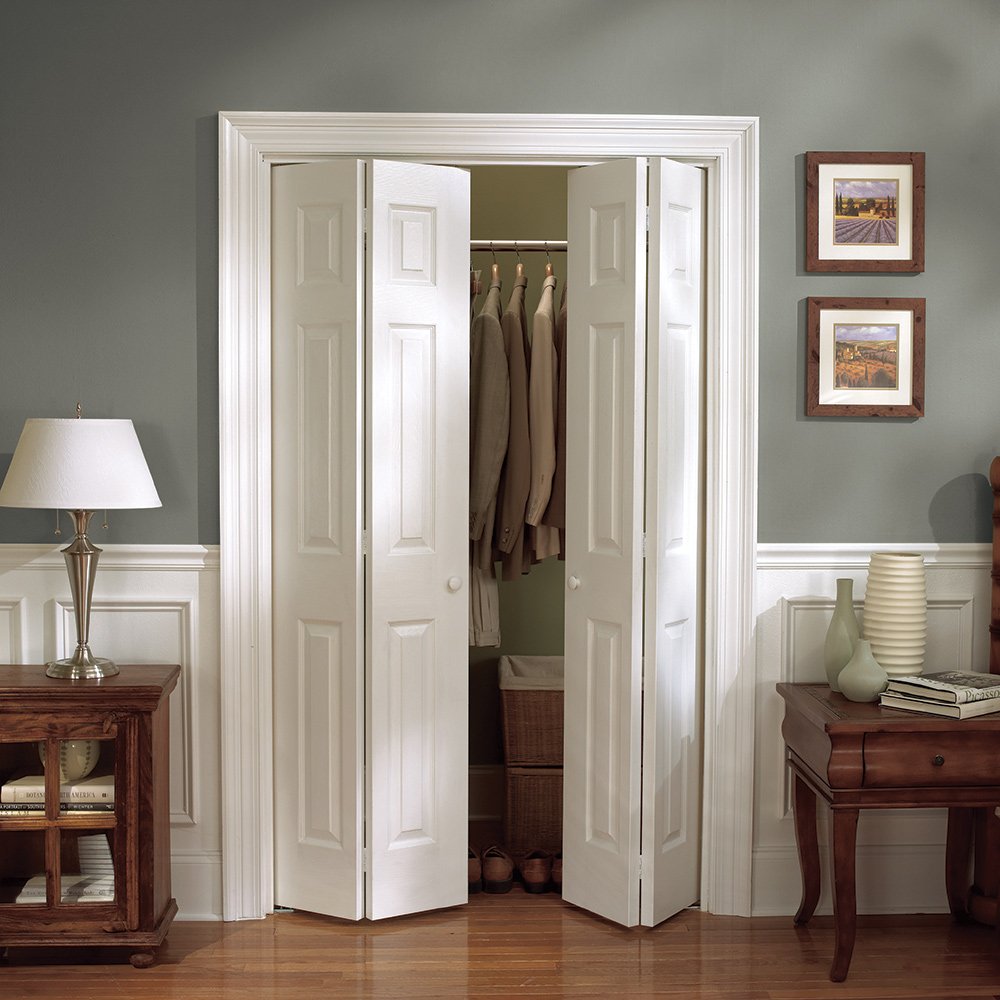
Many builders face sticking, sagging, or squeaky bi-fold doors. These issues often come down to the wrong hinge choice or poor installation. In this guide, I’ll show you how to choose the right bi-fold door hinges and install them for smooth, reliable operation—every time. Whether you’re working on an internal closet or a set of heavy-duty outdoor folding doors, the right hinge makes all the difference.
To choose and install bi-fold door hinges correctly, first match the hinge type to your door’s material and weight—non-mortise for lightweight interior doors, heavy-duty for external or wooden panels. Install from bottom up using accurate hinge spacing, align doors back-to-back, and ensure level pivots for smooth folding. Use a top track when needed for support and smoother gliding. Following the proper method ensures longevity and flawless function.
Now that you know the basics, let’s explore hinge types, ideal usage, how to install them properly, and how to fix common problems without removing your doors.
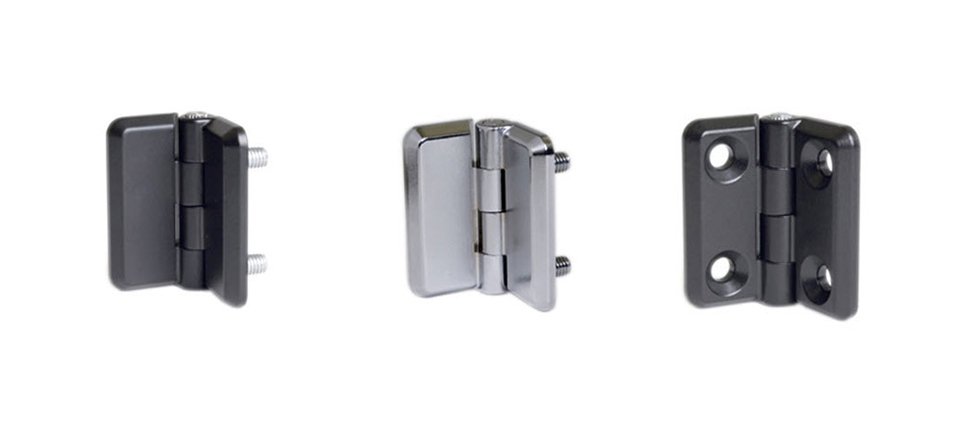
Types of Bi-Fold Door Hinges: Surface-Mounted vs. Mortised
Understanding hinge types helps ensure you get long-lasting performance and clean visual appeal.
- Surface-Mounted Hinges: These hinges are screwed directly onto the surface of the doors. They’re popular for quick DIY projects or lightweight internal doors. No routing or chiseling is required, making them beginner-friendly. They’re also easier to replace later without damaging the wood.
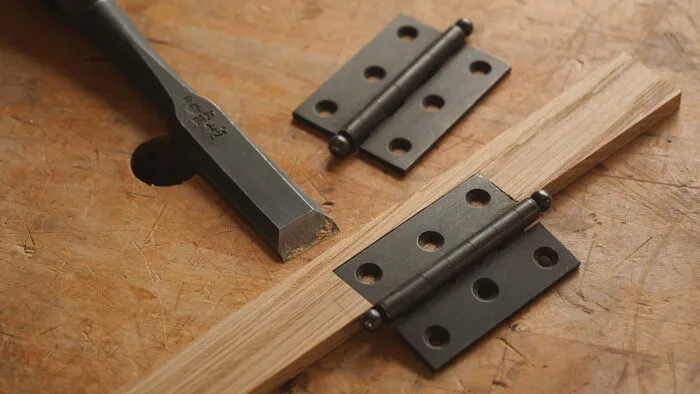
- Mortised Hinges: These are recessed into the door edge for a flush finish. Mortised hinges are typically stronger and provide a more seamless, high-end appearance. They are ideal for heavier doors and applications where aesthetics are important, such as wooden room dividers or patio bi-folds.
Pro Tip: For a polished, minimal look on visible doors, go with mortised hinges. For faster installation and easier maintenance, surface-mounted options are often more practical.
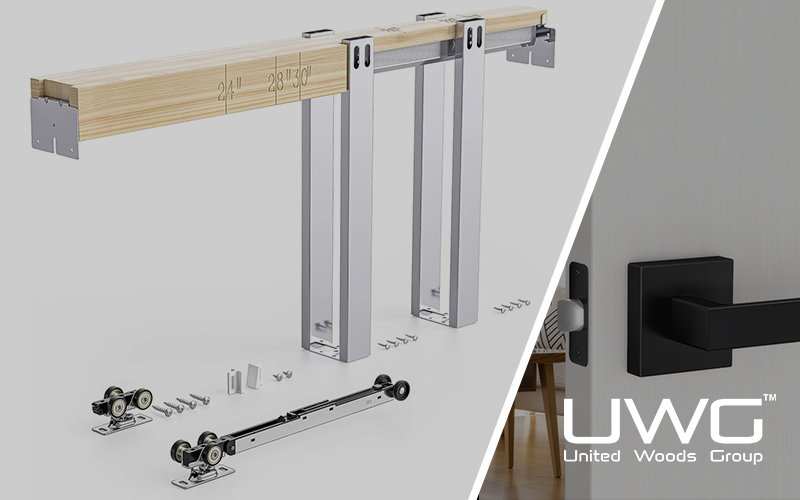
You’ll also find pivot hinges, which are used at the top and bottom of folding doors to support their movement along a track. These work alongside your chosen hinge type to ensure smooth operation.
What Hinges Should You Use on a Bi-Fold Door?
This depends on the type of door, where it’s located, and how often it’s used. Here’s a quick guide:
Interior Folding Doors:
For closets, pantries, and laundry rooms—choose:
- Non-mortise surface-mounted hinges
- Lightweight steel or brass finish
- Matching pivot kits and top tracks
Wooden Room Dividers or Heavy Panels:
For more demanding applications:
- Use mortised solid brass or stainless steel hinges
- Choose a model rated for high weight capacity (e.g., 30kg per panel or more)
- Consider concealed or architectural hinges for modern spaces
Outdoor Bi-Fold Gates:
These need to handle weather and structural pressure:
- Hot-dipped galvanized or powder-coated steel hinges
- Tee hinges + strap hinges combinations
- Rust-resistant coatings or stainless options for coastal areas
Pro Tip: If your bi-fold doors are exposed to moisture or outdoor elements, never use standard interior-grade hinges—they’ll rust and fail fast.
How to Install Internal Wooden Bi-Fold Doors with the Right Hinges
A step-by-step installation process ensures the doors open and close smoothly for years. Here’s a detailed guide:
Tools & Materials:
- Hinges (3 per door pair)
- Track & pivot kit
- Tape measure
- Drill & bits
- Level
- Pencil
- Screwdriver
- Wood chisel (for mortised hinge installation)
Step-by-Step Process:
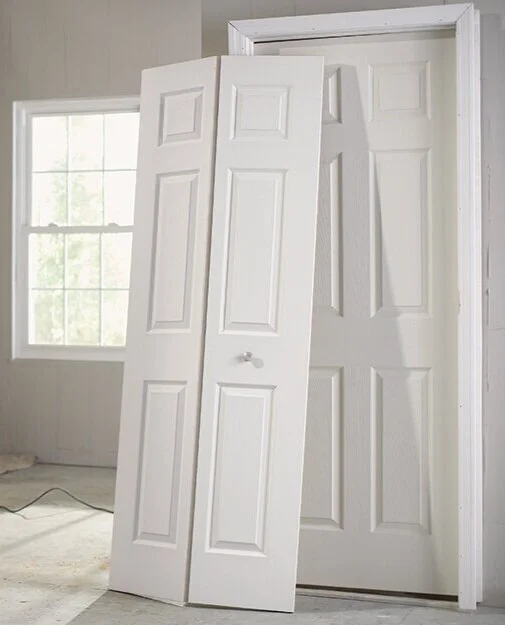
- Prepare the Opening Ensure the door opening is square and level. Measure the height and width accurately. Trim the doors if needed to allow a 3mm clearance gap all around.
- Mark Hinge Placement Lay doors face-down, back-to-back. Mark 7 inches from the top and bottom for the first and last hinges. Place the middle hinge evenly between them.
- Mortise the Hinges (if required) Use a chisel to create shallow recesses for the hinge leaves. They should sit flush with the door edge.
- Attach Hinges to Doors Screw the hinges into place, starting with the bottom hinge. Use short screws that won’t punch through the opposite side.
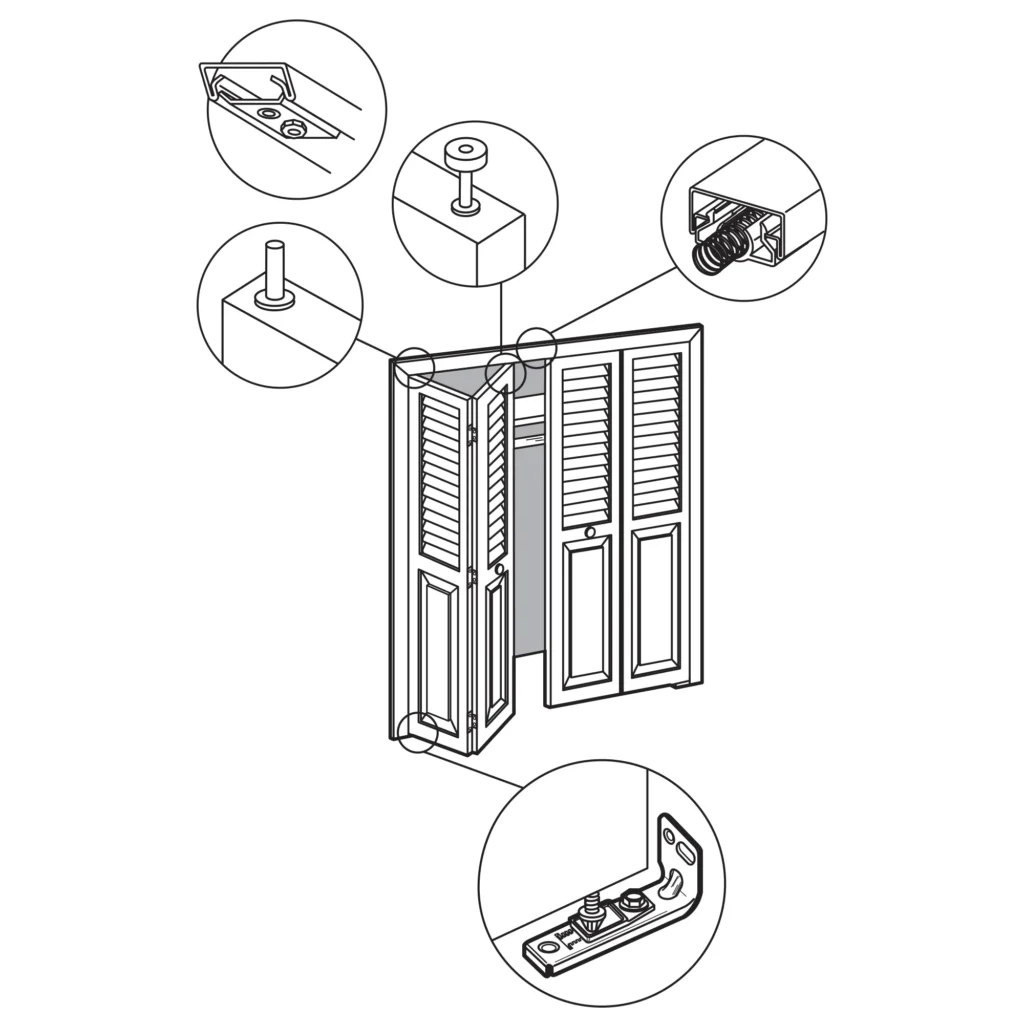
- Install Top Track Fix the top track inside the door frame, ensuring it’s level. Install the pivot brackets according to the manufacturer’s instructions.
- Mount the Doors Attach the bottom pivot pin into the floor bracket. Then compress the top spring-loaded pin to fit into the overhead track. Adjust as needed.
- Check Movement Open and close the doors several times to ensure smooth folding. Adjust pivot pins or hinges to correct alignment.
Optional: Add a guide pin at the bottom of the outer panel to prevent it from swinging or shifting.
Common Problems with Bi-Fold Doors—And How Hinges Solve Them
Many issues that builders face with bi-fold doors stem from poor hinge installation or selection. Here are the most frequent ones:
| Problem | Cause | Solution |
|---|---|---|
| Door won’t stay closed | Misaligned top pivot or hinge | Re-align top pin and tighten hinge screws |
| Hinge squeaking | Lack of lubrication | Apply silicone spray or dry graphite lubricant |
| Door sags or droops | Weak or cheap hinge material | Replace with solid brass or stainless hinges |
| Panels misaligned | Uneven hinge spacing | Re-measure and re-install hinges evenly |
| Hinge screws pull out | Softwood stripping threads | Use longer screws or fill holes with wood glue |
Tip: Always use quality hinges rated for your door weight. Cheaper hardware leads to frequent failures.
How to Replace a Bi-Fold Door Hinge Without Removing the Door
You don’t always have to uninstall the entire door. Replacing a bi-fold hinge in place is fast if you follow this method:
Tools:
- Screwdriver
- Drill
- Matching hinge (same size/type)
- Wedge or door stop
- Level
Steps:
- Open the Door Fully Secure it in the open position so it doesn’t move while you’re working.
- Support the Door Wedge a block under the door to hold its weight, especially if it’s heavy.
- Unscrew the Damaged Hinge Remove one screw at a time to prevent sudden shifts.
- Fit the New Hinge Align it exactly with the old holes. If the holes are loose, fill them with wood glue and toothpicks, then reinsert the screws.
- Test the Door Open and close a few times to ensure the new hinge works as expected.
For best results, replace all three hinges if the door has visible wear or misalignment.
Pro Tips: Aligning, Spacing, and Maintaining Bi-Fold Door Hinges
Perfect hinge alignment is what separates a quick fix from a professional installation. Follow these tips:
Spacing:
- Use three hinges per pair of doors.
- Maintain consistent spacing: 6–8 inches from the ends and one in the center.
- For tall doors (over 80″), consider adding a fourth hinge.
Alignment:
- Lay doors on a level surface during installation.
- Use a square to mark hinge lines.
- Keep hinge knuckles perfectly aligned to avoid binding.
Ongoing Maintenance:
- Lubricate hinges with silicone spray every 6–12 months.
- Re-tighten screws as part of annual home maintenance.
- Look out for door sagging, as it may indicate hinge fatigue.

Summary
Choosing the right hinge and installing it properly makes all the difference. Whether you’re working on wooden interiors or heavy-duty gates, smooth folding starts with hinge mastery. A well-installed hinge won’t just look great—it’ll perform flawlessly for years. Let me know if you’ve got hinge troubles or questions—I’m here to help!