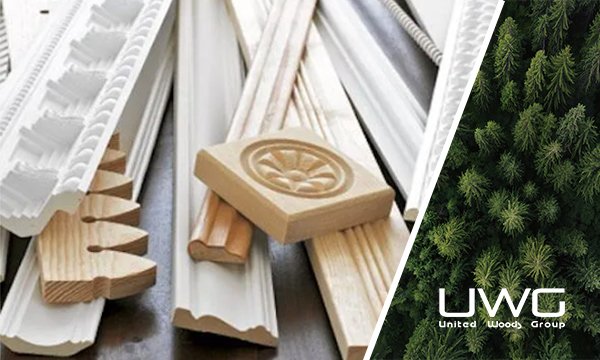
Imagine walking into a room where the wood mouldings seamlessly tie together the aesthetic of the space. The elegant curves and smooth finishes might seem like magic, but there’s a fascinating journey behind these details. For wholesalers, understanding this process can be the key to sourcing and providing top-notch products. Let’s embark on the journey of creating finger joint pine mouldings, from raw materials to the final coated product.
The process of making wood mouldings involves several stages, including selecting raw materials, creating finger joints, moulding, precision cutting, sanding, coating, quality inspection and packaging. This meticulous process ensures the production of high-quality, durable, and aesthetically pleasing mouldings suitable for various applications.
Selecting the Raw Materials
Choosing Quality Pine Logs:
The journey begins with selecting high-quality pine logs, chosen for their strength, straight grain, and minimal knots. These logs are often sourced from sustainably managed forests.
Sawing the Logs:
The pine logs are cut into lengths of about 350mm. During this process, large knots and defects are removed to ensure the integrity and strength of the final product. This initial cut is crucial for preparing the logs for the finger jointing process.
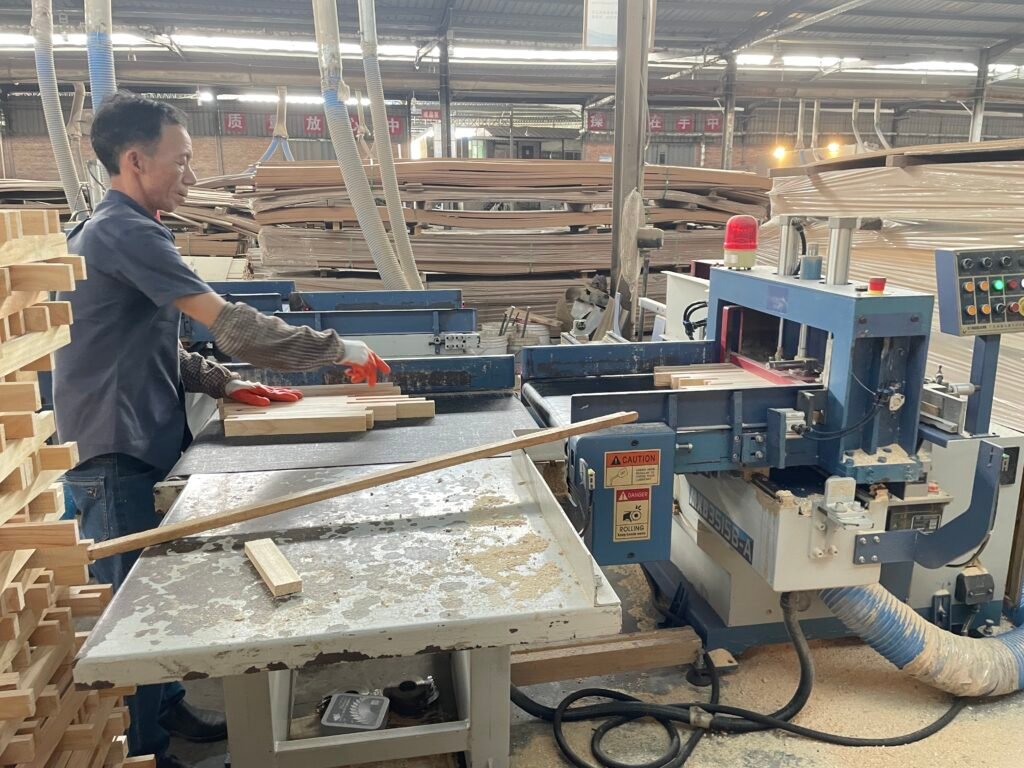
Creating Finger Joints
Cutting the Fingers:
The smaller pieces of pine are fed into a finger jointing machine. This machine precisely cuts finger-like profiles into the ends of the wood pieces. The fingers are usually around 10-15mm deep, designed to interlock tightly.
Applying Adhesive:
A high-strength adhesive is applied to the finger joints. The adhesive is typically a type of wood glue that dries quickly and forms a strong bond.
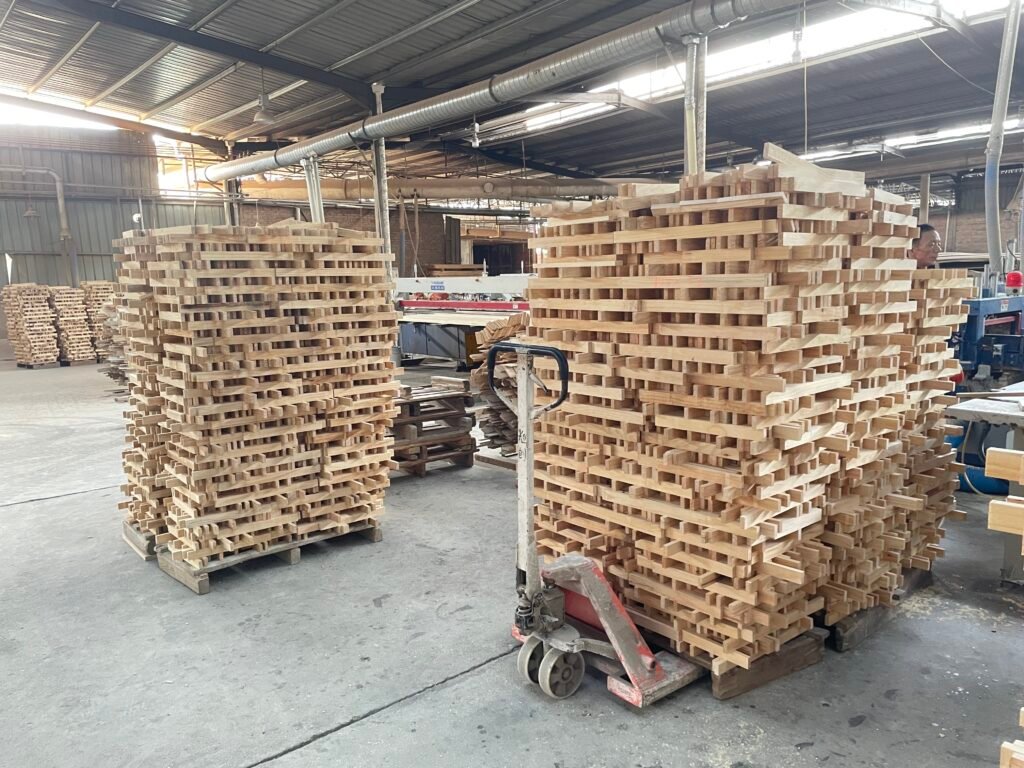
Joining the Fingers:
The adhesive-coated fingers are then interlocked and pressed together under high pressure. This process not only extends the length of the wood but also enhances its structural stability.
Curing:
The joined pieces are allowed to cure, letting the adhesive set and harden. This curing period is crucial to ensure the joints are strong and durable.
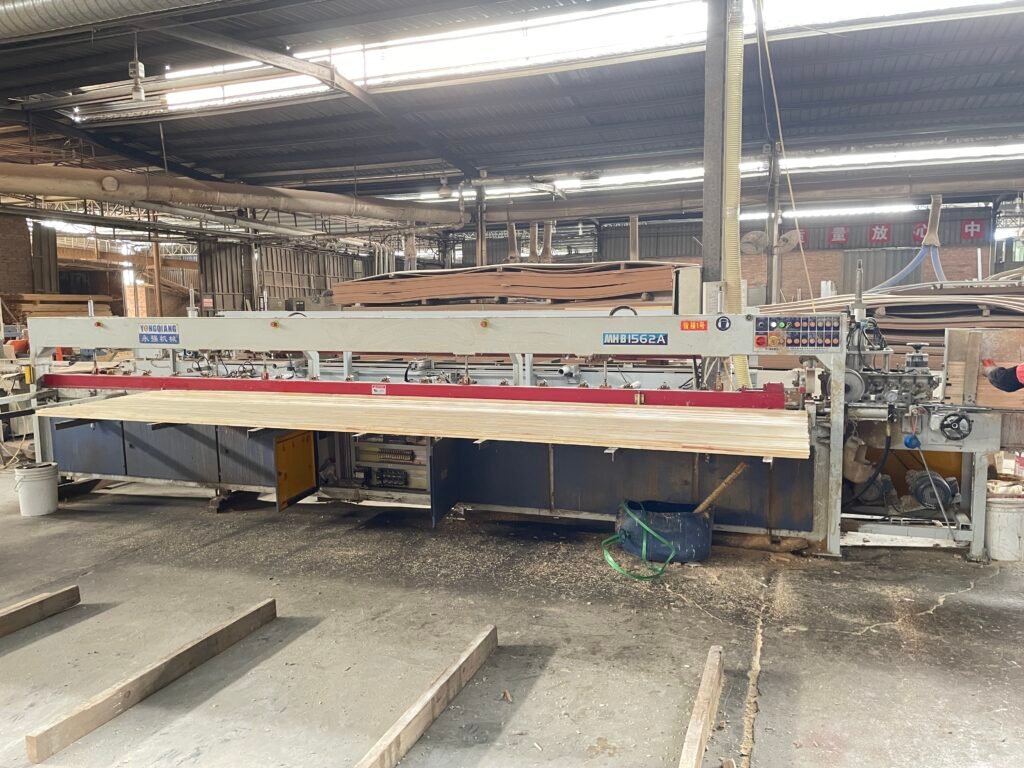
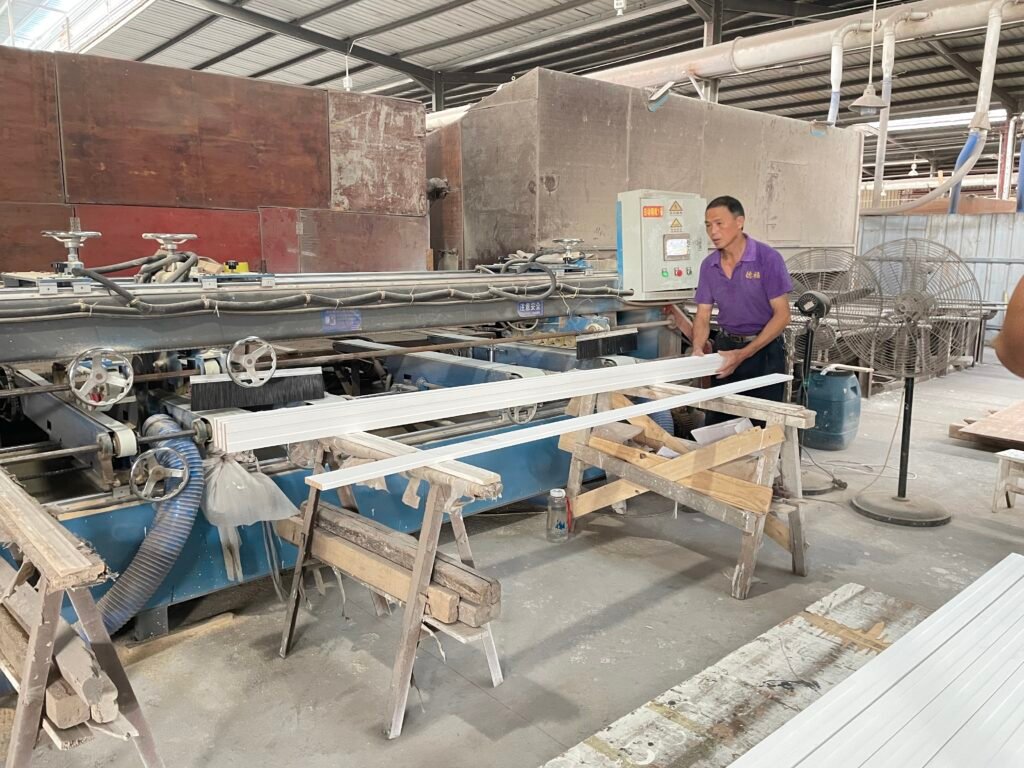
Moulding the Wood
Profile Cutting:
The finger-jointed boards are then fed through moulding machines equipped with high-speed cutting blades. These machines are programmed to cut precise profiles into the wood, creating the intricate shapes that characterize mouldings.
Sanding:
After the initial cutting, the mouldings are sanded using automated sanding machines. This step smooths out any rough edges and prepares the surface for finishing. Multiple grades of sandpaper may be used to achieve a fine, smooth finish.
Quality Control:
Each piece is inspected for any imperfections. Defective pieces are either corrected or discarded to ensure that only the highest quality mouldings proceed to the next stage.
Coating and Finishing
Priming:
The mouldings are first coated with a primer. Priming seals the wood, providing a uniform base for further coats and enhancing the adhesion of paint or stain.
Painting or Staining:
Depending on the desired finish, the mouldings are either painted or stained. Painting provides a solid color finish, while staining highlights the natural grain of the wood.
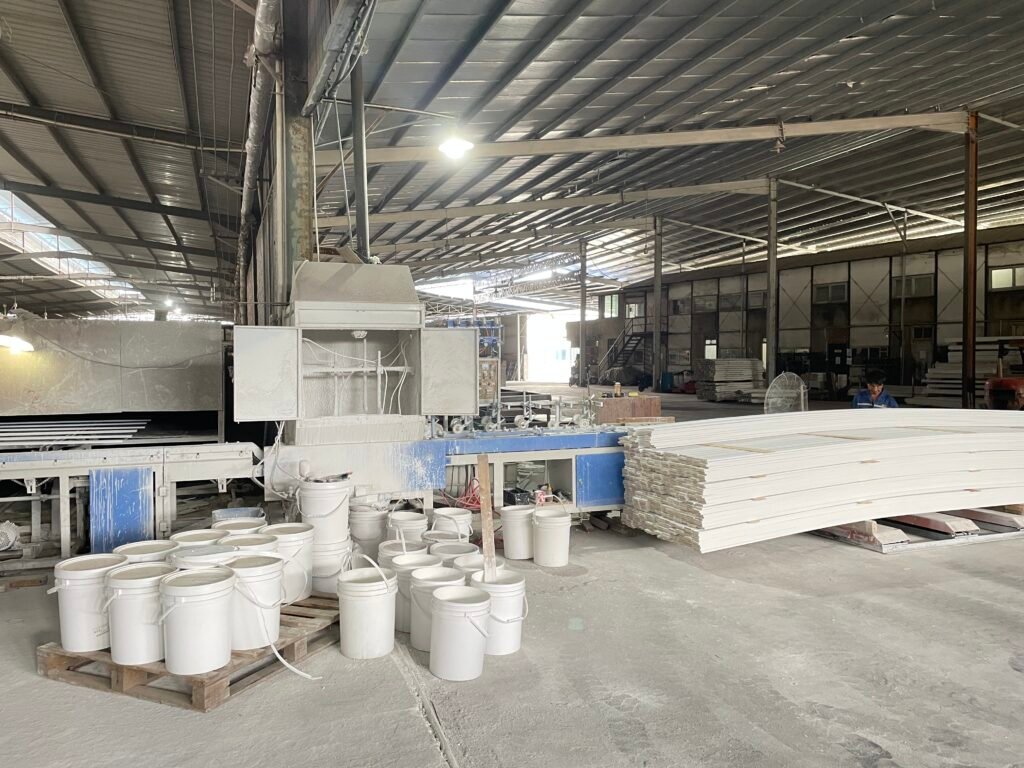
Sealing
A final sealant coat is applied to protect the wood from moisture, UV rays, and wear. The sealant also gives the mouldings a polished, professional look.
Drying
The coated mouldings are placed in a drying room where temperature and humidity are controlled. This environment ensures that the coatings dry evenly and thoroughly.

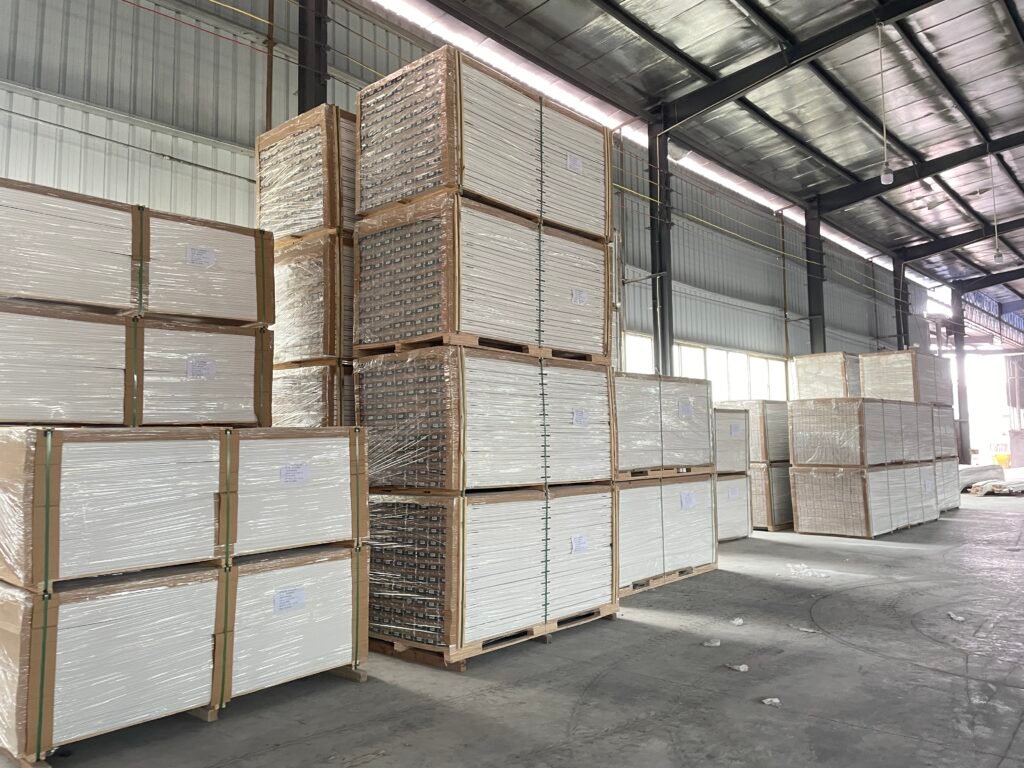
Final Inspection and Packaging
Inspection:
After drying, each moulding undergoes a final inspection. This step ensures that the finish is flawless and that the mouldings meet all quality standards. Inspectors look for uniformity in color, smoothness of the finish, and the absence of defects.
Packaging:
Approved mouldings are carefully packaged to prevent damage during transportation. Packaging often includes protective wrapping and sturdy boxes. Proper labeling ensures that wholesalers can easily identify and manage their inventory.
Why Understanding the Process Matters for Wholesalers
Quality Assurance:
Understanding the detailed process of making finger joint pine mouldings allows wholesalers to assess the quality of the products they source. This knowledge ensures they provide top-quality mouldings to their clients.
Customer Education:
Wholesalers can better educate their customers about the benefits of finger joint pine mouldings, including their durability, cost-effectiveness, and aesthetic appeal.
Market Positioning:
By knowing the intricacies of the moulding process, wholesalers can differentiate themselves in the market by offering superior products and informed service.

Summary:
The process of making finger joint pine mouldings is a meticulous and detailed journey that transforms raw pine logs into beautifully crafted, durable mouldings. By understanding each step—from raw material selection to coating—wholesalers can better source and supply these essential components to their clients, ensuring quality and satisfaction. This knowledge not only enhances their ability to provide superior products but also strengthens their position in the market.