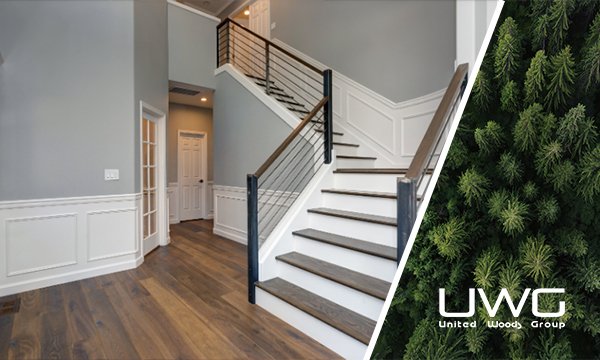
Many of my customers are troubled by the need to re-decorate the wall, and they ask me how to replace the lines without leaving holes for nails on the wall. So I wrote this article to solve the customer’s confusion.
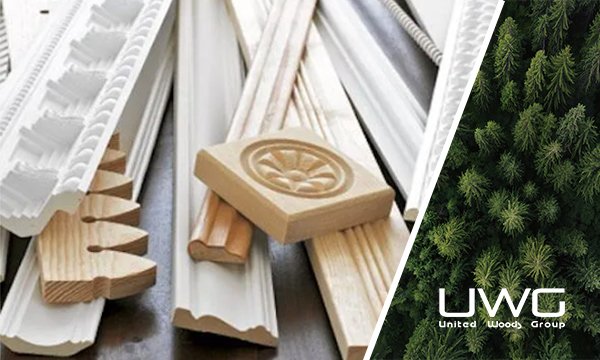
Renovating your home can be a fulfilling project, but removing molding without damaging your walls can be tricky. If not done correctly, you might end up with unsightly dents and scratches that will require additional repair work. Fortunately, with the right tools and techniques, you can remove molding cleanly and reuse it for other projects. This comprehensive guide will walk you through each step to ensure a smooth process and a flawless finish.
To remove molding without damaging your walls, start by using a sharp utility knife to cut through the paint where the molding meets the wall. Then, gently tap a thin pry bar between the molding and the wall to loosen it. Once the molding is loose, remove the pry bar and use wood shims to widen the gap and carefully detach the molding.
Let’s dive deeper into the steps and tools needed for a seamless molding removal process, ensuring that you preserve both your walls and the molding itself.
What Tool is Used to Remove Molding?
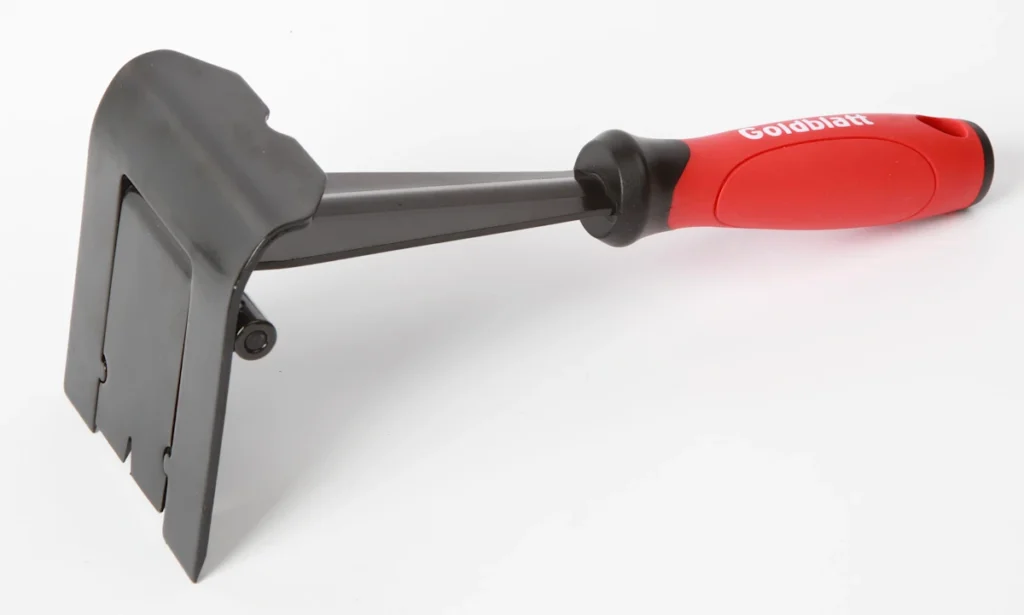
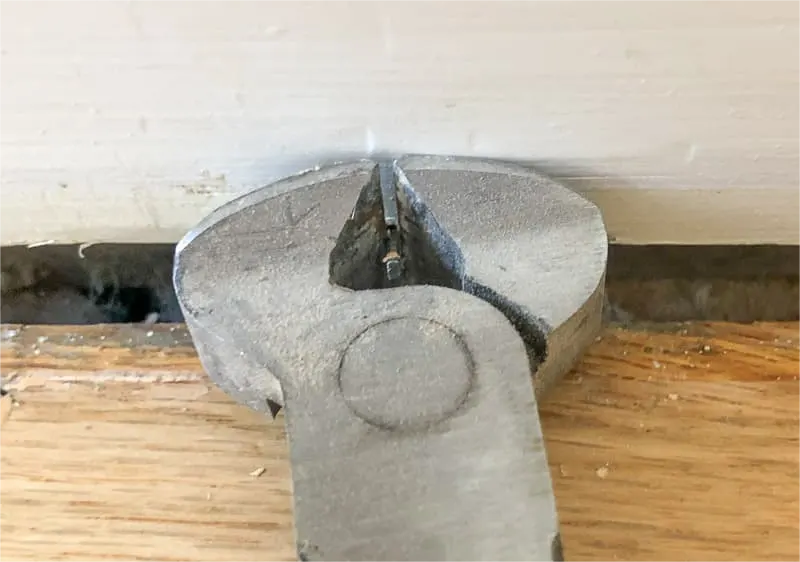
A trim puller is an excellent tool designed specifically for this job. It removes trim intact with minimal effort and prevents damage to the drywall. The wide, flat design of the trim puller distributes force evenly, ensuring that the wall stays intact while you remove the molding. This tool is essential for anyone looking to preserve their molding for reuse.
Step-by-Step Guide to Removing Molding
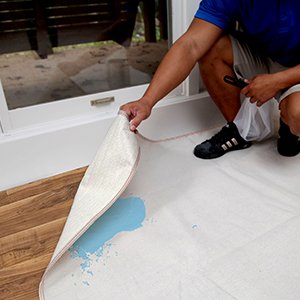
1.Preparation: Gather your tools, utility knife, trim puller or thin pry bar, wood shims, hammer, and a drop cloth.Lay down a drop cloth to protect your floor and collect any debris. This will make cleanup easier and prevent any damage to your flooring.
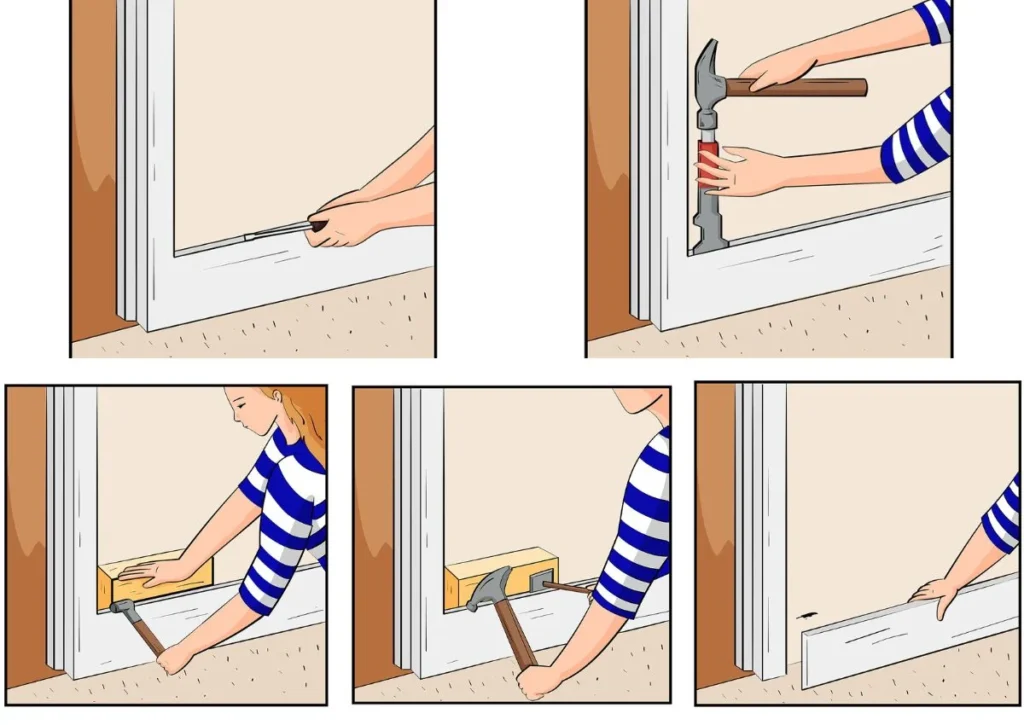
2.Cut Through the Paint: Use a sharp utility knife to score along the edge of the molding where it meets the wall. This will break the paint seal and prevent peeling or chipping. Make sure to cut deeply enough to penetrate through the paint and any caulk that might be present.

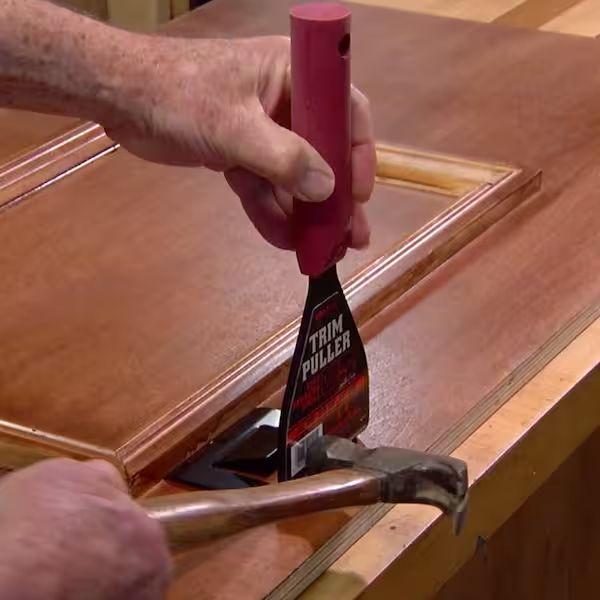
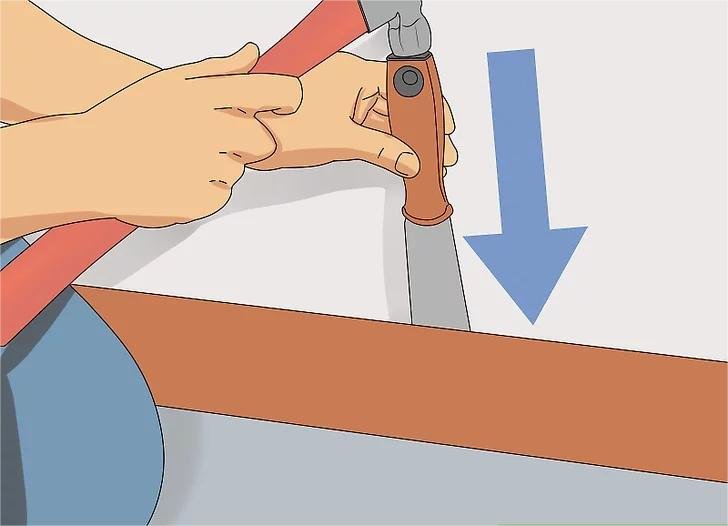
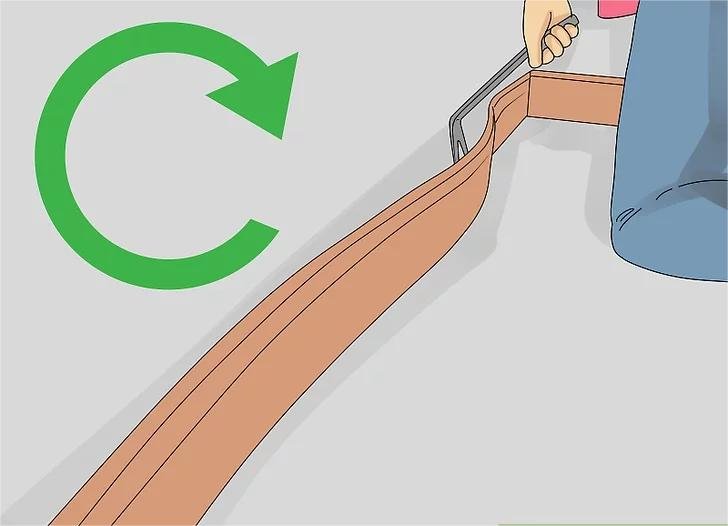
3.Loosen the Molding: Insert a thin pry bar or trim puller between the molding and the wall. Gently tap it with a hammer to create a small gap. Work slowly and carefully to avoid bending or breaking the molding.
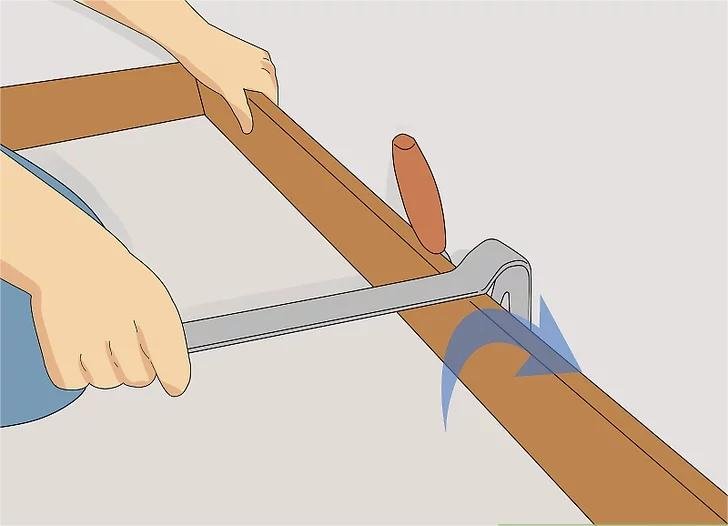
4.Widen the Gap: Once you have a small gap, insert wood shims to gradually widen it. This will help ease the molding away from the wall without bending or breaking it. Continue to tap the pry bar and add more shims as needed.
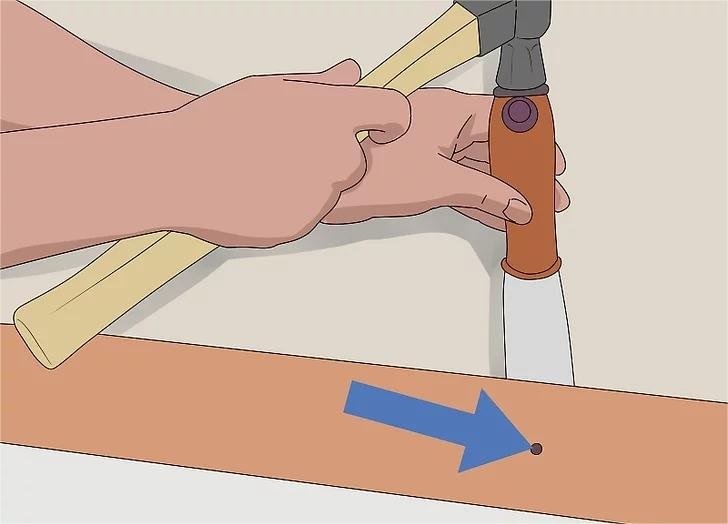
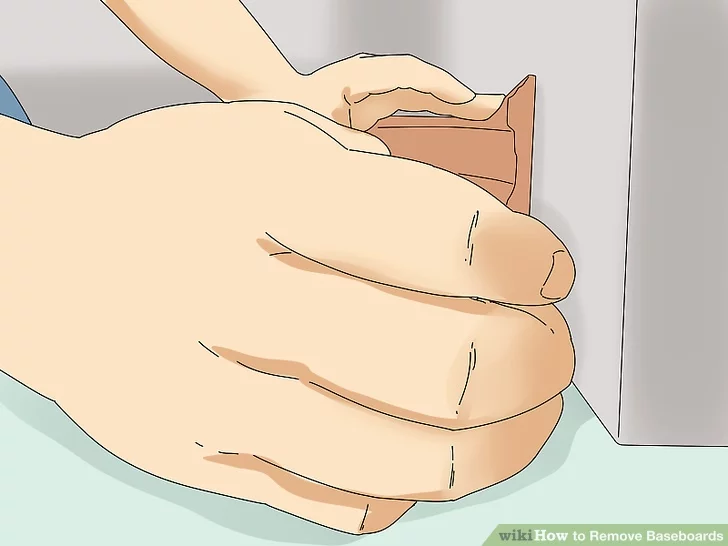
5.Remove the Molding: Carefully pull the molding away from the wall. If you encounter resistance, check for additional nails or adhesive and address them before continuing. Use a nail puller to remove any stubborn nails without damaging the molding.
Tips to Avoid Damaging Walls
1.Score the Paint: Always cut through the paint to avoid peeling. This small step can save you a lot of time and effort in touch-up work later.
2.Use the Right Tools: A trim puller is designed to minimize wall damage. Avoid using tools not meant for this purpose, as they can cause unnecessary damage.
3.Work Slowly: Rushing can lead to mistakes. Take your time to ensure each step is done correctly.
Additional Tools and Techniques
1.Heat Gun: If the molding is stubborn due to old adhesive, a heat gun can soften the glue, making removal easier. Be careful not to overheat the area, as this can damage both the molding and the wall.
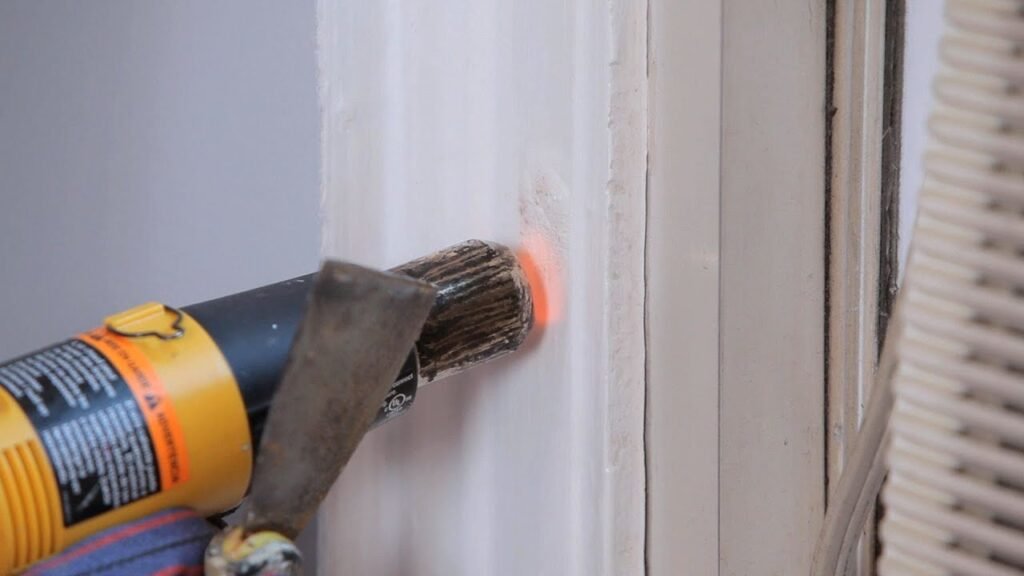
2.Nail Puller: For nails that are hard to remove, a nail puller can grip and extract them without damaging the molding. This tool is particularly useful for older homes where nails may be deeply embedded.
Summary: Removing molding without damaging your walls is achievable with the right approach and tools. By using a utility knife to cut through the paint, a trim puller to gently pry the molding, and wood shims to widen the gap, you can ensure a smooth process. Take your time, follow the steps carefully, and soon you’ll have removed the molding without a scratch. Have any tips or experiences to share? Leave a comment below and join the conversation!