Introduction
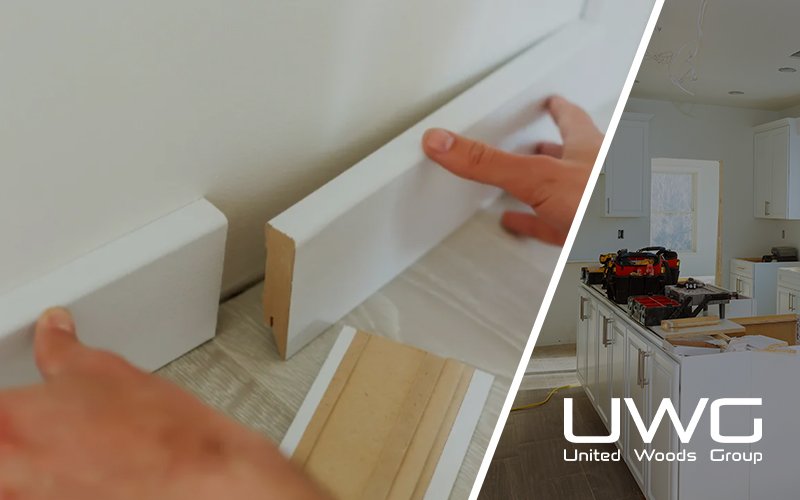
Baseboards may seem like a small finishing touch, but improper installation can ruin the entire look of a room. For builders and contractors, cutting corners on baseboard installation leads to callbacks, repairs, and customer complaints. Let’s look at the most common mistakes — and how to avoid them — while walking through a step-by-step installation guide.
Common baseboard installation mistakes include uneven cuts, misaligned joints, ignoring wall irregularities, using wrong adhesives or fasteners, and overcaulking. Misaligned corners often result from inaccurate miter cuts or assuming walls are square. Pressing boards tight against uneven floors can cause buckling. Overusing silicone or filling large gaps without backer rods leads to poor finishes. Avoid these by measuring twice, dry-fitting boards, using spacers, coping inside corners, applying paintable latex caulk properly, and installing baseboards after flooring for precise, clean results.
What are the most common mistakes when installing baseboards?
The most common mistakes include uneven cuts, misaligned joints, ignoring wall irregularities, using the wrong adhesive or fasteners, and rushing caulking. These errors result in gaps, poor finishes, and wasted time on rework. Professional installation requires careful prep, precise cuts, and attention to wall and floor variations.
Avoiding Costly Errors in Baseboard Projects
Even experienced crews fall into bad habits. Below are critical questions and mistakes to recognize during installation.
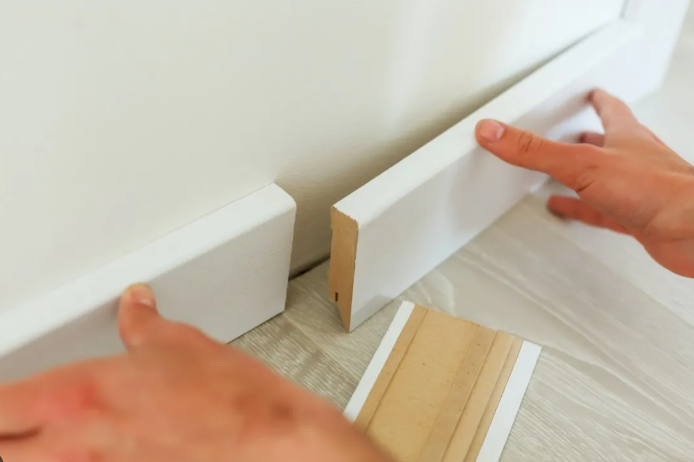
Why do baseboards end up misaligned?
This usually comes down to poor miter cuts. Inside and outside corners require precise angles. If your saw isn’t set accurately — or if you measure incorrectly — the result is visible seams. Use a digital angle finder or cut test pieces before making your final cuts. Always remember: cut long first, trim short later.
Also, avoid assuming that walls are square — many aren’t, especially in older buildings. Shimming behind the baseboard or coping inside corners can drastically improve the fit.
Should baseboards touch the floor?
Ideally, baseboards should not press tight against the floor. A small gap (1/16″ to 1/8″) allows for floor expansion, especially with laminate or engineered wood. On uneven floors, pressing the board flush can result in buckling or visible gaps elsewhere. Use spacers or level lines to maintain consistent height.
This is especially important in homes with concrete slab foundations, where floors can vary by several millimeters.
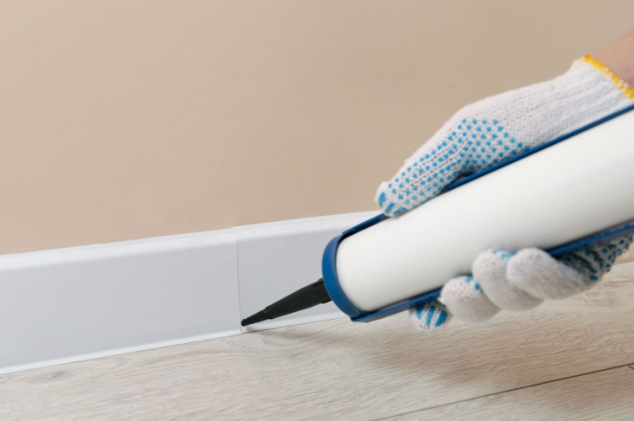
What to avoid when caulking baseboards?
Overapplying caulk is a rookie mistake — and using the wrong type is even worse. For baseboards:
- Use paintable latex caulk with silicone for flexibility.
- Avoid pure silicone — paint won’t stick.
- Don’t caulk large gaps; instead, use a backer rod or foam filler first.
- Don’t caulk between baseboards and floors — leave that to flooring trim (like quarter round).
For a smooth finish, run your finger or a damp sponge along the bead immediately after applying. Time your caulking after all fasteners and sanding are done, but before final paint.
How to fix gaps behind baseboards?
Gaps between baseboards and walls are common, especially in older homes or over drywall seams. Here’s how to fix them:
- For small gaps (<1/4″), caulk can fill the space.
- For larger gaps, use a backer rod — a foam insert that provides a base for caulking.
- In severe cases, shim behind the baseboard using thin plywood or cardboard.
- If needed, consider scribing the baseboard to follow the wall contour using a compass.
These techniques help achieve tight, clean finishes without ripping out drywall.
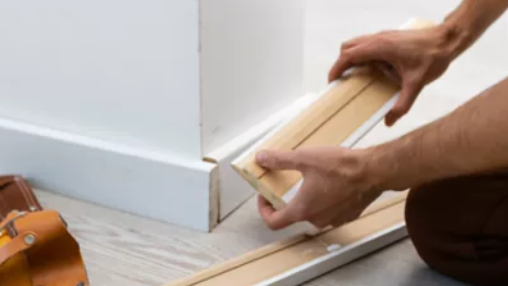
Should you install baseboards before or after flooring?
Always install baseboards after the flooring is installed. This allows you to:
- Match the baseboard height to the finished floor
- Hide any rough cuts along the flooring edge
- Avoid damage to baseboards during floor installation
If pre-installing is required (e.g., in some modular homes), leave clearance and install shoe molding or quarter round later to cover the gap
How to cut perfect angles in baseboards?
Angle accuracy is everything. Here’s how to avoid mismatched corners:
- Use a compound miter saw with a sharp blade.
- Measure angles using a digital protractor.
- For inside corners, cope one piece instead of using a miter joint — this hides wall imperfections.
- Label all cuts clearly before installation.
- Practice with scrap pieces — it saves time.
For tricky spots or uneven corners, tools like the angle finder and coping saw are invaluable.

Step-by-Step Guide to Baseboard Installation
Now let’s cover the full installation process — from prep to paint — optimized for clean, professional results.
1. Tools and Materials Checklist
- Miter saw
- Measuring tape
- Level or laser line
- Nail gun or hammer
- Adhesive (optional)
- Wood filler
- Caulk + backer rod
- Sandpaper
- Paint + brush or roller
- Safety gear
2. Measure and Plan
- Measure each wall section twice.
- Sketch out the room and label measurements.
- Identify all inside and outside corners.
- Decide whether to miter or cope corners.
- Add 10–15% extra length for cuts and waste.
3. Pre-Cut Boards
- Use your saw to cut all lengths based on your plan.
- Mark each piece with its location on the back.
- Cut outside corners at 45°, inside corners slightly undercut.
- Dry fit boards before installing.
4. Prepare Surfaces
- Clean walls and remove debris.
- Mark a level line above the floor to align your baseboard height.
- Check for wall bowing or floor dips.
5. Installation
With Nail Gun:
- Apply adhesive to the back (optional).
- Align board with your level line.
- Nail into studs (use a stud finder).
- Nail every 16–24 inches.
Installing Baseboards Without Nail Gun:
- Use construction adhesive and press firmly into place.
- Use temporary bracing or painter’s tape to hold until set.
6. Fill and Finish
- Use wood filler on nail holes.
- Sand smooth after drying.
- Fill corner gaps with caulk.
- Use baseboard caulking tips to get clean, even beads.
- Wipe excess with damp sponge.
7. Final Painting
- Apply primer if needed.
- Use semi-gloss or satin trim paint for durability.
- Use painter’s tape along the wall and floor for clean lines.
Summary
Clean, professional baseboard installation is about precision, not speed. Avoiding these common pitfalls saves time, money, and frustration down the line. Got a tip or method that’s worked well on your sites? Let us know — the best techniques are often shared on the job.