For many homeowners and DIY enthusiasts, the thought of installing a door alone feels like stepping into professional territory. It’s not just about lifting something heavy or screwing in a few hinges. It’s about perfect measurements, level alignment, precise anchoring, and the silent worry that one wrong move could leave your door scraping, sticking—or worse, completely misaligned.
Most people assume you need a second pair of hands to hold the frame, adjust the jamb, or double-check alignment as you drive in screws. And yet, the cost of hiring help—or simply the desire to finish the job on your own—leaves one important question lingering:Can one person really install a prehung door and get it right the first time?
One person can absolutely install a prehung door—and do it well—by following a disciplined, step-by-step process. It begins with preparing the rough opening, ensuring it’s clean, square, and sized correctly. The door unit is then carefully positioned, shimmed into level and plumb, and anchored through the frame at critical support points. What makes this possible for one person isn’t brute force, but smart preparation: using temporary support blocks, working with light-duty interior doors first, and double-checking measurements at every step. The result? A door that swings true, closes flush, and looks like it was installed by a pro.
🟩 Can One Person Install a Prehung Door? Here’s the Truth from the Field
Absolutely—but with important caveats. Installing a prehung door alone is entirely feasible if you’re working on an interior unit, have standard framing, and understand how to control alignment at every stage. The real challenge isn’t lifting the door—it’s holding it in place while you level, shim, and secure it. Without a second person to assist, you’ll need to build your own support system: wood blocks under the frame, temporary tacking screws, and constant use of a level.
Most solo installers struggle with one thing: plumb alignment. If your frame tilts even slightly, the door will bind, swing open, or not latch. That’s why you need to shim behind the hinges precisely—and check with a 6-foot level or laser level, not your eye.
On the other hand, exterior prehung doors are heavier and require extra steps—weatherproofing the sill, sealing gaps, and reinforcing the threshold. These units can weigh 80–120 lbs, and misalignment can cause long-term air leaks or water intrusion. If you’re a beginner, start with a hollow-core interior door. Save exterior jobs until you’re confident using tools like shimming jigs and door brackets.
Solo installation is doable. Just don’t mistake “possible” for “effortless.”
🟩 Professional-Grade Tools and Materials Checklist (And Why They Matter)
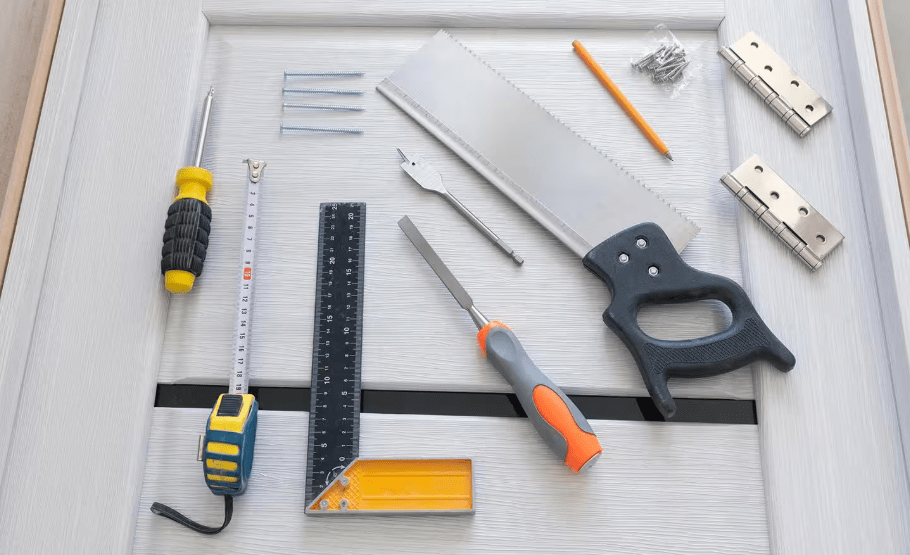
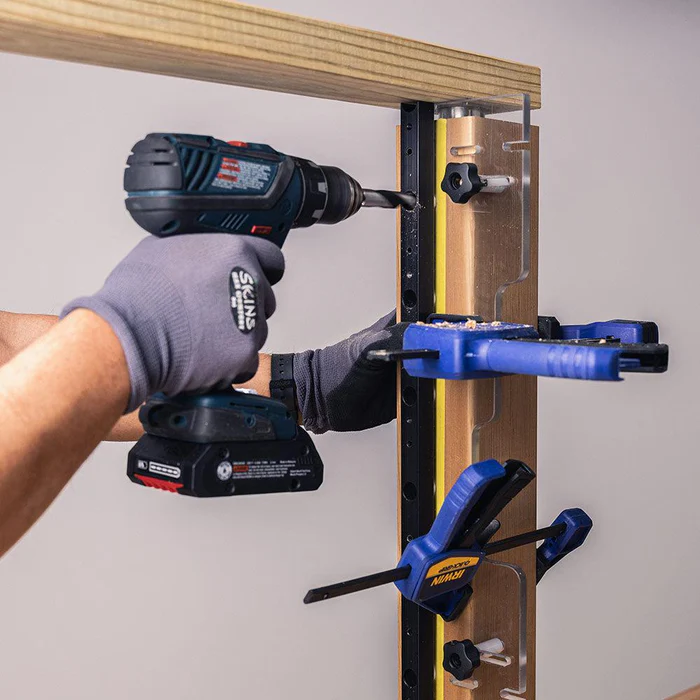
A successful solo install starts with the right tools—not just to perform each task, but to replace the second set of hands you don’t have. Here’s a tool list with real-world explanations:
- Tape Measure – Accuracy is everything. Measure the rough opening at multiple points (top, middle, bottom) for squareness and width.
- Level (4–6 feet or laser) – A short level won’t expose frame twist. Use a longer one to check both jambs from top to floor.
- Shims (wood wedges or plastic) – Essential for adjusting jambs to be plumb and square. Use behind hinges and strike plate.
- Hammer + Nail Set – For tacking shims before final screwing. A nail set helps finish flush without damaging trim.
- Cordless Drill / Impact Driver – Drive 3” screws through shims into wall studs. Impact is preferred for better torque control.
- Screws (3″ trim-head or decking) – Trim-head screws reduce wood splitting and sit flush.
- Utility Knife – Trims excess shims and insulation. Also useful for cutting paint lines on old frame removal.
- Caulk & Sealant Gun (for exterior) – Seal all four sides of the door frame, especially the top edge and sill plate.
- Expanding Foam (low-expansion only) – Only for gaps larger than 1/4″. Overuse can bow the jamb. Apply sparingly and let cure fully.
- Temporary Door Support or DIY wedges – To keep the frame centered during solo installation. Optional, but highly effective.
- Safety Gear – Gloves, goggles, and kneepads. Removing or trimming door casings involves sharp tools and splinters.
💡 Pro Tip: If you’re doing this alone, pre-cut your shims and label them. You’ll be switching tools constantly, and minimizing movement is key.
This list isn’t just about owning tools—it’s about using them strategically to control every variable during the install.
🟩Removing the Old Door and Preparing the Rough Opening
If you’re replacing an old door, begin by removing the hinge pins with a flathead screwdriver and hammer tap. Once the door slab is out, use a utility knife to score the caulk line around the casing. This reduces drywall damage when you pry off the trim.
Use a pry bar to gently remove the old jamb. If it’s painted shut or caulked heavily, work slowly to avoid cracking surrounding drywall. For metal frames (common in commercial or older homes), you may need a reciprocating saw or multi-tool.
Now, inspect the rough opening:
- Size: It should be at least ½ inch wider and taller than the prehung door unit.
- Flatness: Use a long level across the subfloor and side studs. The opening must be plumb, square, and without twist.
- Cleanliness: Remove all nails, screws, debris, and dust. Vacuum if needed—foam and shims won’t sit well on grime.
- Damage Check: Look for signs of rot, moisture, or framing splits. Repair before proceeding.
📌 Pro Tip: Use a framing square at each corner of the rough opening to check for squareness. If it’s off by more than ¼”, correct with additional shims or trimming.
🟩 Positioning and Leveling the Prehung Door Frame
Once the rough opening is ready, set the prehung door in place by lifting it carefully into the center of the opening. If you’re working alone, lay two temporary support blocks on the floor to raise the door to finished floor height.
Make sure the door swings into the room, and the hinges are on the correct side based on your layout. Now, before anchoring anything, take time to fine-tune alignment:
- Place your 4-6 ft level vertically on the hinge side of the jamb and adjust until perfectly plumb
- Shim behind each hinge location, starting from the top—this locks the structure while preserving reveal spacing
- The head jamb should be level; even a 1/8″ tilt will affect latch engagement
- Check that the strike side isn’t bowed—run a straightedge or string from top to bottom
Next, lightly tack one screw through the top hinge shim (not tight) to hold it in place. Now swing the door open and closed to test clearance. If it binds, reassess your shims before proceeding.
💡 Pro tip: Insert shims at the latch height on the strike side before final fastening. This ensures the latch won’t miss the strike plate later.
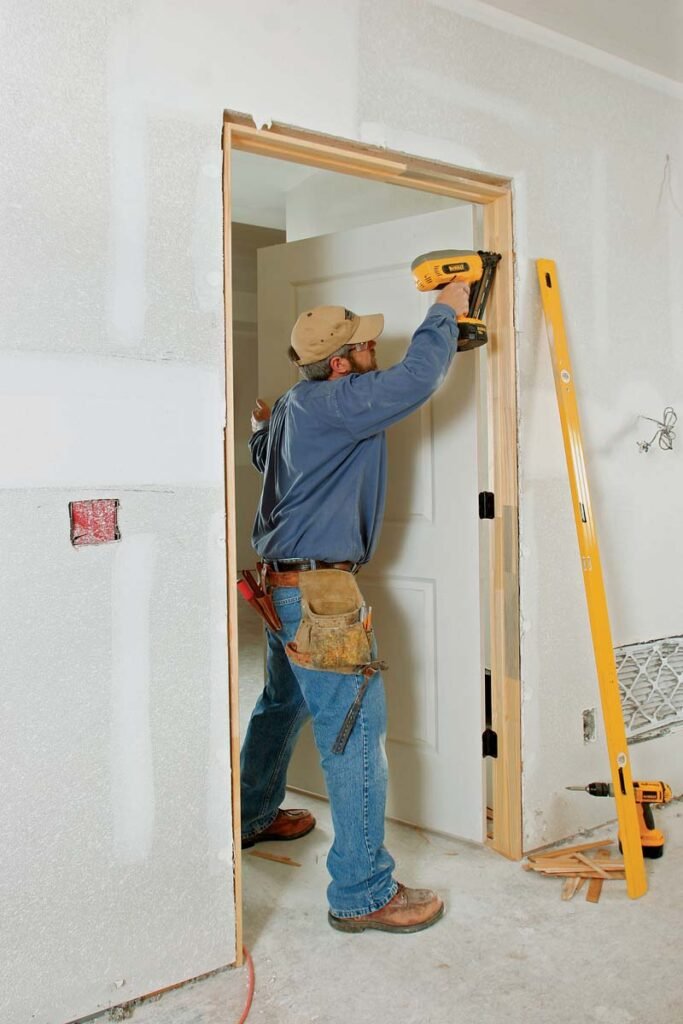
🟩 Anchoring the Frame in Place
With the door test-fitted and shimmed, you’re ready to secure the frame. Pre-drill holes through the jamb at each shim location (typically near hinges and latch areas). Use 3” trim-head screws to anchor into the wall studs.
Key considerations:
- Always screw through the shims, never beside them—this prevents long-term shifting
- Start with the hinge side: top, middle, bottom
- Then anchor the strike side, using your level to check alignment at each screw
- Don’t overtighten—this can warp the jamb or compress shims unevenly
For exterior doors, apply a bead of silicone or construction sealant under the threshold before placing the frame. Also seal around the sides and top after anchoring.
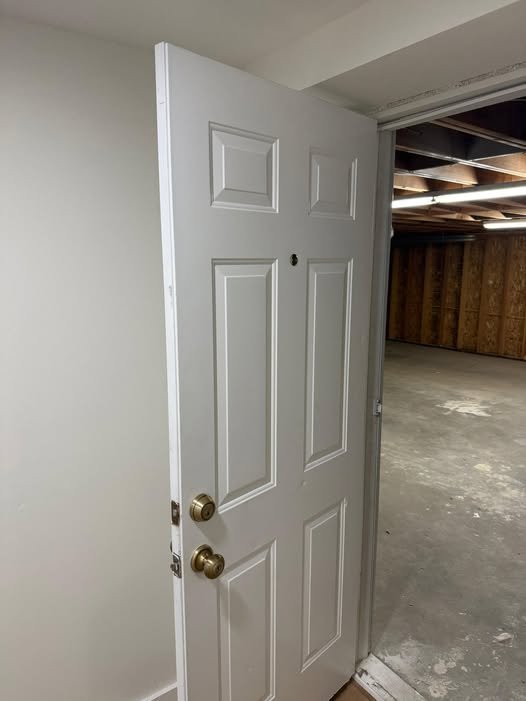
Once fully secured, close the door and inspect the reveal—the consistent gap between the door slab and the jamb on all sides. It should be:
- ⅛” along top and sides
- Slightly wider at the bottom if threshold has a weatherstrip
🛑 Common mistake: Many first-time installers compress the shims too tightly, causing door bind. Use light pressure and test often.
🟩 Installing Door Hardware (Optional)
If your door came without hardware, now’s the time to add it. Most locksets include a template to guide your drilling. Tape it firmly to the door face at the recommended height (usually 36″ from the floor).
Step-by-step:
- Drill pilot holes first using a 1/8” bit. Then use hole saws (usually 2-1/8″ and 1″) to cut the handle and latch holes.
- Install the latch bolt and ensure it’s flush with the edge. Use a chisel to recess if needed.
- Attach the handle or knob set per manufacturer instructions. Be sure screws are aligned and not cross-threaded.
- On the jamb, line up and install the strike plate. You may need to adjust the latch location slightly if the door moved during install.
⚙️ Pro Tip: Use a self-centering drill bit (“Vix bit”) to prevent strike plate screws from drifting off-center.
🟩 Final Adjustments and Testing
Once everything’s in place, open and close the door several times. Look and listen for these signs:
- Rubbing or sticking at top or bottom: likely a shim or jamb is off—adjust accordingly
- Clicking or binding latch: strike plate may need shifting or recessing
- Spring-back when closed: jambs too tight or door is under tension
If gaps are uneven, back out screws, adjust the shims, and re-tighten. Patience here pays off.
Now apply low-expansion foam insulation into the gap between the frame and wall studs. Use it sparingly; overfilling can bow the jamb. Let it cure fully, then trim flush with a knife.
Finish with interior casing or trim. Use finish nails and caulk gaps for a clean look.
🧩 Pro Tip: If the door tends to swing open or closed on its own, your frame isn’t plumb. Add shims or re-set one side to correct the swing.
🟩 Safety Tips and Common Mistakes to Avoid
Even seasoned DIYers can make simple mistakes when installing a prehung door—especially when working solo. Here are the most critical safety practices and installation pitfalls to watch for, along with how to avoid them:
- Never skip the level. Relying on your eyes to “eyeball” plumb is one of the fastest ways to ruin an install. Even a 1/4-inch tilt will cause your door to swing open or stick. Use a 4-foot or longer level on both vertical jambs and the head.
- Don’t over-tighten screws. Screws driven too tightly can warp the jamb or pull it out of square—especially on the hinge side. Always drive screws snugly through shims, but stop before you hear wood compression or creaking.
- Use caulk correctly—don’t just smear it. Exterior doors require careful sealing around the sill and sides. Use backer rod for large gaps, and tool the caulk with a finger or plastic tool to create a smooth, water-tight joint. Don’t seal the bottom edge of the sill (weep channel must drain water).
- Don’t force the door if it scrapes or won’t latch. This usually means your reveal is off or the frame is out of square. Forcing it may damage the hinge screws or warp the slab. Back up, re-check shim positions, and make micro-adjustments.
- Wear proper protection. Removing old frames often exposes rusty nails, sharp edges, splintered trim, or even glass debris. Always wear gloves, eye protection, and long sleeves. If using power saws, wear ear protection too.
⚠️ Extra Tip: Many beginners forget to test the swing direction before anchoring. Triple-check which way your door should open—flipping a fully fastened frame is not fun.
🟩 Conclusion
Installing a prehung door by yourself isn’t just a cost-saving move—it’s a confidence-building project that teaches patience, precision, and the value of preparation. From sizing your rough opening to fine-tuning the final reveal, each step brings a satisfying sense of progress.
Yes, the first time might feel overwhelming. You may adjust shims more times than you care to count. But the result—a smooth-swinging, well-aligned door you installed with your own two hands—is more than worth it.
Ready to take it on? Use this guide, take your time, and remember: perfection comes from precision, not speed.