You pass through doorways countless times a day, but have you ever paused to notice the molding that frames them? Is it just decorative, or does it serve a deeper structural and stylistic purpose? And what exactly is that trim called—and why does it look so different from one home to another?
If you’re renovating, replacing trim, or simply trying to understand your home better, knowing the terminology behind door trim is a smart starting point. The shape, size, and components of trim reveal a lot about a home’s age, construction, and design intent.
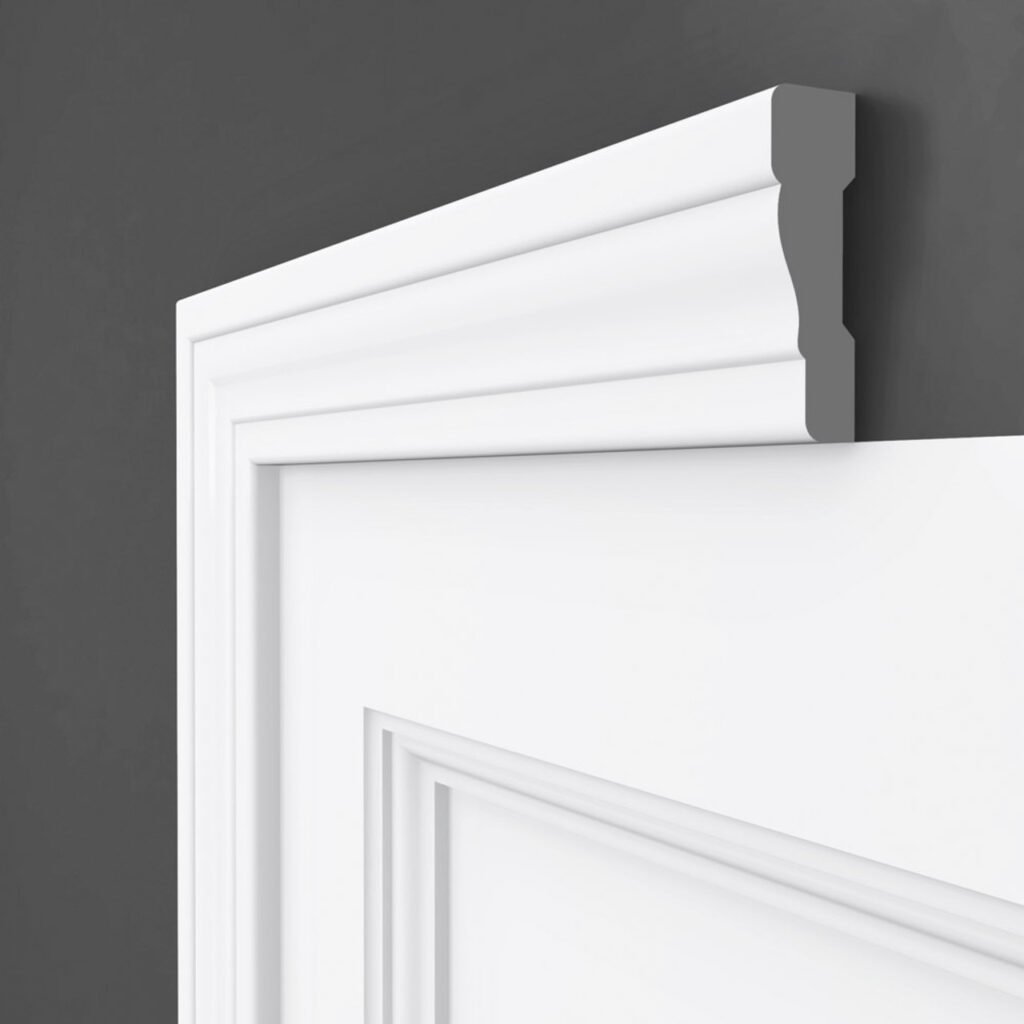
Door trim, also called door casing, frames a doorway both functionally and decoratively. Key components include the casing (hides gaps between jamb and wall), jamb (structural frame for hinges), stop (prevents over-swing), and optional backband, rosette, or plinth block for style. Trim styles range from Colonial and Craftsman to Victorian, while materials like MDF, pine, PVC, or polyurethane affect durability, moisture resistance, and aesthetics.
What Is the Trim Around a Door Called?
The trim surrounding a door is commonly referred to as door trim—or more specifically, the door casing. But it’s not always just a single board. In most installations, it’s a coordinated system of trim components that frame the doorway both functionally and aesthetically.
Here’s how it breaks down:
- Casing – the visible molding around the door that hides the gap between the wall and jamb
- Jamb – the structural frame that the door is hung in
- Stop – the narrow strip that prevents the door from swinging past the jamb
- Backband / Rosette / Plinth Block – optional decorative elements that add dimension or style to more elaborate trims
Together, these parts define the transition between the rough framing of the door and the finished wall surface. They’re crucial for both visual cohesion and practical performance—covering seams, providing support, and reinforcing the room’s design language.
Ready to dive deeper? Let’s break down each component and explore your material and style options.
The Basic Anatomy of Door Trim
Understanding door trim goes beyond identifying parts—it’s about recognizing how each component contributes to functionality, aesthetic cohesion, and installation success. Below is a detailed breakdown of door trim anatomy, from core structural elements to optional architectural enhancements.
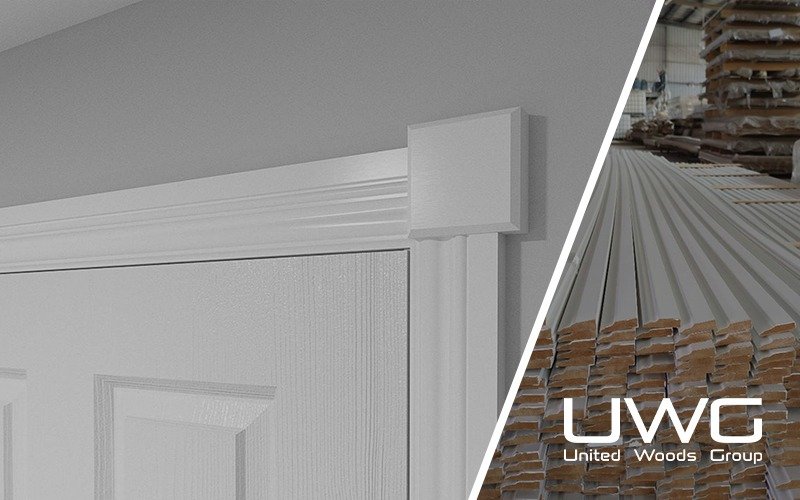
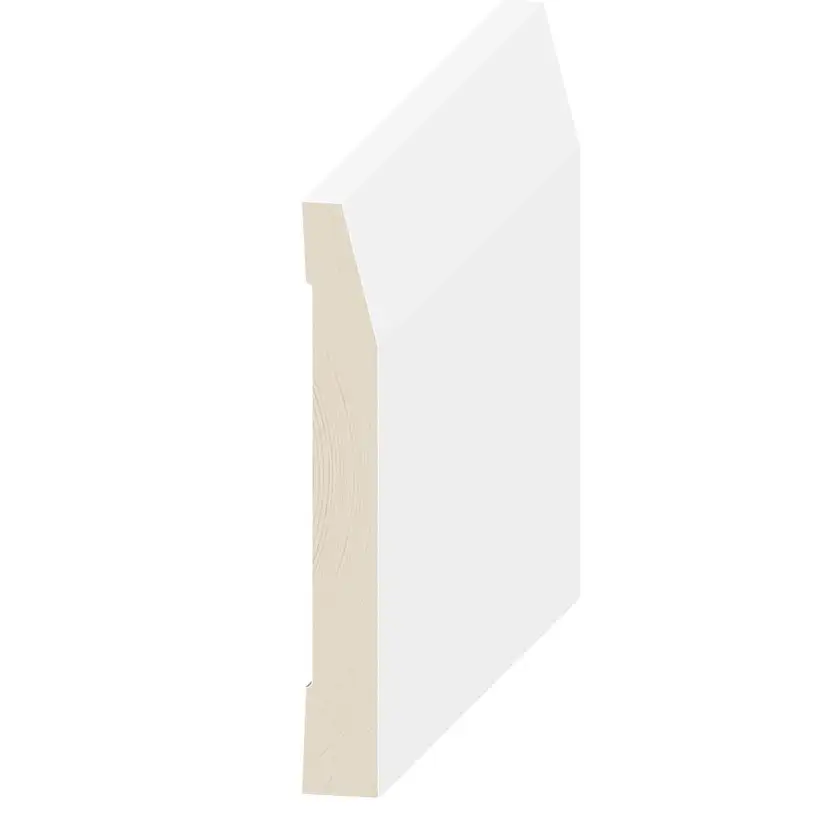
🔹 Casing
Casing is the visible molding installed on the face of the wall around the door. While it serves a decorative role, its primary function is to conceal the joint between the door jamb and the wall, especially where drywall may be uneven or poorly finished. Casings vary widely in profile, width, and thickness, and they help define the stylistic tone of a space—whether traditional, craftsman, or modern.
Installation Note: Most casings leave a consistent reveal—typically 3/16″—from the jamb to maintain visual balance and allow room for seasonal wood movement.
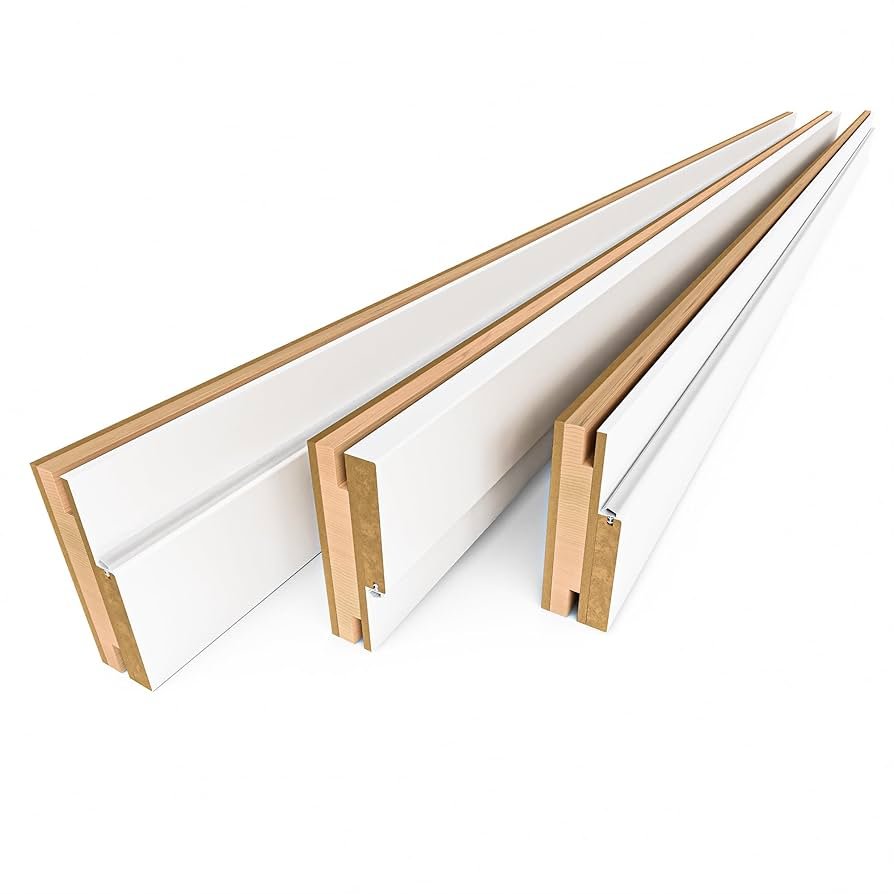
🔹 Jamb
The jamb is the structural frame that holds the door in place and supports the hinges and strike hardware. A typical door has two side jambs and a head jamb. Jamb depth must match the wall thickness (e.g., 4-9/16″ for 2×4 walls, 6-9/16″ for 2×6 walls) to ensure the casing lies flat.
Material Choice: Solid wood jambs offer durability and strength, while MDF versions are cost-effective and easier to paint but less moisture-resistant.
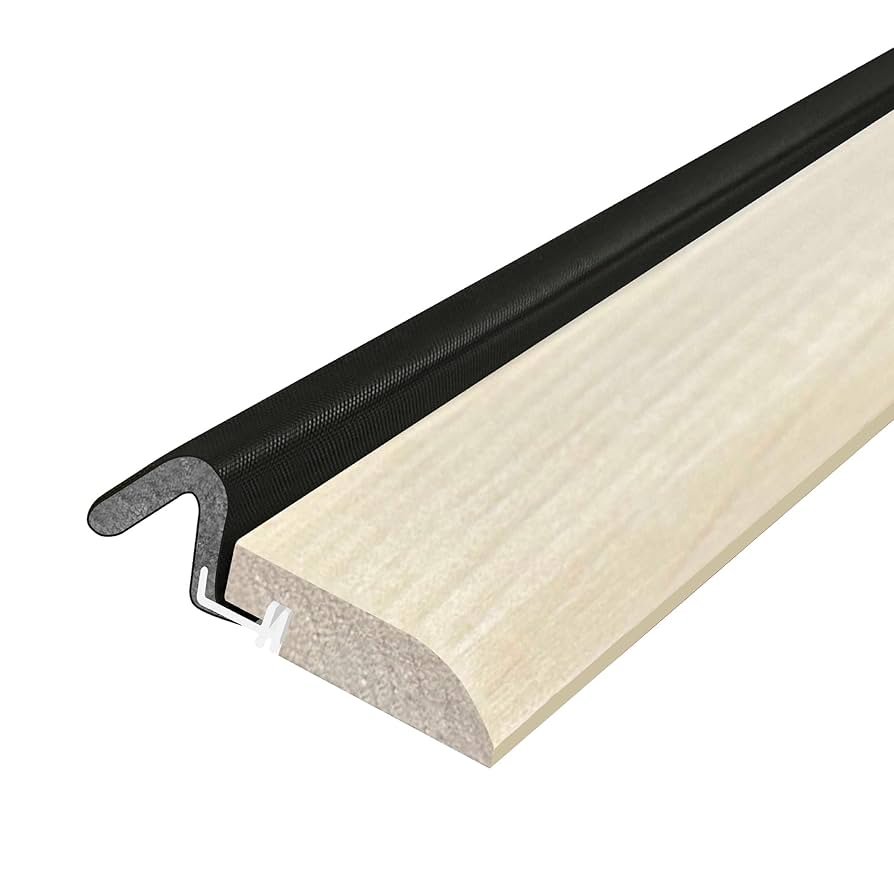
🔹 Stop
The stop is a thin strip of molding mounted on the inside face of the jamb. It prevents the door from swinging through the frame and helps with sound dampening and light sealing. On prehung doors, stops are often factory-applied; in custom work, they are installed after casing.
Variations: Some stops are built into a rabbeted jamb, while others are applied separately for flexibility in positioning—useful when retrofitting thicker doors.
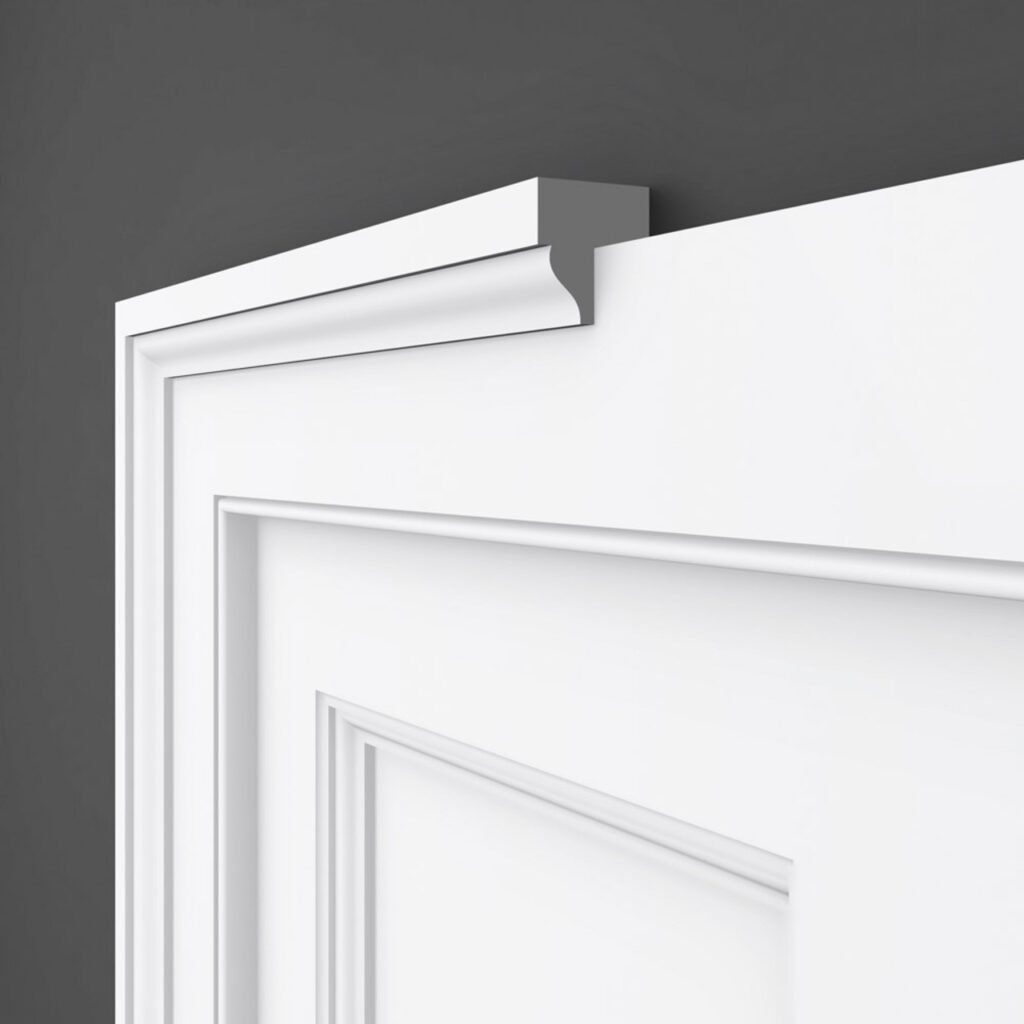
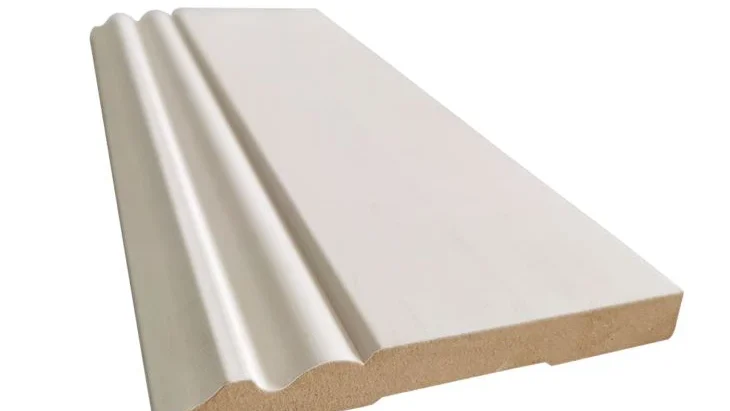
🔹 Backband
A backband is a secondary piece of molding that wraps around the outer edge of the casing, creating a layered, more substantial look. Often used in colonial or formal interiors, it visually deepens the trim and can tie into crown or baseboard profiles.
Design Tip: Adding a backband to a simple 1×4 casing instantly elevates it from basic to custom millwork appearance.
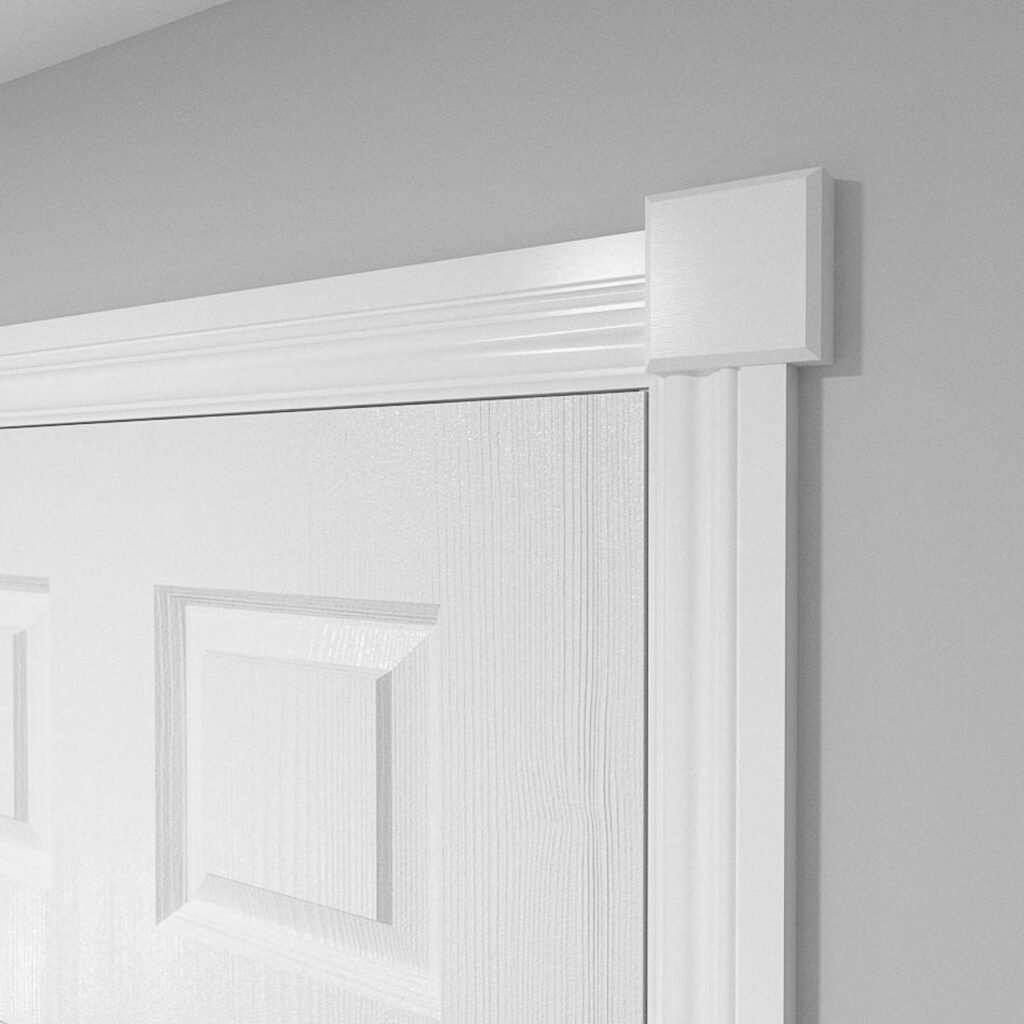
🔹 Rosette and Plinth Block
These are decorative blocks used to terminate casing runs at the corners (rosettes at the top, plinth blocks at the bottom). They add a classical or craftsman touch, while also simplifying installation by eliminating the need for precise angled miter cuts.
💡 Pro Tip: In homes with tall baseboards or ornate millwork, plinth blocks create a visual “pedestal” that anchors the door trim to the floor, while rosettes provide a timeless crown detail at the head.
Popular Door Trim Styles Explained
The style of door trim plays a defining role in how a space feels—refined, rustic, bold, or understated. Below are the most commonly used door trim styles, with details on their defining features, materials, and best-use scenarios.
🔸 Colonial
Colonial trim is one of the most recognizable and time-tested styles. It features symmetrical, gently curved profiles and clean transitions, offering a balanced look that works in nearly any traditional interior.
- Typical Width: 2.25″–3.25″
- Best Material: Painted wood or MDF
- Best Used In: Homes with formal or classic layouts, such as Cape Cod or Georgian styles
- Finish Tip: Often painted in semi-gloss white for contrast against colored walls.

🔸 Craftsman
Craftsman trim emphasizes strong lines and structural simplicity. It typically uses flat-stock boards with square edges and a wider top header (often called a head cap), creating a built-in furniture aesthetic.
- Typical Width: 3.5″ side casings, 4–6″ head casing
- Best Material: Pine or poplar, often painted or stained
- Best Used In: Bungalows, craftsman homes, and transitional interiors
- Installation Tip: Requires precision in aligning head cap over side casings for clean horizontal break.
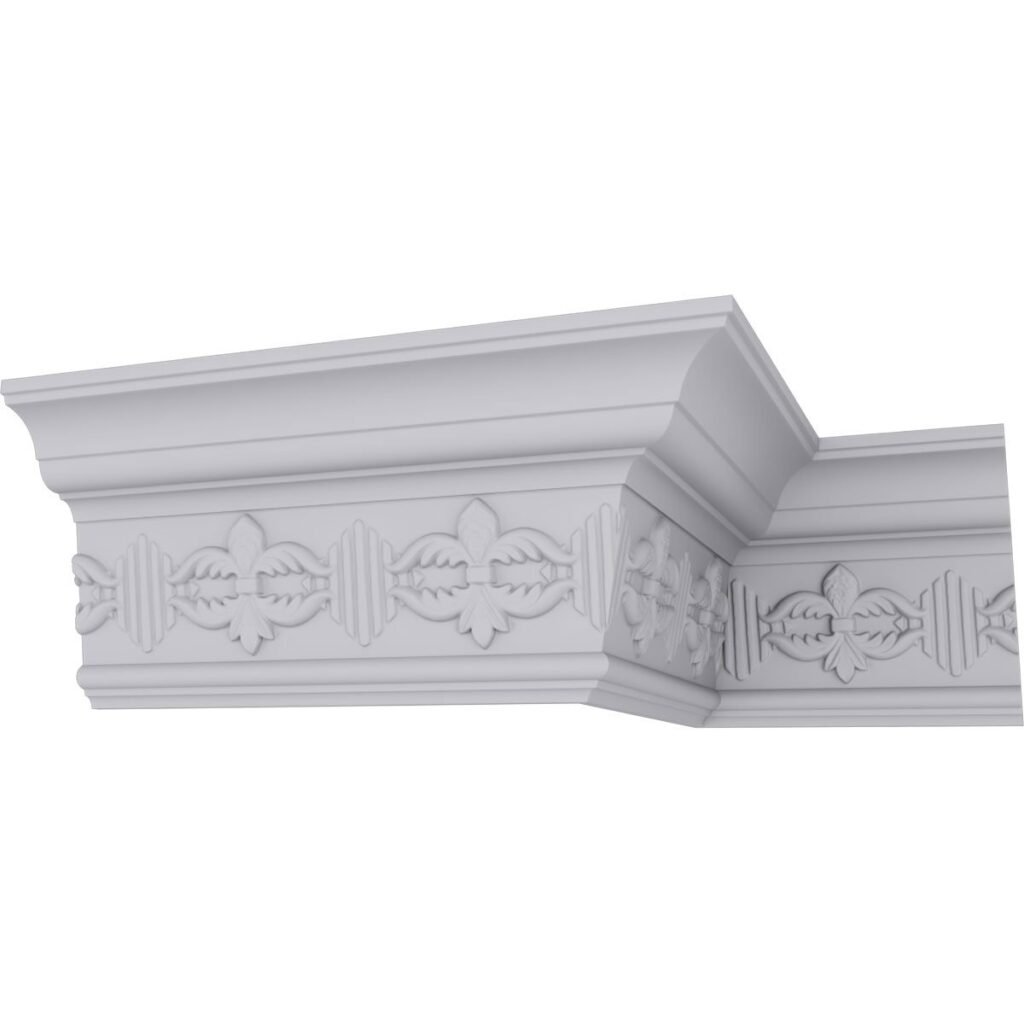
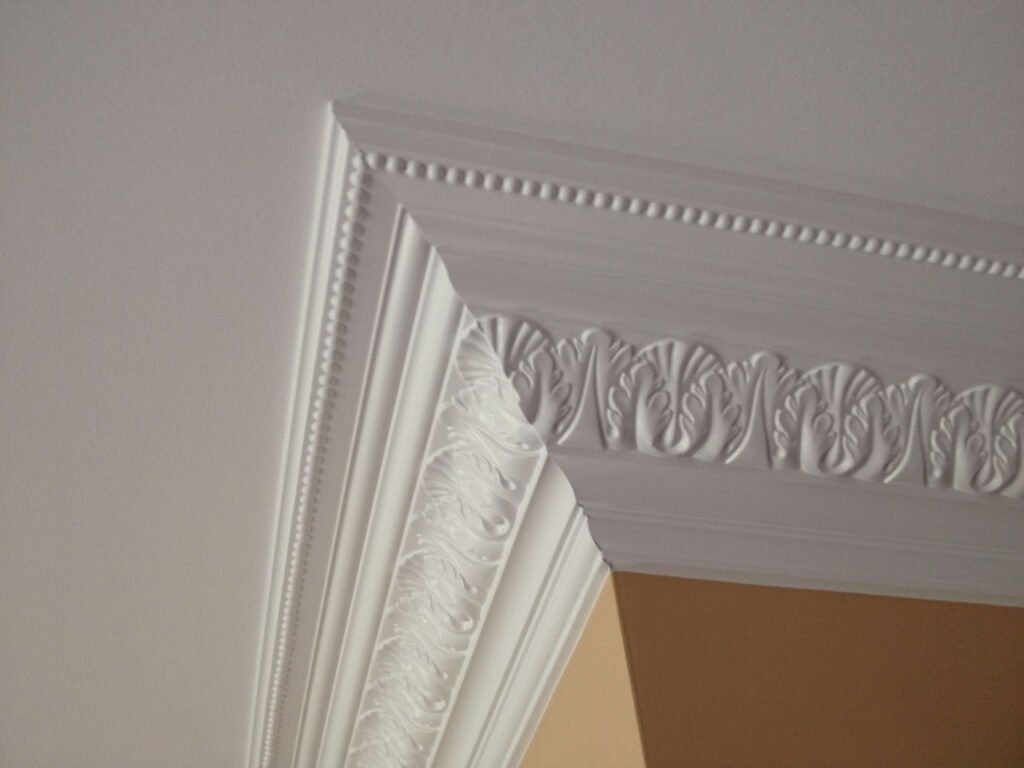
🔸 Victorian / Ornate
Victorian trim is defined by its decorative richness, often using layered moldings, dentil blocks, and intricate carvings. It creates a visually commanding frame that draws attention to the door as an architectural centerpiece.
- Typical Width: 4″–6″ or multi-layered
- Best Material: Hardwood or polyurethane for complex profiles
- Best Used In: Historic homes, luxury remodels, period restorations
- Design Tip: Pairs well with wainscoting, picture rails, and tall baseboards.
Materials Used for Door Trim
The material you choose for door trim dramatically impacts the result—visually, functionally, and financially. Each option comes with trade-offs in durability, paintability, cost, and compatibility with your interior design goals. Here’s a closer look at the most common trim materials and how to choose between them.
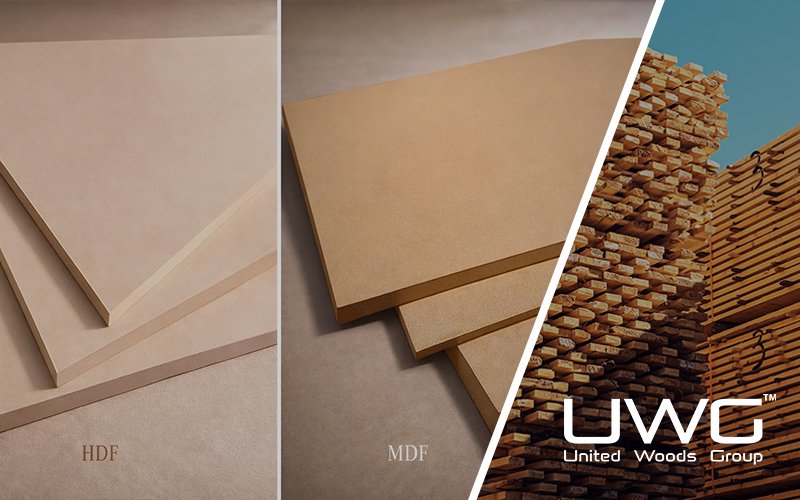
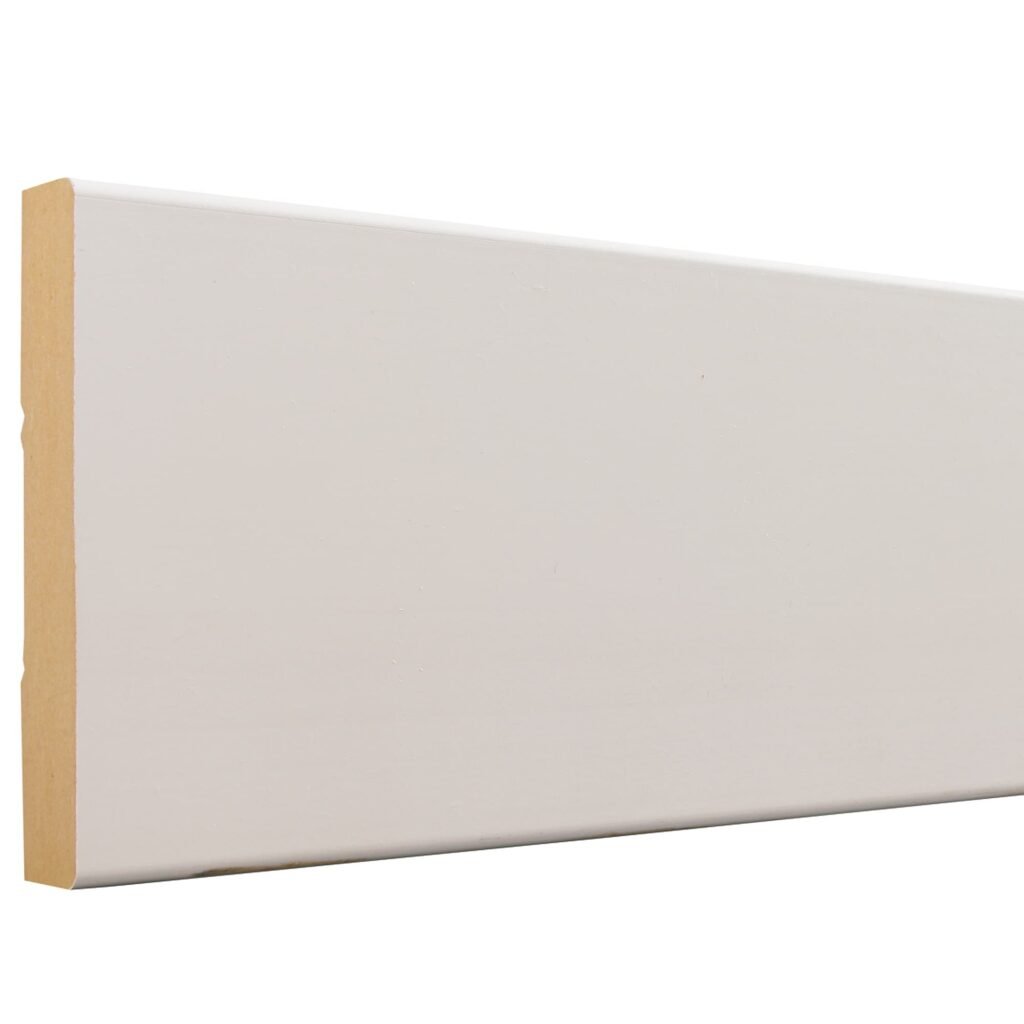
🌲 MDF (Medium-Density Fiberboard)
MDF is a manufactured wood product made from fine wood fibers bonded under heat and pressure. It provides a smooth, flat surface that accepts paint extremely well, making it a favorite for painted interior trim.
- Pros:
- Very affordable
- No grain—ideal for smooth, clean-painted finishes
- Stable—resists warping or cupping
- Cons:
- Not moisture-resistant
- Can swell or crumble if exposed to water
- Not suitable for bathrooms or any exterior-facing doors
Best For: Colonial, Craftsman, or transitional interiors with painted white or neutral trim.
🌲 Finger-Jointed Pine
Finger-jointed pine is made from short wood pieces joined together using interlocking “fingers” and adhesive. It mimics the appearance of solid wood but is more affordable and eco-friendly.
- Pros:
- Budget-friendly alternative to solid wood
- Accepts paint well
- Smooth finish when primed properly
- Cons:
- Visible joints may show through paint over time
- Less durable than solid hardwood
Best For: Painted trim in living rooms, bedrooms, and hallways where cost control is important.
💧 PVC / Vinyl
PVC is a synthetic material commonly used where water exposure is a concern. It’s ideal for bathrooms, laundry rooms, and exterior doors.
- Pros:
- 100% moisture-proof
- Termite- and rot-resistant
- Requires minimal maintenance
- Cons:
- More difficult to paint
- Fewer profile options than wood or MDF
- Can look plasticky if not well finished
Best For: Utility spaces and exterior door trim—especially where exposure to rain or humidity is unavoidable.
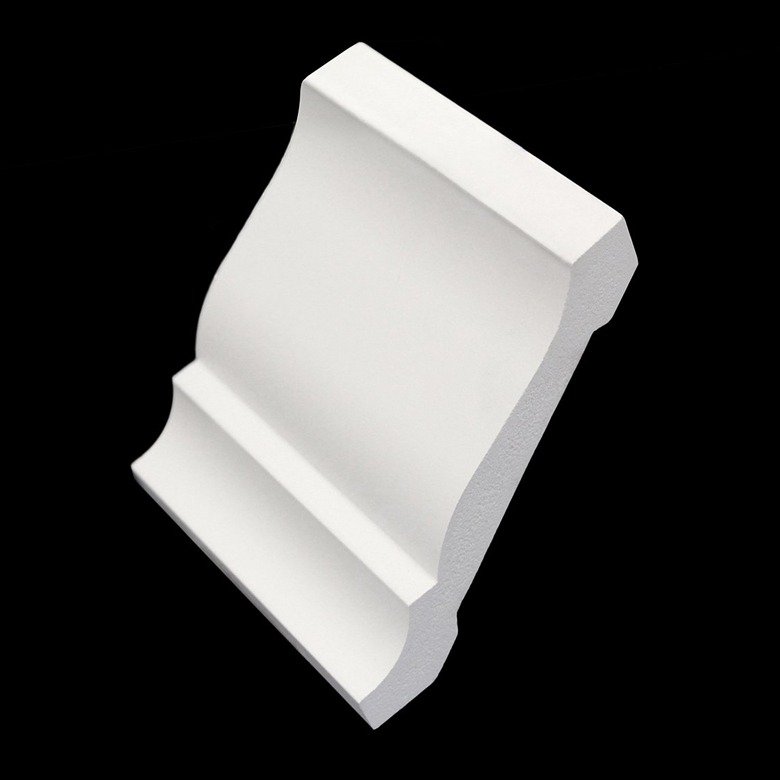
🧱 Polyurethane / Foam Trim
Polyurethane trim is lightweight and easy to work with, especially for decorative applications. It’s often used for crown molding or ornate door surrounds in historic-style homes.
- Pros:
- Lightweight and easy to install
- Great for intricate or decorative molding
- Will not warp or crack
- Cons:
- Brittle—prone to chipping during install
- Limited load-bearing ability
- More expensive than MDF
Best For: Decorative door trim in formal interiors, especially where curved or complex designs are needed.
⚠️ Material Warning: Never use MDF or interior-grade wood for exterior door trim. Outdoor exposure will cause swelling, rot, or warping. Always choose PVC, treated wood, or specially rated exterior trim products.
| Material Type | Cost | Paintability | Moisture Resistance | Durability | Best Use Areas | Aesthetic Style Fit |
|---|---|---|---|---|---|---|
| MDF | 💲 Low | ✅ Excellent | ❌ Poor | ⚠️ Moderate | Interior dry areas | Colonial, Transitional, Painted Trim |
| Finger-Jointed Pine | 💲 Low–Mid | ✅ Good | ❌ Poor | ⚠️ Moderate | Budget-friendly painted interiors | Colonial, Craftsman |
| Solid Hardwood | 💲💲💲 High | ✅ Good / Stainable | ⚠️ Moderate | ✅ High | High-end interiors, stain-grade finish | Craftsman, Traditional, Formal |
| PVC / Vinyl | 💲💲 Moderate | ⚠️ Limited | ✅ Excellent | ✅ High | Bathrooms, laundry, exteriors | Utility, Contemporary, Low-Maintenance |
| Polyurethane / Foam | 💲💲 Moderate | ✅ Excellent | ✅ Good | ❌ Fragile | Decorative trim, ceiling accents | Victorian, Ornate, Decorative |
How to Choose the Right Door Trim
Choosing the right door trim involves more than picking a profile you like—it’s about architectural harmony, scale, proportion, and budget. Here are the key factors to consider:
- 🏛 Home Style: Align your trim with the home’s architectural language. For example, Craftsman casing with a wide head cap complements bungalows and transitional homes, but would feel oversized in a minimalist apartment.
- 📏 Door Thickness & Jamb Depth: Deeper wall assemblies (e.g., 2×6 framing or tiled walls) may require wider casings or extension jambs to create a flush finish with the drywall.
- 🏠 Room Height & Visual Weight: Taller ceilings support more elaborate trim (e.g., 5″ or layered profiles), while 8’ ceilings benefit from slim, proportionally scaled profiles to avoid visual crowding.
- 💰 Budget Considerations: MDF and finger-jointed pine offer excellent value for painted finishes. Solid hardwood adds longevity and stain-grade beauty—but at 2–3× the cost.
- 🪟 Integration with Other Trim Elements: Ensure your door trim complements nearby baseboards, window casings, or crown molding. Mismatched profiles can disrupt visual flow.
💡 Installation Consideration: Complex profiles or wide trims may require precise mitering or cope joints. Always pre-plan your trim layout around corners, outlets, or returns.
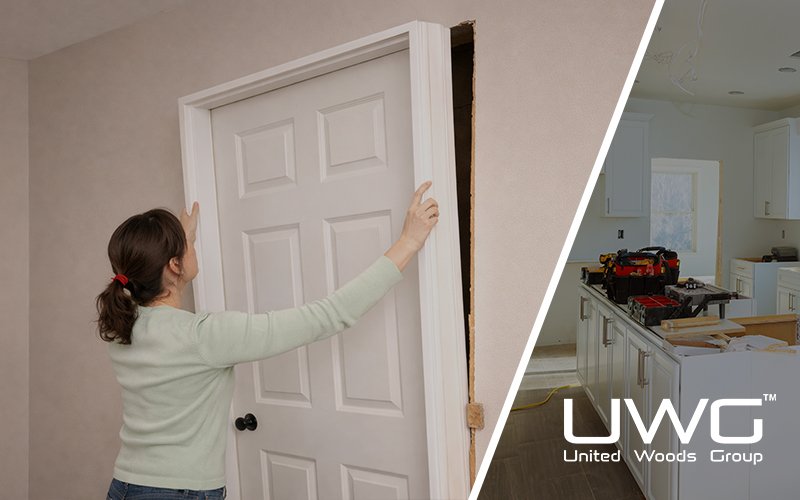
Installation & Finishing Tips
Installing door trim requires a combination of the right tools, precise technique, and finishing know-how. Below is a breakdown of what truly matters:
🧰 Tools You’ll Need (and Why)
- Miter Saw – for clean 45° corner cuts
- Level – to ensure plumb jamb and casing alignment
- Brad Nailer / Finish Nails – for secure, discreet fastening
- Wood Filler – to hide nail holes and minor joint gaps
- Caulk – to seal trim-to-wall seams and prevent cracking
- Paint or Stain – applied after (or before, if preferred) for a refined finish
⚙️ Installation Techniques
- Ensure Jamb Is Plumb: Always check door frame alignment before starting—your trim will follow that line.
- Maintain a Reveal: Use a 3/16″ reveal gauge to keep casing evenly spaced from the door frame. This ensures symmetry and prevents trim from hugging the door too tightly.
- Fasten into Framing: Nail through the casing into studs or secure backing—not just drywall—to prevent shifting over time.
- Use Backband with Intention: Backbands add dimension but require precision. Only use if wall depth and design support it.
🎯 Pro Tip: Pre-paint or stain trim before installation to reduce touch-ups and eliminate stain bleed onto walls.
❌ Common Mistakes to Avoid
| Mistake | Why It Matters | How to Prevent |
|---|---|---|
| 🔻 Mitered Corners Not Aligned | Leaves visible gaps at corners | Use test cuts and clamp before nailing |
| 🔻 Unfilled Gaps Between Wall & Trim | Looks unprofessional and allows air leaks | Apply high-quality caulk and tool it cleanly |
| 🔻 Not Pre-Finishing Trim | Leads to sloppy edges and time-consuming masking | Paint or stain before install when possible |
Conclusion
Door trim does more than fill a gap between wall and frame—it shapes the way your home feels, functions, and flows. From clean-lined Craftsman casings to historically layered profiles in Colonial interiors, the right trim acts as both a visual accent and a structural upgrade.
Whether you’re renovating one room or designing an entire house, understanding trim types, materials, and installation techniques empowers you to make decisions that are both aesthetically sound and built to last. Choosing the right casing isn’t just about looks—it’s about scale, moisture performance, durability, and how your space connects.
Now that you know what each component is called, what materials make sense, and which style fits your home, you’re ready to transform every doorway into a finished architectural detail. Smart trim choices turn raw framing into refined craftsmanship.