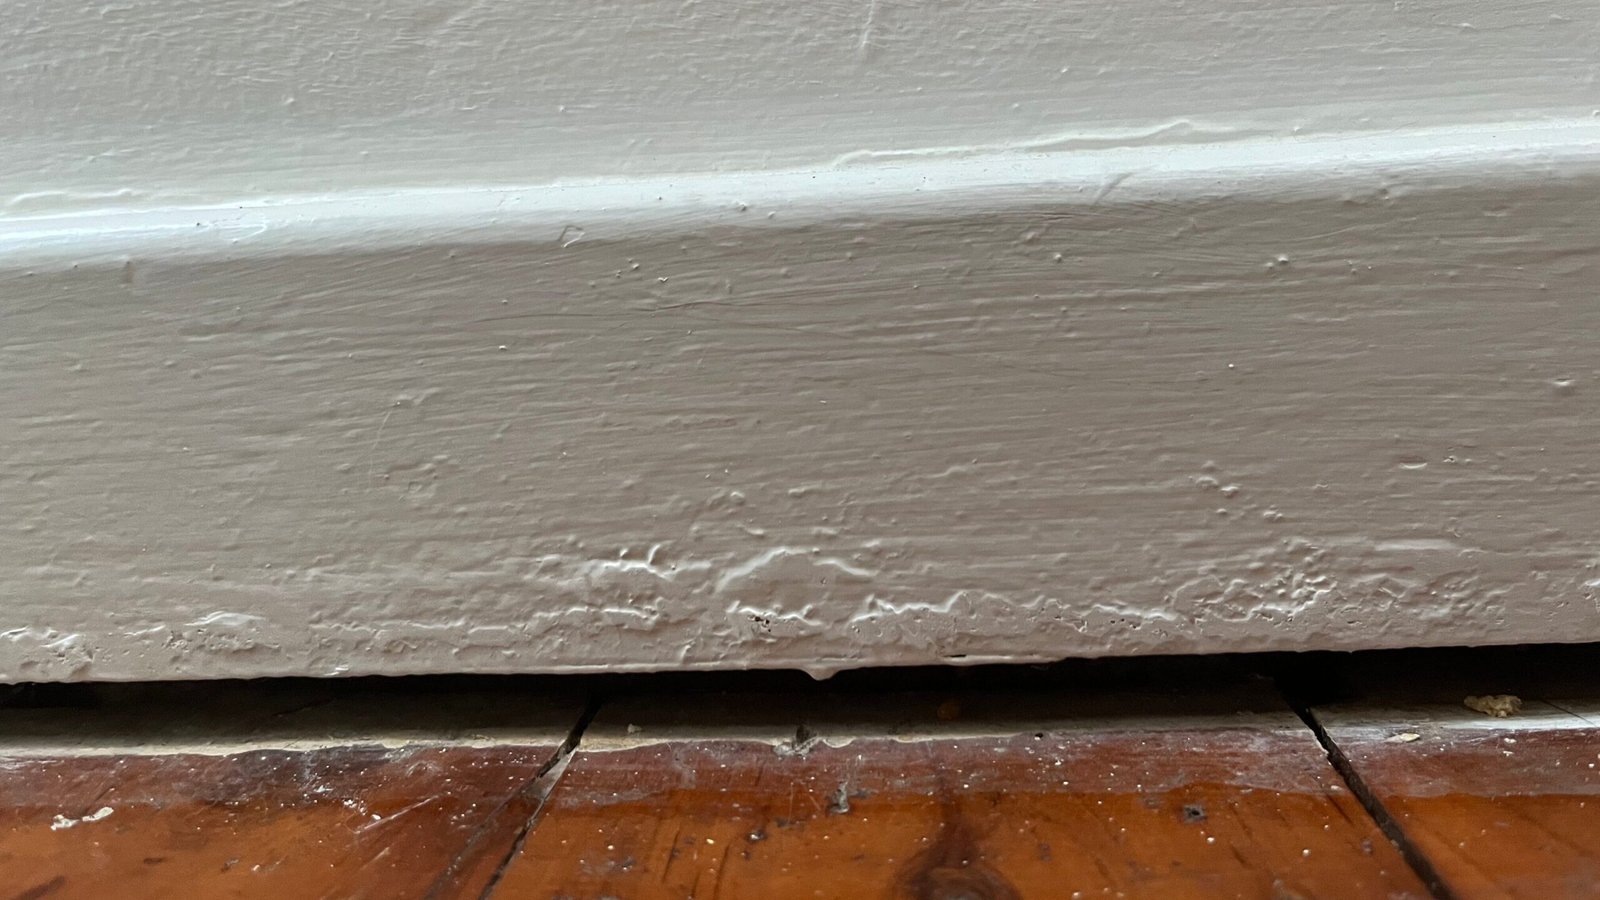
Visible gaps between floors and walls don’t just affect aesthetics—they compromise insulation, air sealing, and long-term durability. Whether caused by seasonal shrinkage, foundation settling, or subfloor movement, these unsealed spaces can allow moisture, pests, and energy loss. What’s the most reliable and professional way to close these gaps for good?
To properly fill gaps between the floor and wall, first identify the gap size. For narrow joints (up to 12 mm), clean the area, insert a backer rod if needed, then apply a flexible, paintable sealant such as acrylic latex for dry spaces or silicone/MS polymer for high-movement or wet zones. For larger gaps, use a multi-layer system: install a larger backer rod, prime porous substrates, apply polyurethane or MS polymer sealant, and finish with baseboard, quarter round, or metal trim for a clean, durable result.
What Causes Gaps Between Floors and Walls?
Gaps at the floor-to-wall junction are a common issue in both residential and commercial buildings. Understanding the root causes is essential for selecting long-lasting solutions. These gaps typically result from one or more of the following mechanisms:
- Dimensional Shrinkage Wood and other organic flooring materials expand and contract with humidity and temperature fluctuations. Seasonal shrinkage can create visible perimeter gaps if insufficient expansion allowance was provided during installation.
- Structural Deflection or Movement In suspended floor systems, joist sagging or substrate deflection over time can pull flooring away from wall interfaces. In concrete slabs, curling or settlement may create vertical or lateral movement.
- Foundation Settlement Especially in older buildings, differential settlement can cause floors to sink or shift, producing uneven edge spacing. Renovations that involve subfloor adjustment often leave legacy gaps near wall lines.
- Improper Installation Inadequate expansion gaps, poor subfloor preparation, or failure to use spacers during floating floor installs can result in materials drifting or pulling away from the wall interface over time.

How to Fill Gaps Between Floor and Wall Trim
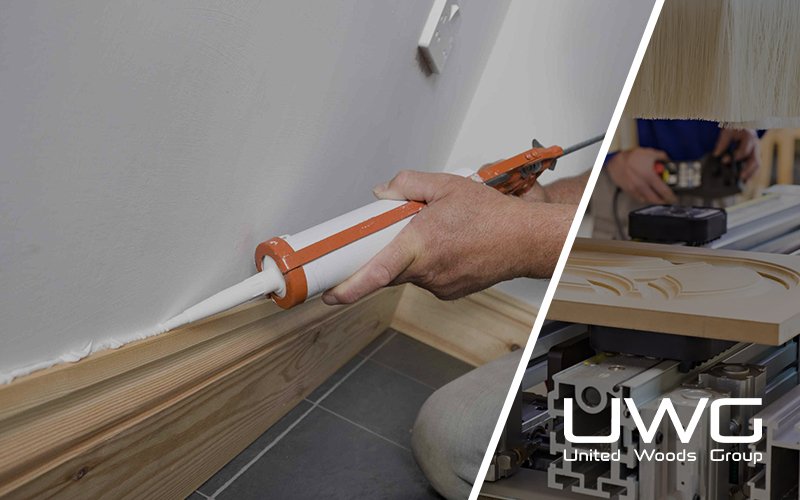
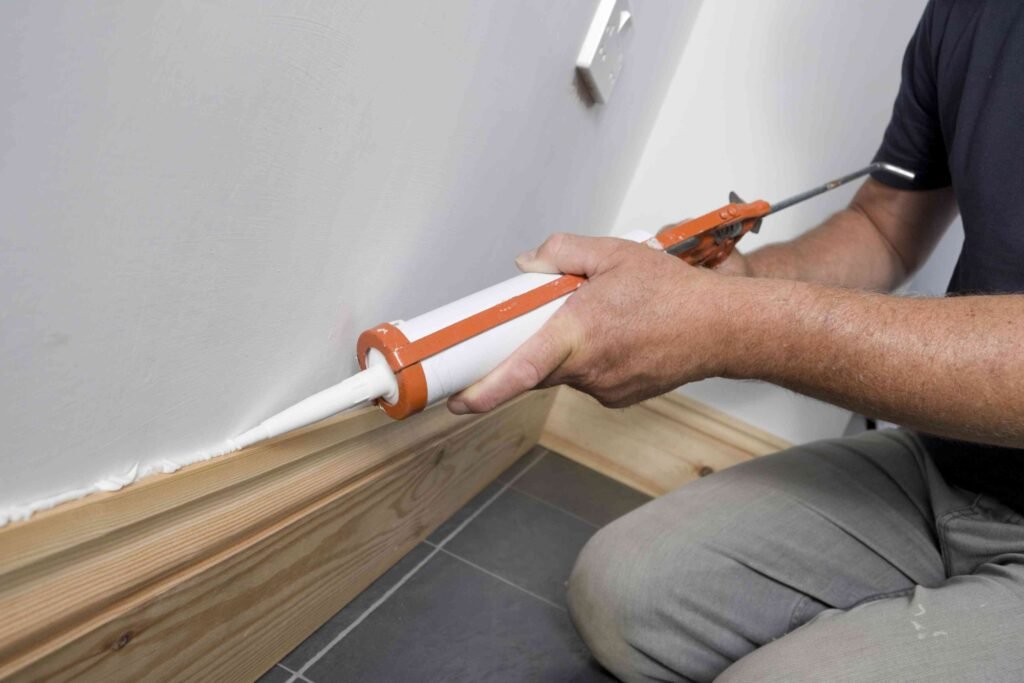
For narrow to moderate joints (typically ≤ 12 mm), sealant-based solutions offer flexibility, clean finish, and air-tight protection. The most reliable method involves elastomeric caulking with proper joint preparation.
Step-by-Step Method (ASTM C1193-aligned)
- Surface Preparation
- Remove dust, oils, and loose particles from joint edges.
- Use a vacuum and alcohol-based cleaner for porous substrates.
- Joint depth should allow for flexible sealant movement (see below).
- Masking the Area Apply low-adhesion masking tape parallel to the joint edge to ensure clean lines and avoid overflow.
- Backer Material (Optional) If joint depth exceeds 1/4″, insert a round foam backer rod to create a defined bond line and control sealant thickness.
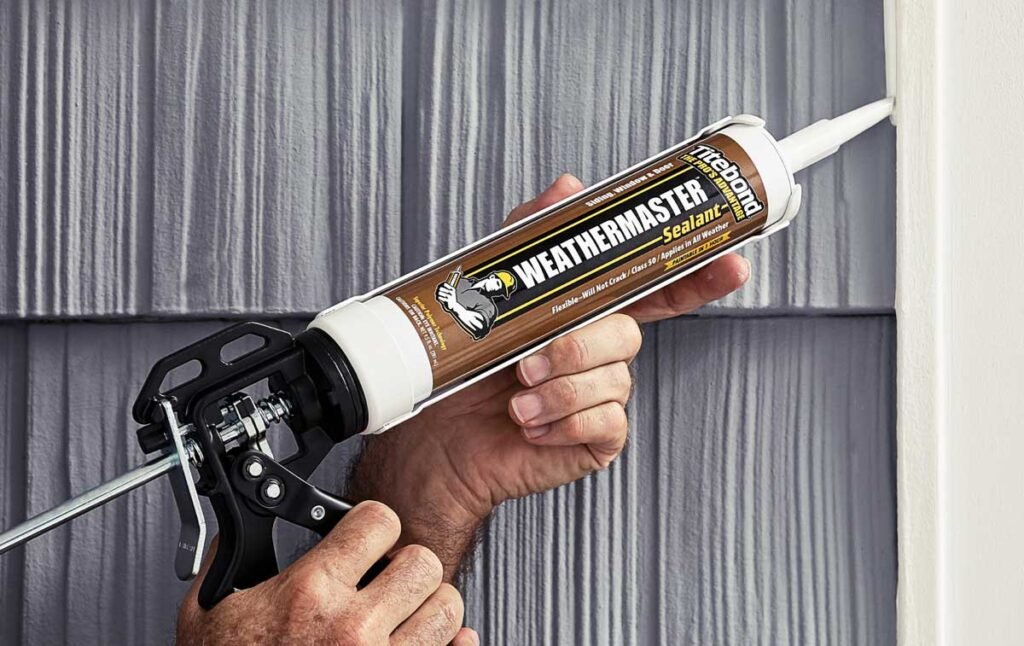
- Sealant Selection
- Use paintable acrylic latex for interior dry areas.
- Use silicone or hybrid MS polymers for wet or high-movement zones.
- Verify compatibility with flooring substrate and wall surface (e.g., vinyl, tile, MDF).
- Application Use a professional-grade caulking gun to apply a consistent bead. Maintain steady pressure and avoid overfilling.
- Tooling and Finishing Use a jointing tool or gloved finger (dipped in isopropyl solution) to shape the bead to a concave profile. Remove tape immediately after tooling.
- Curing Respect manufacturer-specific cure times (typically 12–48 hours). Avoid painting or cleaning the joint prematurely.
What Can You Use to Fill Large Gaps Between Wall and Floor?
For voids exceeding 12 mm (1/2 inch), a multi-component joint system is required. These gaps must accommodate greater movement, prevent debris ingress, and offer long-term durability.
Step-by-Step Approach
- Backer Rod Installation Use closed-cell polyethylene foam rods sized 25% larger than the joint width. Insert to a depth that allows a 2:1 width-to-depth ratio for sealant.
- Joint Priming (if required) Porous substrates like concrete or gypsum board may require a primer to improve adhesion of polyurethane or hybrid sealants.
- Sealant Type Selection
- Polyurethane sealant for high-flex, load-bearing areas (e.g., commercial floors).
- Modified silane (MS) polymer sealants for better UV stability and substrate compatibility.
- Avoid low-cost silicone in high-movement commercial environments.
- Finishing with Concealment If the joint is in a visible area, cover with quarter round, metal trim, or custom wood filler depending on design requirements.
- Alternative Filler Systems
- Two-part epoxy mortar or urethane foam for structural voids in concrete.
- Cementitious base fill + flexible sealant cap in retrofit slab edge joints.
Should You Use Trim or Sealant? Understanding Functional and Aesthetic Roles
Trim and sealant each serve distinct structural and finish purposes when addressing floor-to-wall gaps. Selecting between them—or combining both—depends on gap size, substrate condition, aesthetic requirements, and anticipated movement.
Sealant-Based Approaches (Functional Joints)
Sealants are best suited for flexible joints where minor structural movement, air sealing, or moisture resistance is required.
- Material behavior: Flexible sealants accommodate joint expansion/contraction due to thermal or structural movement.
- Best for: Concrete-to-drywall transitions, tile installations, utility rooms, and areas prone to moisture or vibration.
- Sealant types:
- Silicone: High elasticity, mildew-resistant, non-paintable
- Acrylic latex: Paintable, ideal for dry interiors
- Polyurethane/MS polymers: Durable, multi-substrate compatible, high movement class (±25–50%)
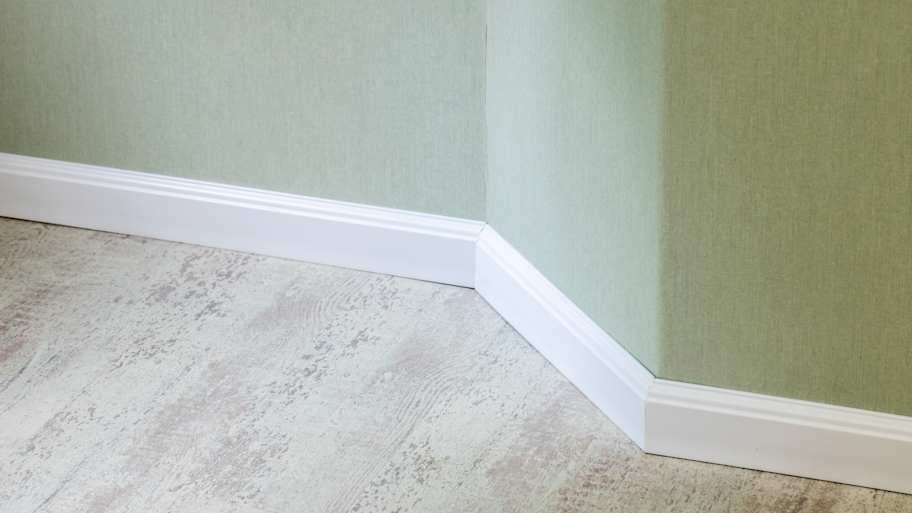
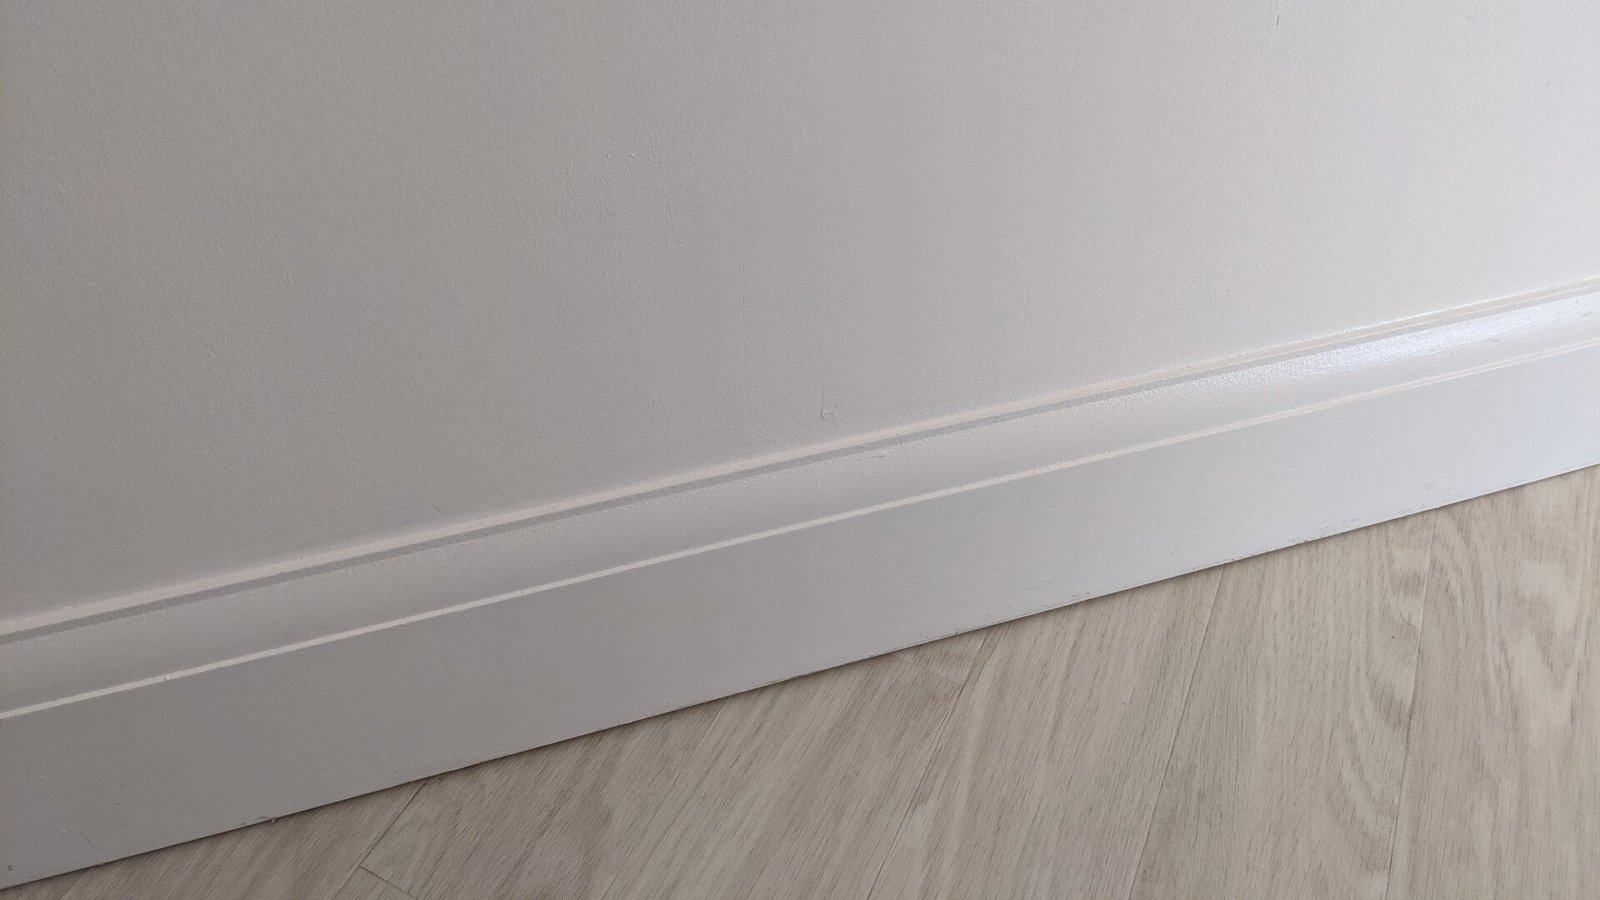
Trim-Based Approaches (Visual Termination and Coverage)
Trim elements provide rigid coverage and a visual boundary. While they do not seal against air or moisture, they offer clean finish lines and conceal expansion gaps effectively.
- Types:
- Quarter round and shoe molding: Installed over existing baseboards
- Baseboard only: Used when expansion gap is under 12 mm
- Attachment methods: Finishing nails, construction adhesive, or pre-fitted tracks
- Surface prep: Walls must be plumb; flooring edge should be stable and clean
Hybrid Method: Trim + Sealant
In high-specification settings (e.g. healthcare, clean rooms, damp environments), use both:
- Apply backer rod and flexible sealant in the joint to ensure airtightness
- Install trim or cove base over the joint for a durable, aesthetic finish
- This approach provides redundancy, especially in perimeter joints over resilient flooring
Summary
Addressing floor-to-wall gaps is more than a cosmetic fix—it’s a building science task involving moisture control, air sealing, and movement accommodation. The correct pairing of sealants, fillers, and trim ensures not just a clean finish but long-term performance.
Whether you’re sealing joints in a newly built space or retrofitting gaps in an older structure, applying the right tools and techniques can prevent costly callbacks, maintain indoor comfort, and protect finishes. For contractors, designers, and retailers, product selection and proper detailing elevate every installation from good to professional-grade.