Removing wood trim from the middle of the wall can be a daunting task for homeowners looking to renovate. Understanding the proper tools and steps involved is crucial to avoid damaging your walls and ensuring a smooth process.
To remove wood trim from the middle of the wall, follow these steps: gather the necessary tools, prepare the area, carefully remove the trim, and handle the aftermath.
When it comes to home renovation, every detail counts. Removing wood trim might seem straightforward, but doing it correctly can make a significant difference in the final look of your space. Let’s dive into the reasons why you might want to remove wood trim and the best practices for doing so.
Why Remove Wood Trim?
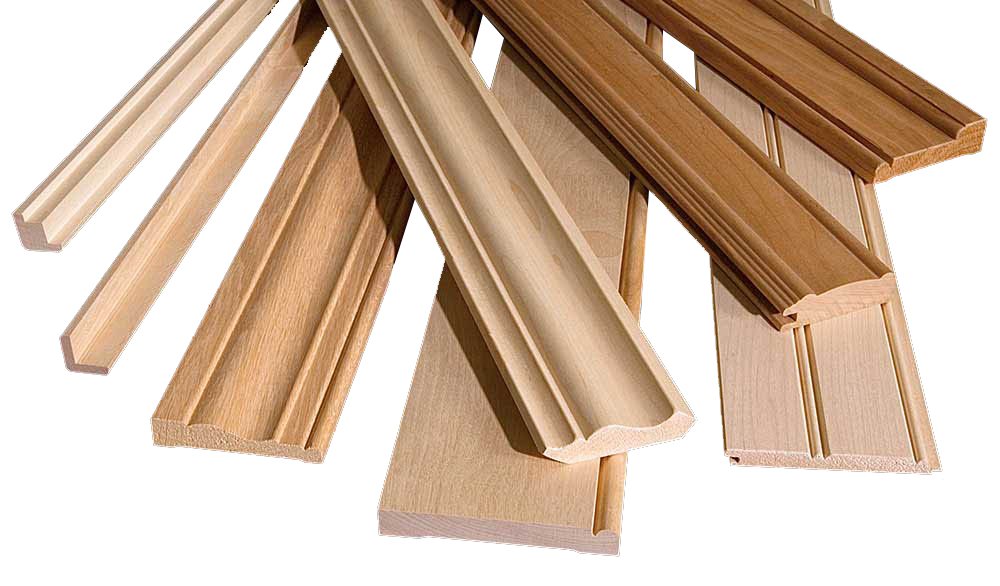
Wood trim can be decorative but also outdated. Removing it can modernize your space or prepare it for new decor. It’s a common task in renovations aiming to refresh the look of a room. Sometimes, homeowners remove trim to replace it with a different style or material that better suits their new design vision.
Tools Needed for Removing Wood Trim
Before you start, gather the following tools:
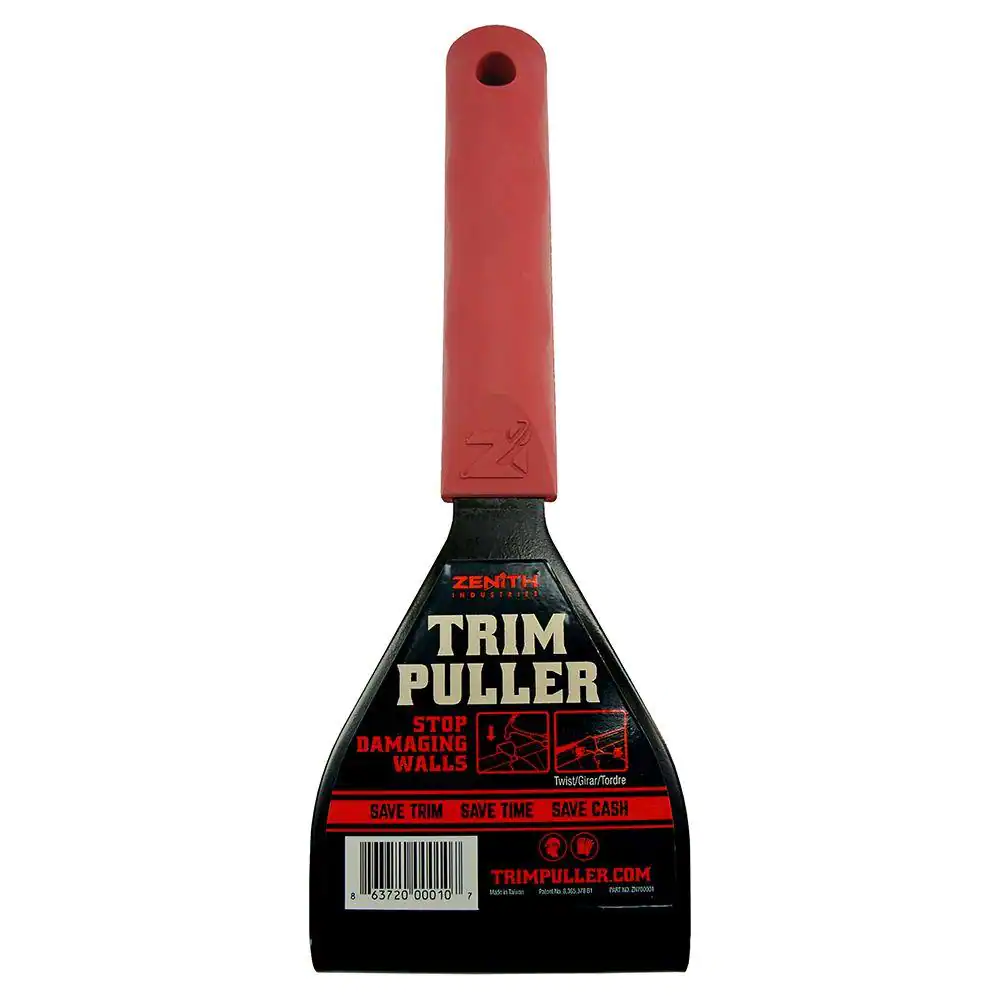
- Pry bar
- Utility knife
- Hammer
- Putty knife
- Safety goggles
- Gloves
- Drop cloth
- Pliers
- Spackle
- Sandpaper
Having the right tools on hand will make the process smoother and prevent unnecessary damage to your walls. It’s important to ensure all tools are in good condition to avoid any interruptions during the process.
Steps to Safely Remove Wood Trim
1. Prepare the Area
Lay down a drop cloth to catch debris and protect your floors. Move any furniture away from the wall to provide ample workspace. Put on safety goggles and gloves to protect yourself from splinters and dust.

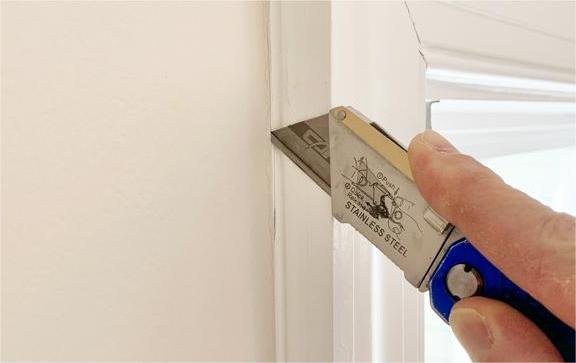
2.Cut Along the Trim
Use a utility knife to cut along the edges of the trim. This helps break the paint seal and reduces the risk of tearing the drywall paper. Make sure to score deeply enough to cut through any caulking or paint that might be holding the trim in place.
3.Loosen the Trim
Insert a putty knife behind the trim to start loosening it. This step helps create space for the pry bar. Gently wiggle the putty knife along the length of the trim to ensure it’s loosened evenly.

4.Pry the Trim Off
Gently use the pry bar to lift the trim away from the wall. Start at one end and work your way to the other, applying steady pressure to avoid cracking the trim or damaging the wall. If the trim is particularly stubborn, you might need to use the hammer to gently tap the pry bar further behind the trim.

5.Remove Nails and Adhesive
Once the trim is off, remove any nails left in the wall with pliers. Scrape off any adhesive residue with a putty knife. If there are any large chunks of adhesive, be careful not to gouge the wall.

Precautions to Take
Work Slowly Rushing can lead to mistakes and damage. Take your time to ensure each step is done correctly.
Use Proper Safety Gear Always wear gloves and safety goggles. This protects you from splinters, nails, and dust that can harm your eyes and hands.
Check for Wires and Pipes Be cautious of any electrical wiring or plumbing behind the wall. Use a stud finder to locate any potential hazards before prying off the trim.

What to Do After Removing the Trim
Inspect the Wall After removing the trim, inspect the wall for any damage. Look for any gouges, holes, or uneven surfaces that need attention.
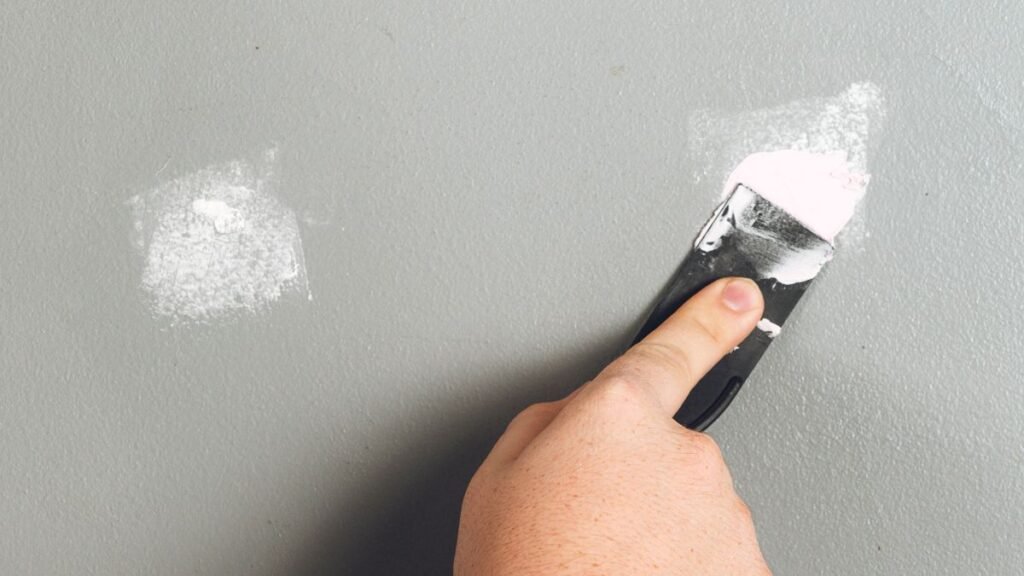
Patch and Repair Patch up any holes or scratches with spackle and sand it down once it’s dry. If there are larger areas of damage, you might need to use a more substantial wall repair compound. Apply the spackle in thin layers, allowing each layer to dry before adding more.
Repaint the Area You might want to repaint the area to match the rest of the wall. This can involve either touching up the paint or repainting the entire wall for a uniform look. Be sure to prime any areas where you’ve applied spackle before painting.
Clean Up Clean up any debris and dispose of it properly. Vacuum the area to remove any dust and ensure your space is ready for the next step in your renovation.
Additional Tips for Removing Wood Trim
- Use the Right Tools: Using the correct tools for each step will make the process easier and prevent damage.
- Ask for Help: If the trim is long or particularly stubborn, having an extra pair of hands can be helpful.
- Protect Your Floors: Use drop cloths or cardboard to protect your floors from falling debris and tools.
Summary
Removing wood trim from the middle of the wall is a manageable task with the right tools and precautions. By following these steps, you can update your space efficiently and safely. Remember to work slowly, use proper safety gear, and be mindful of any hidden hazards behind the trim. If you have any questions or tips to share from your experience, feel free to leave a comment below!