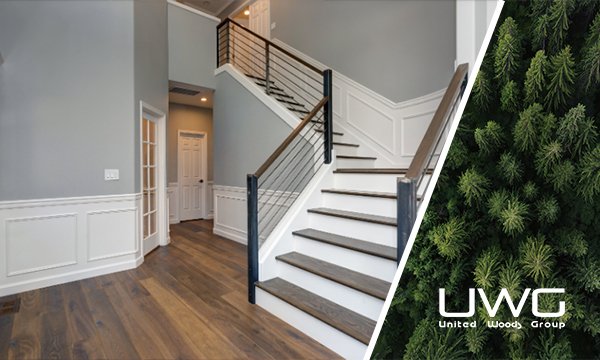
Installing crown molding can transform a room, adding elegance and value to your home. However, the process can seem daunting for beginners. The key is to understand the methods and precautions involved, ensuring a smooth and successful installation.
Crown molding is not extremely difficult to install but requires precision and the right tools. The complexity arises from the need for accurate measurements and cuts, especially at corners. With proper preparation and guidance, even a novice can achieve professional-looking results.
Now, let’s delve into the specifics of installing crown molding, addressing common questions and providing detailed instructions.
Can you hang crown molding by yourself?
Yes, you can hang crown molding by yourself. Using clamps can make the process easier, especially for projects like mantels and cabinet tops that don’t reach the ceiling. For ceiling installations, it’s helpful to have a second pair of hands, but it’s not impossible to do it solo.

Is crown molding expensive to install
The cost of installing crown molding varies. DIY projects are cheaper, with materials costing between $1 to $5 per foot. Professionally installed crown molding can range from $200 to $600 per room, with whole-house installations reaching up to $4,000.

How to install crown molding
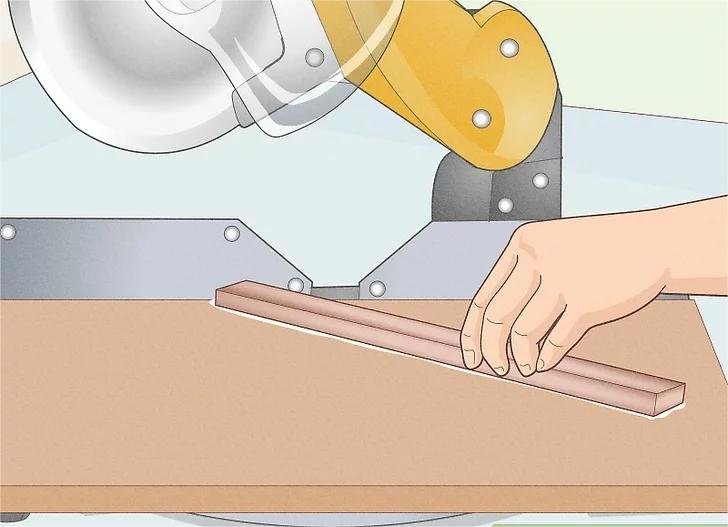
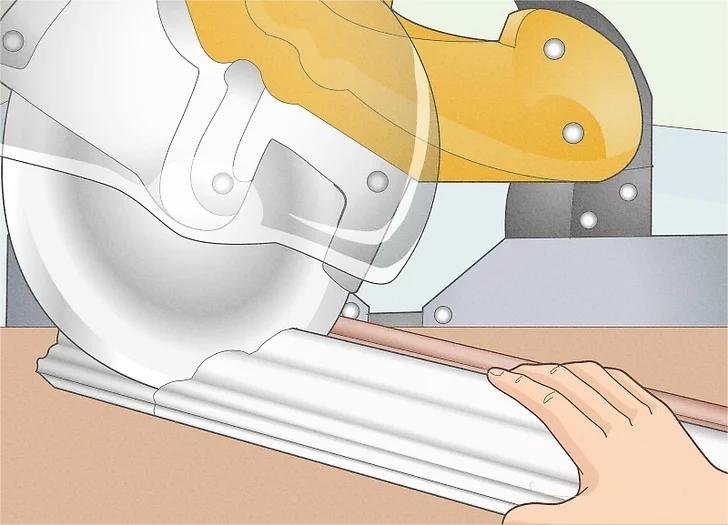
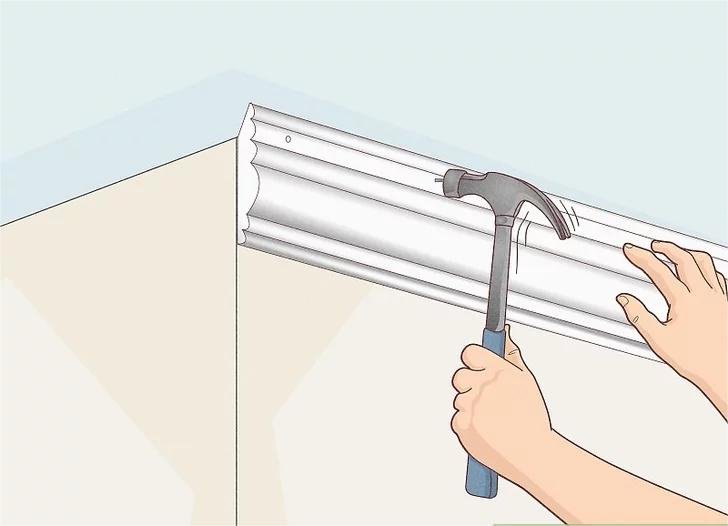
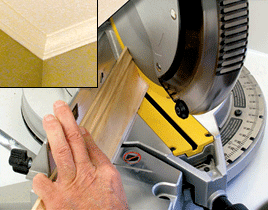
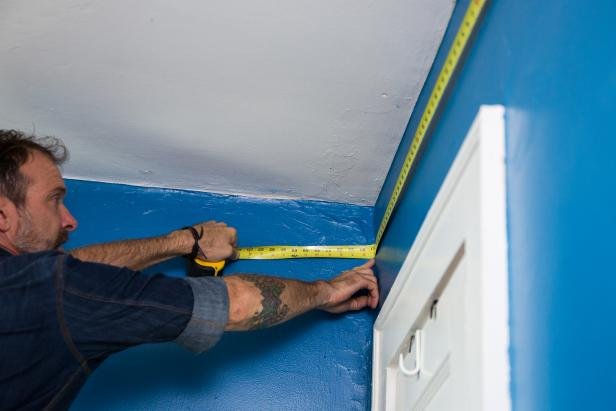
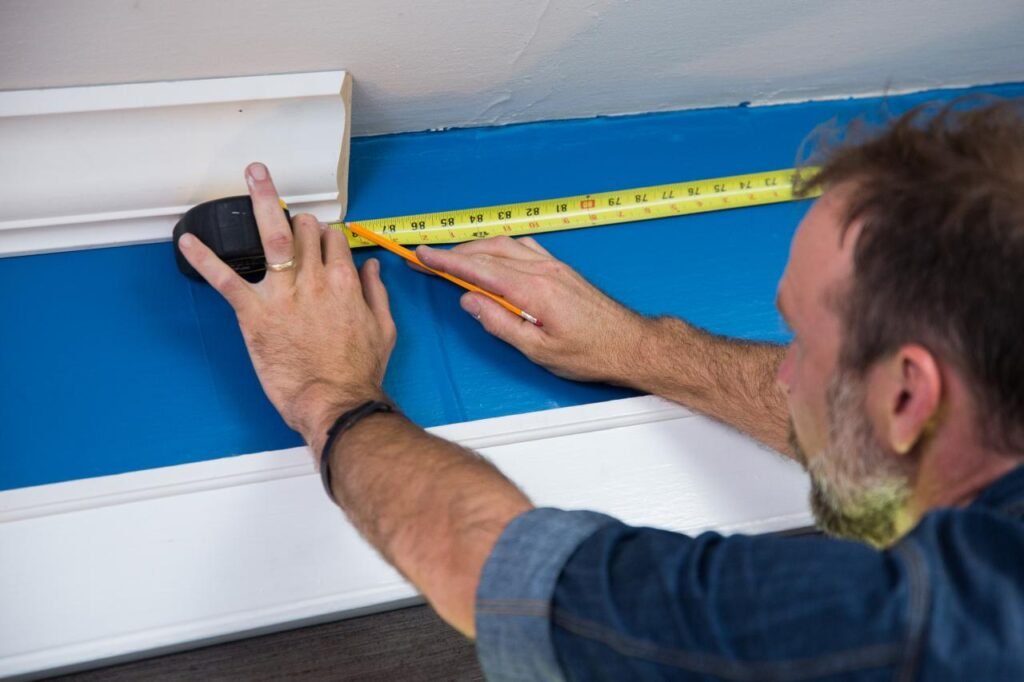
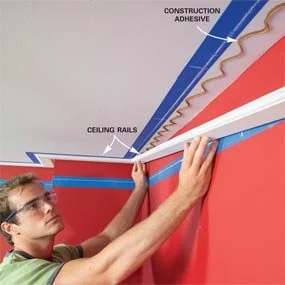
- Measure and cut your molding pieces accurately.
- Use a miter saw for precise cuts, especially for corners.
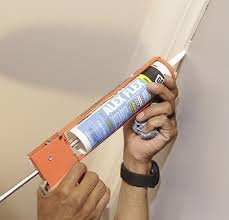
- Apply adhesive to the back of the molding.
- Position the molding against the wall and ceiling.
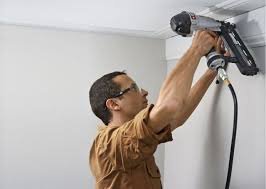
- Nail the molding in place, ensuring it’s secure.
- Fill any gaps with caulk and paint as needed.
Installing crown molding for dummies
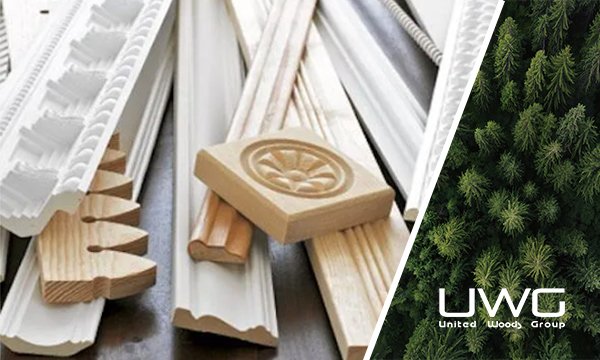
- Choose the right type of molding for your room.
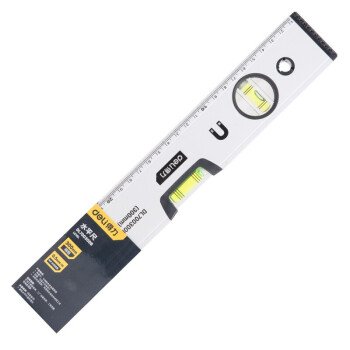
- Gather essential tools: miter saw, nail gun, level, adhesive, and caulk.
- Practice making cuts on scrap pieces to get comfortable.
- Follow detailed guides and tutorials for step-by-step instructions.
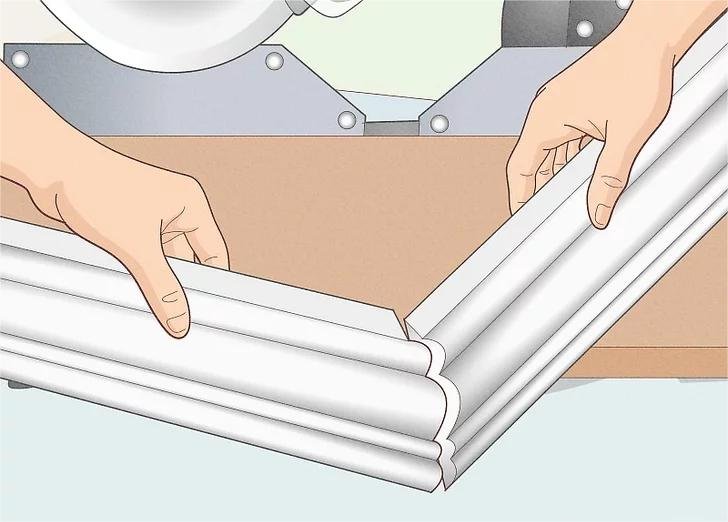
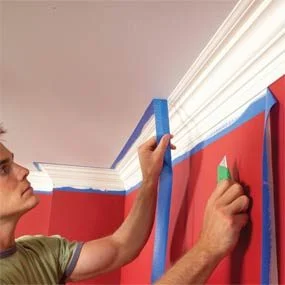
How to install crown molding corners
- Measure the angle of the corner using an angle finder.
- Cut the molding pieces at half the angle (e.g., 45 degrees for a 90-degree corner).
- Test fit the pieces before securing them in place.
- Use wood glue and finish nails to join the corners.

How to install crown molding by yourself
- Pre-cut all your pieces and label them.
- Use temporary supports or clamps to hold the molding in place.
- Work methodically, securing one piece before moving to the next.
- Check for level and alignment regularly.
Crown molding tips and tricks
- Pre-paint or stain the molding before installation.
- Use painter’s tape to protect the wall and ceiling from adhesive.
- Fill gaps with paintable caulk for a seamless finish.
- Invest in a good miter saw for accurate cuts.
Summary
Installing crown molding can seem challenging, but with the right tools and techniques, it’s achievable even for beginners. By following the steps and tips outlined, you can enhance your home’s beauty and value. Don’t hesitate to seek additional resources or professional advice if needed. Happy molding!