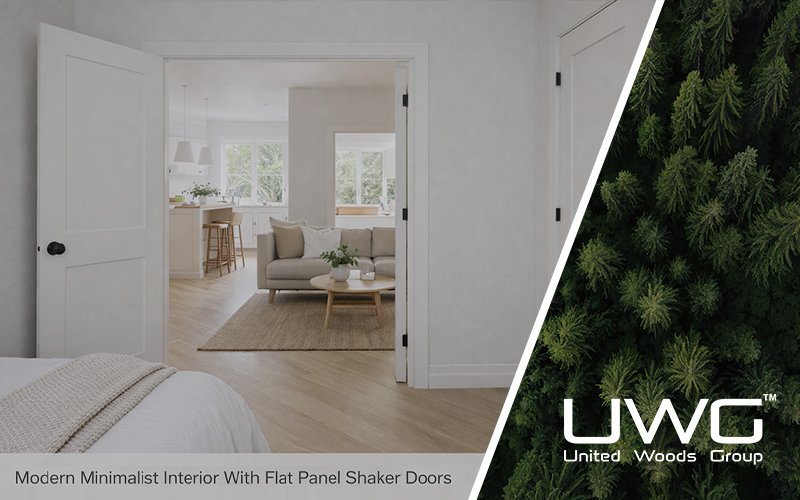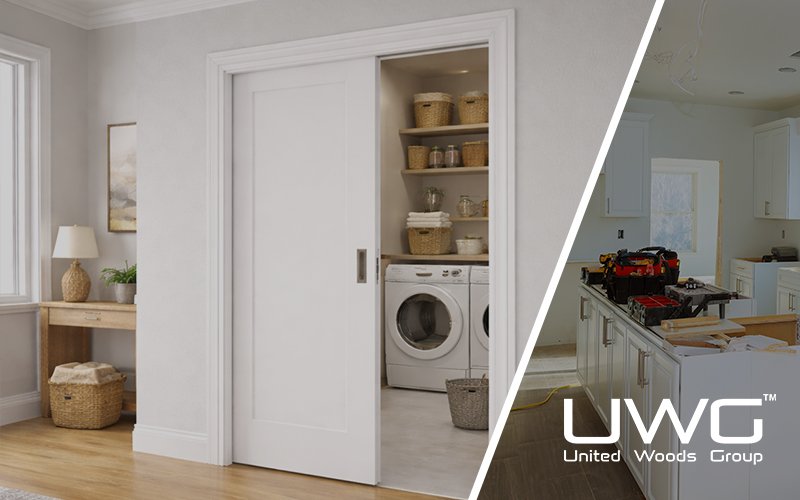
Pocket doors are space-saving, sleek, and ideal for modern construction. But installing them wrong can mean noise, jamming, or costly repairs. Let me walk you through a step-by-step process that gets it right the first time — fast, clean, and code-compliant.
To install pocket doors: First, measure the opening and check your wall type. Remove the existing door and drywall, cut the studs, and install a new header. Fit the pocket door frame or kit, attach the track, then hang and align the door. Finally, reinstall drywall and finish with trim.
Let’s break down each step, including expert tips and what to avoid during installation.
What Tools and Materials Do You Need to Install a Pocket Door?
Before you begin, prepare these essentials:
- Pocket door kit (View example)
- Measuring tape
- Level
- Stud finder
- Circular saw
- Screw gun/drill
- Framing square
- Utility knife
- Drywall saw
- Header beam (for structural support)
- Trim, screws, and finishing materials
Most kits include rollers, frame brackets, and instructions — be sure to review your pocket door installation instructions PDF or download one online for your specific kit.

Step 1: How Do You Measure and Prep the Space?
Start by checking the rough opening width — it needs to be twice the door width plus an inch for clearance.
Use a stud finder to check wall construction. If plumbing or electrical is inside, consider rerouting or choosing another wall. Mark your layout lines clearly — this will guide the wall cut and pocket frame alignment.
Step 2: How to Remove the Old Door and Drywall Safely
- Remove any trim and casing with a pry bar.
- Unhinge and remove the existing swing door.
- Use a utility knife to score drywall edges.
- Carefully remove drywall where the new pocket frame will sit.
For remodels, search “how to install pocket door in existing wall” or follow instructions from a step-by-step PDF.

Step 3: How to Cut Studs and Add a New Header Properly
If your wall is non-load-bearing, you can cut out the studs where the pocket frame will go. If load-bearing, install a temporary support and replace the top section with a reinforced header beam.
The header must span the full width of the rough opening. Use structural screws or framing nails to secure.
Step 4: How to Install the Pocket Door Kit and Frame
- Assemble the pocket door frame per manufacturer instructions.
- Attach vertical studs and metal guides.
- Mount the top header and secure the pocket frame to floor and ceiling.
If you’re tight on space or budget, you might wonder: Can you install a pocket door without removing drywall? Yes — but it’s far easier with drywall removed. Use a recessed pocket door kit for retrofits.

Step 5: How to Mount the Door on the Track and Test It
- Screw the top track into the header bracket.
- Attach the roller hangers to the top of the door.
- Hang the door on the track and adjust for smooth rolling.
- Check vertical alignment and gap at floor/wall.
Use a level throughout to ensure square installation.
Step 6: How to Finish Drywall and Add Trim Cleanly
- Reinstall drywall over the pocket frame area.
- Use corner bead and joint compound to finish edges.
- Reinstall casing or trim around the opening.
- Paint and clean.
For visual support, you can search “how to install pocket doors step by step instructions YouTube” or use our guide video (link placeholder).

What Are the Common Problems With Pocket Doors?
Knowing what can go wrong helps you prevent issues:
- Track out of square: Causes doors to drift or jam.
- Dirty rollers/tracks: Leads to friction or grinding.
- Improper guide channel: Results in door sway.
- Thin walls or misaligned frames: Hard to hide completely.
- Noise: Caused by loose hardware or cheap kits.
Use a quality pocket door kit and double-check squareness at every step.
How Difficult Is It to Install a Pocket Door?
For builders and tradespeople, pocket door installation is intermediate level — expect a 6–10 hour project depending on wall type and whether electrical rerouting is required.
For load-bearing walls, bring in a structural expert. DIY homeowners should seek help unless they’re confident with framing.
Do Pocket Doors Require a Bottom Track or Header?
Modern pocket doors do not require a bottom track. They operate with a top-hung sliding mechanism, keeping floors smooth and trip-free.
You do need a header. Especially if cutting into a structural wall, a properly-sized header redistributes weight above the opening.
Frequently Asked Questions about Pocket Door Installation
Q: Can I install a pocket door in a load-bearing wall?
A: Yes, but it requires more work. You cannot simply remove the studs. You must install a proper structural header (lintel) to carry the roof or floor load above the opening before framing the pocket. Consult a structural engineer if you are unsure.
Q: How do I prevent the “flimsy wall” feel typical of pocket doors?
A: Standard pocket door kits use thin split studs that can feel flexible. To create a sturdier wall, consider using a heavy-duty steel frame kit or, if space allows, build a 2×6 wall instead of a 2×4 wall. This allows for standard studs and greater rigidity.
Q: Can I mount towel bars or shelves on the pocket door wall?
A: Not with standard installation. Because the door slides inside the wall, screws will penetrate the door slab. If you need to mount hardware, you must install plywood blocking or shallow wall anchors specifically designed for pocket doors before the drywall goes up.
Q: What happens if the door falls off the track later?
A: To avoid tearing out drywall for repairs, never glue your head jamb (top trim). Always use screws to attach the top stop molding. This allows you to remove the trim and access the rollers/track for adjustment or replacement in the future.
Summary
Installing pocket doors takes planning, precision, and the right tools. With this guide, you’ll get smoother operation, a cleaner finish, and fewer callbacks. Bookmark or save this for your next build.
Articles that you may be interested in:
Sliding vs. Pocket vs. Barn vs. Bifold Doors: What’s the Difference and Where to Use Them?
Pocket Doors Explained: What Is a Pocket Door?
How Can Builders Boost Door Installation Speed by 50% in Multi-Family Projects?