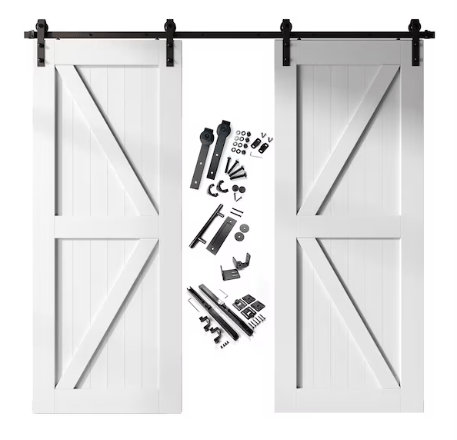
Many homeowners and builders love the look of barn doors—but a single mistake during installation can ruin the entire project. From sliding issues to wall damage, poor setup leads to costly fixes. Thankfully, there’s one simple shift that can save your time, tools, and the door itself.
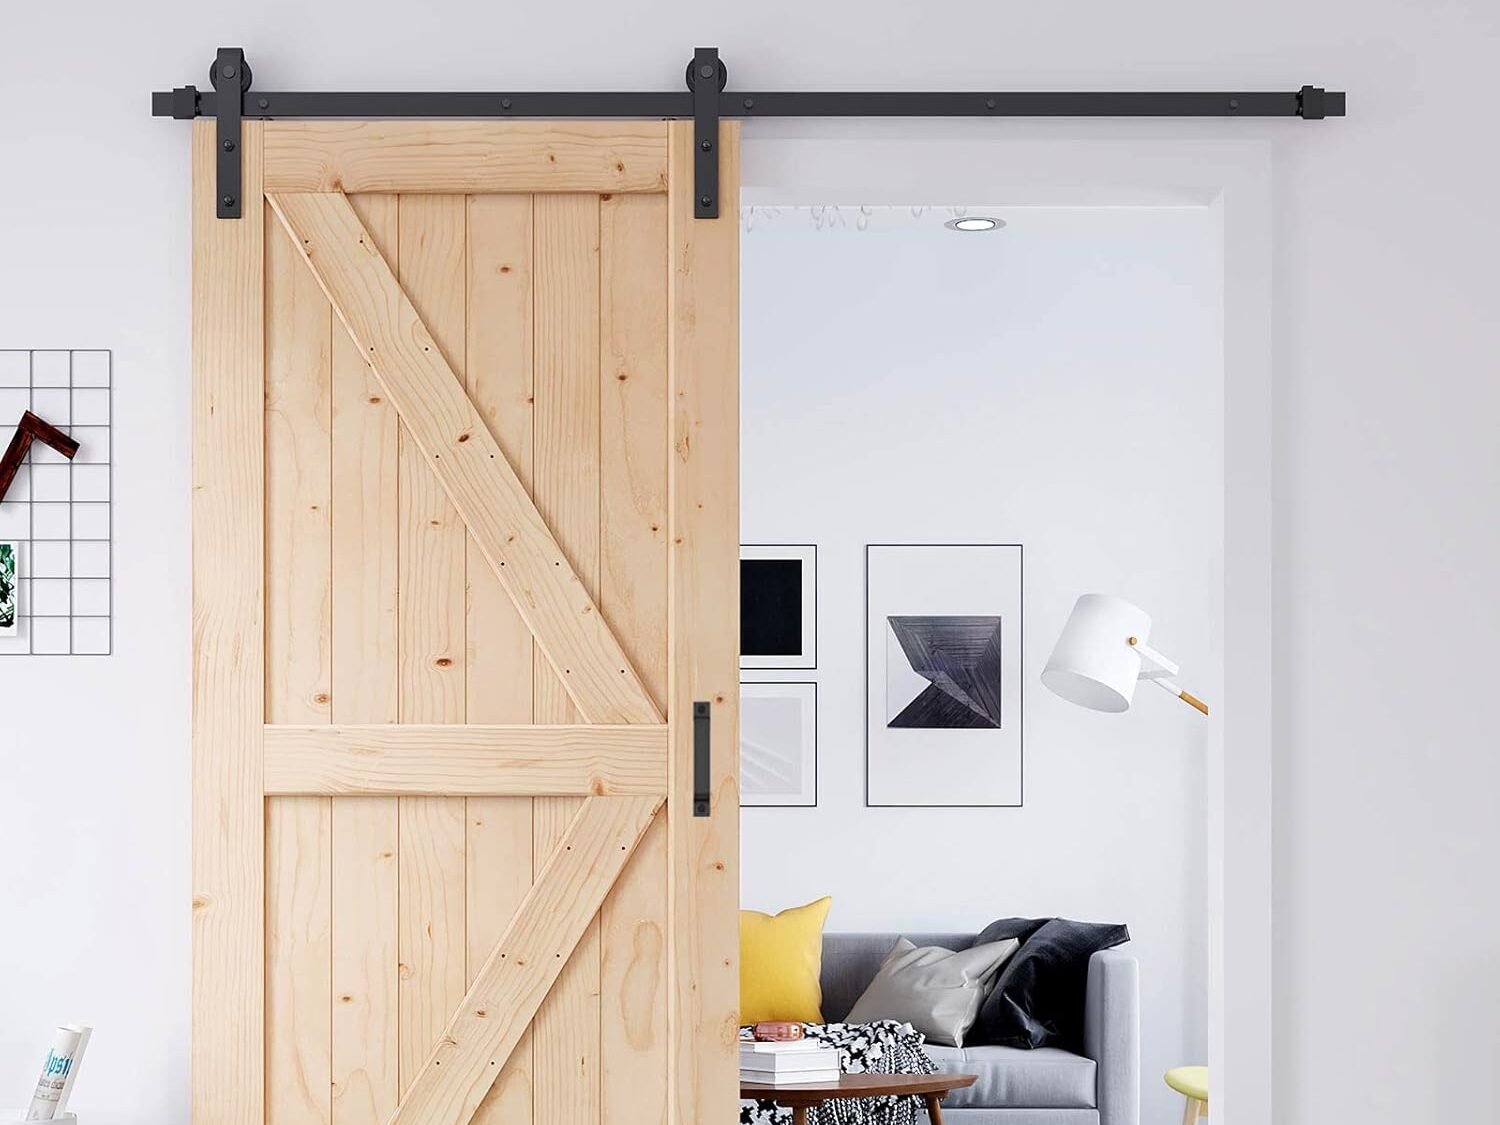
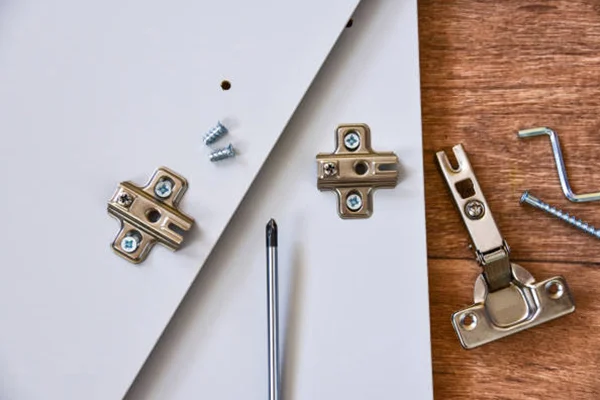
The most common mistake when installing barn doors is attaching the track before mounting the hangers to the door. Always install the hangers on the door first, then position and attach the track to the wall. This ensures proper alignment, smoother sliding, and avoids damage to the door or surrounding hardware. In addition, the following are also common mistakes: using only drywall anchors instead of hitting studs, skipping the floor guide, guessing measurements instead of calculating overlap, choosing a wrong-size door, and forgetting to check for obstructions.
Let’s dive deeper into the right way to install barn doors—and how to avoid beginner pitfalls that can sabotage your final result.
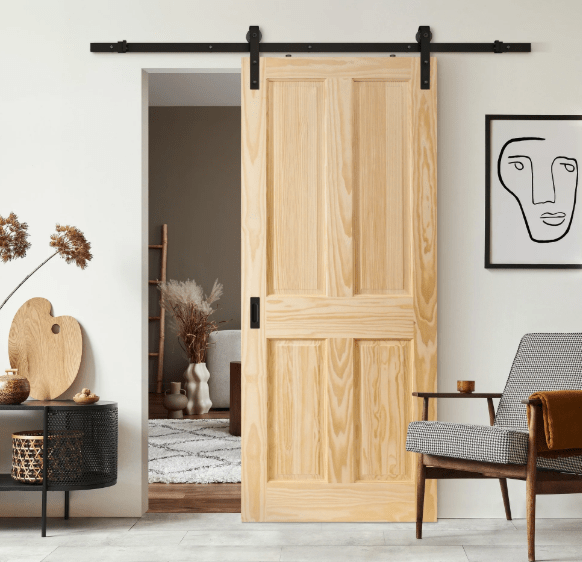
What are the positives of barn doors?
Sliding barn doors have taken off in both modern and rustic home design—and for good reason. Here’s why builders, buyers, and even realtors love them:
- Save space: Traditional swing doors need clearance, but barn doors slide flat against the wall. This is ideal for small rooms, tight hallways, or spaces near corners.
- Aesthetic impact: Whether you choose reclaimed wood, frosted glass, or steel panels, barn doors add a design feature that’s both bold and customizable.
- Versatile application: Use them for closets, laundry rooms, pantries, offices, or as a room divider.
- Easy to install and upgrade: A solid kit and a stud finder are often all it takes. Plus, you can swap out styles later without full remodels.
- Adds value: Many homebuyers consider barn doors a premium feature, especially in open-concept homes.

What do I need to know before installing a barn door?
There are several factors you should assess before drilling anything:
1. Wall Structure
Check for studs above the doorway. Sliding barn doors are heavy—often between 40 to 100 pounds or more. Relying on drywall anchors alone is a recipe for failure. If studs aren’t where you need them, install a header board across the top of the door opening for support.
2. Clearance Space
Make sure there’s enough wall space on the side of the doorway for the door to slide open completely. Avoid installing where outlets, switches, or wall décor would block the path.
3. Floor Guide Requirements
Many kits include a floor guide, which keeps the bottom of the door from swinging or rubbing against the wall. You’ll need to cut a groove in the bottom of the door—or use a wall-mounted guide if cutting isn’t possible.
4. Door Swing & Room Layout
Sliding doors won’t work if the wall to one side is too short, has a return, or opens into cabinetry. Always check layout limitations.
How do you measure for a sliding barn door the right way?
Improper measurements can make even expensive barn doors look and feel wrong. Here’s how to do it properly:
Step-by-Step:
- Measure the width of your doorway, including casing if present.
- Add 2 to 3 inches to this number—this will give you the recommended width of the barn door. This overlap ensures privacy and full coverage.
- Measure the height from the floor to the top of the trim (or to the top of the opening if there’s no trim).
- Add 1 inch to this height measurement to account for space between the floor and the door.
Pro Tip:
Always check if your floor is level. If it’s sloped, the door may appear crooked even if it’s installed perfectly.
How much bigger should a barn door be compared to the opening?
This is a critical aspect that too many DIYers get wrong.
- Width: Add 2 to 3 inches for complete coverage and to minimize light gaps and sound leakage.
- Height: Add about 1 inch over the frame or trim. If you add too much, you’ll risk the door hitting the ceiling or looking oversized.
Visual Example:
If your opening is 36″ wide and 80″ tall:
- Choose a door 38–39″ wide
- Go with a height of 81″
This not only gives better function but a more custom, polished look.
Here’s a fast reference for builders and buyers:
| Opening Width | Recommended Door Width | Recommended Height |
|---|---|---|
| 24″ | 26″–27″ | 81″ |
| 28″ | 30″–31″ | 81″ |
| 30″ | 32″–33″ | 81″ |
| 32″ | 34″–35″ | 81″–82″ |
| 36″ | 38″–39″ | 82″ |
| 48″ (Double) | 50″–52″ per door | 82″–84″ |
If you’re working on custom openings or commercial builds, use the same logic: at least 2″ wider and 1″ taller.
How do I install barn door hangers correctly?
Improper hanger installation leads to crooked sliding, jamming, or falling hardware. Here’s a safe process:
- Lay the barn door flat.
- Use a tape measure and level to mark hanger placement—typically 2″–4″ from each edge.
- Pre-drill holes to avoid splitting the wood.
- Attach the hangers using bolts or lag screws provided in your kit.
- Double-check that both hangers are level and square before hanging the door.
Common Mistake:
Many people install hangers after the track is up, which forces them to guess the height—and guess wrong. Always hangers first, track second.

What’s the correct way to install a barn door track?
Track installation should be methodical:
- Measure and mark horizontal placement using your door and hanger height as guides.
- If studs don’t line up, use a header board mounted directly to studs.
- Drill pilot holes and screw the track into position using a spacer to hold it off the wall.
- Make sure the track is perfectly level—any tilt will cause unwanted movement.
- Hang the door and test for smooth sliding before final tightening.
Bonus Tip:
Use anti-jump discs on top of the door rollers if your kit provides them—they prevent derailment.
How can I fix common barn door problems after installation?
Problem 1: Door is noisy
- Fix: Tighten all bolts, lubricate rollers with silicone spray.
Problem 2: Door doesn’t stay closed
- Fix: Add soft-close or magnetic latches.
Problem 3: Door swings or drags
- Fix: Check the floor guide and make sure it’s properly aligned.
Problem 4: Door won’t slide smoothly
- Fix: Re-level the track, inspect for bent or loose hangers.
Most issues stem from the initial install being rushed or imprecise. Don’t hesitate to take things apart and redo a step if something feels off.

What are some common mistakes when installing barn doors?
Let’s wrap with the mistakes I see all the time:
- Installing the track before the hangers
- Using only drywall anchors instead of hitting studs
- Skipping the floor guide, allowing the door to swing or hit the wall
- Guessing measurements instead of calculating overlap
- Choosing a door that’s too small or too heavy
- Forgetting to check for obstructions like switches, outlets, or light fixtures
Avoiding these can turn a clunky DIY into a clean, pro-level finish.
What are the best barn door installation tips for beginners?
Here’s what I’d tell any first-timer:
- Always use a level—even one degree off will affect function.
- Use a second person to help with lifting the door.
- Pre-drill all holes, especially in hardwood doors.
- Do not skip the floor guide—your drywall will thank you.
- Don’t install the track first—start with hangers on the door.
- Label parts before starting—many kits come with similar-looking bolts.
- Paint or finish the door before hanging it to avoid mess.
Summary
Barn doors bring both personality and practicality—but only if you install them right. By planning properly, following size guidelines, and avoiding the most common mistakes, you’ll enjoy a beautiful sliding feature that lasts for years. Have a question or success story to share? I’d love to hear it in the comments!