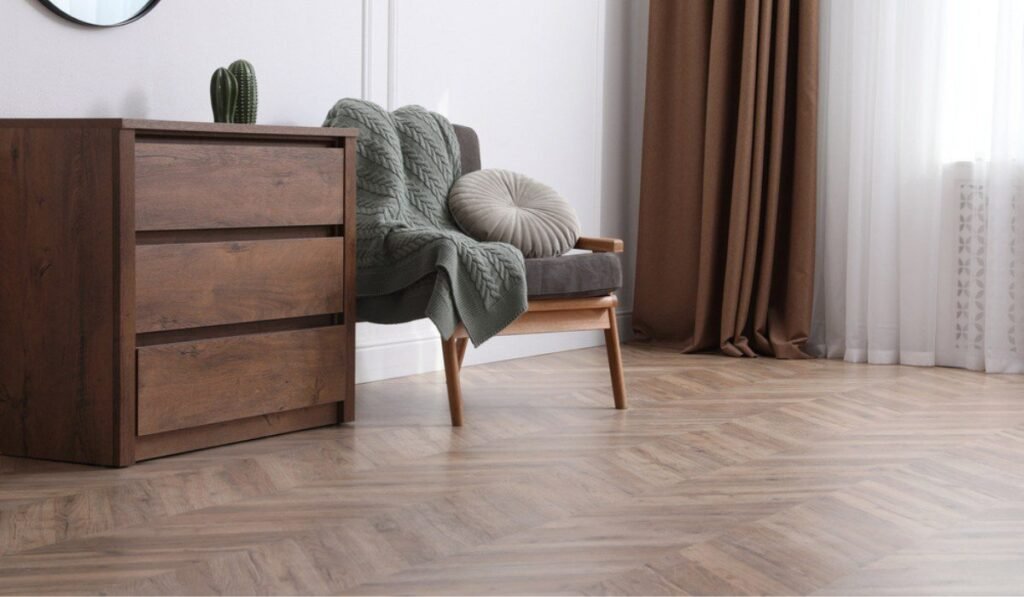
Choosing the right floor is only half the job—installing it the right way is where many projects go sideways. The wrong method can lead to warping, movement, or expensive do-overs. Let’s explore the main flooring installation methods every builder should master for long-lasting, professional results.
The three main flooring installation methods are glue-down, nail-down, and floating. Glue-down installation involves applying adhesive directly to the subfloor and pressing the flooring planks into place. This method creates a firm, permanent bond and is ideal for vinyl plank and engineered hardwood floors. Nail-down installation is typically used for solid hardwood and involves fastening planks to a wooden subfloor using nails or staples through the tongue of each board. Floating installation doesn’t require nails or glue. Instead, planks lock together with a click-lock or tongue-and-groove system and rest freely over an underlayment, making it quick and DIY-friendly.
Each method has its pros, cons, and best-fit scenarios. Here’s how to choose the right installation technique for your flooring type and site conditions.
Glue Down Flooring Installation
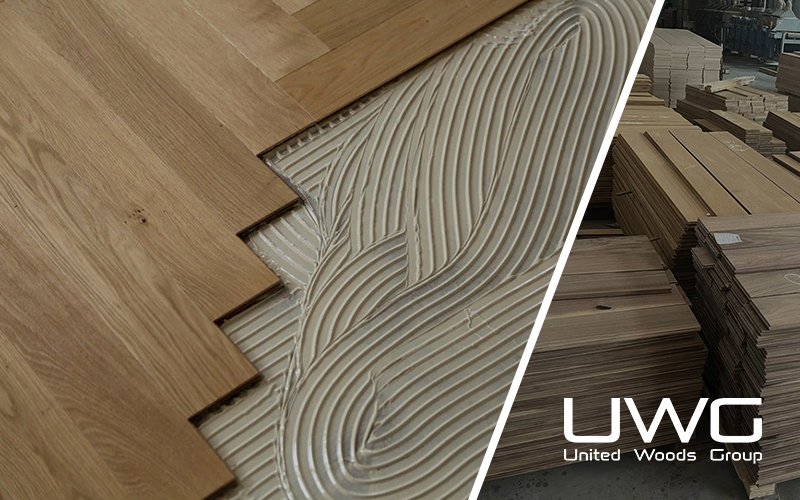
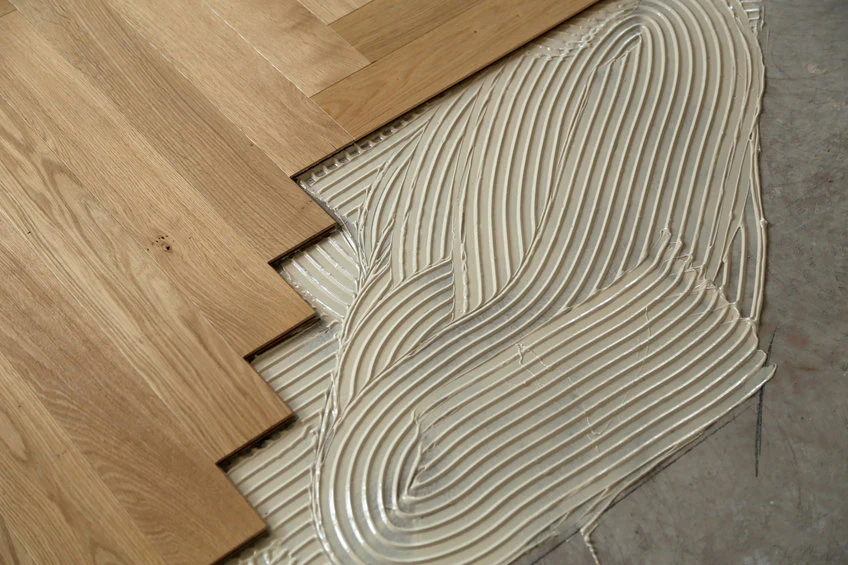
Glue down installation involves applying adhesive directly to the subfloor before laying each plank. It’s commonly used for vinyl plank, engineered hardwood, and parquet flooring. The glue-down method creates a permanent bond, making it suitable for high-traffic areas where durability is critical.
This method requires a completely level, clean, and dry subfloor. Any irregularities can cause adhesion failure or result in uneven flooring. Depending on the product, you may use either a full-spread adhesive (applied across the entire floor) or a trowel-on glue, applied in stripes or patterns.
In commercial settings, glue-down is preferred because it reduces sound transmission, enhances stability, and supports heavier foot traffic. It’s also recommended in multi-level buildings where noise reduction is important, especially when used with acoustic adhesives.
Installation Tips:
- Choose the right adhesive type: Urethane-based glues are ideal for engineered wood, while pressure-sensitive adhesives suit LVT.
- Use the correct trowel size to ensure consistent adhesive coverage.
- Roll the floor with a 100-lb roller after installation to eliminate air pockets and secure full contact.
Pros:
- Creates a strong, permanent bond
- Great for controlling floor movement and sound
- Ideal for high-traffic areas or commercial spaces
- Works well with underfloor heating systems
Cons:
- Time-consuming
- Difficult to replace individual planks
- Requires a clean, level subfloor
- Not DIY-friendly for beginners
Best Used For:
- Vinyl plank flooring installation methods
- Engineered hardwood flooring installation
- Concrete subfloors without underlayment
Tip: Always check moisture levels in concrete to avoid adhesive failure. A moisture barrier may be needed if levels exceed 3 lbs./1000 sq ft.
Nail Down Flooring Installation
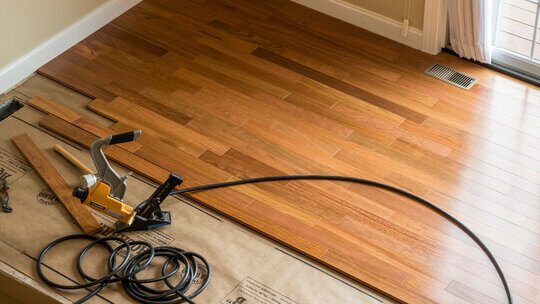
Nail-down installation is the go-to method for solid hardwood flooring, particularly in traditional and high-end residential construction. This method involves fastening each plank through the tongue into a wood subfloor using either flooring nails or staples.
This method provides one of the most stable and permanent floor installations, especially when it comes to thicker solid wood boards (¾ inch or more). It’s ideal for rooms where expansion and contraction due to seasonal changes are expected.
Unlike glue-down or floating methods, nail-down installations require specialized tools like a pneumatic flooring nailer and mallet. Precision is key here — improperly driven nails can split planks or lead to squeaky floors later.
Installation Notes:
- Only suitable over plywood or OSB subfloors, not concrete.
- Requires accurate alignment from the first row to maintain consistent joints.
- If you’re installing over a crawlspace or basement, use a moisture retardant paper between the floor and subfloor.
This method also allows plank replacement — individual boards can be removed and replaced more easily than with glued-down floors, although not as easily as with floating types.
Pros:
- Long-lasting and highly stable
- Ideal for hardwood that expands/contracts naturally
- Strong mechanical bond ensures floor stays in place
- Preferred for traditional wood flooring systems
Cons:
- Requires a wood subfloor (not for concrete)
- Not suitable for vinyl or laminate
- Tools and skill level make it less accessible to DIYers
- Installation is more labor-intensive
Best Used For:
- Solid hardwood floors
- Engineered hardwood flooring on wood subfloors
- Areas needing high durability and repairability
Pro Tip: Leave a ¾” expansion gap around the perimeter of the room to allow for seasonal movement of hardwood.
Floating Flooring Installation
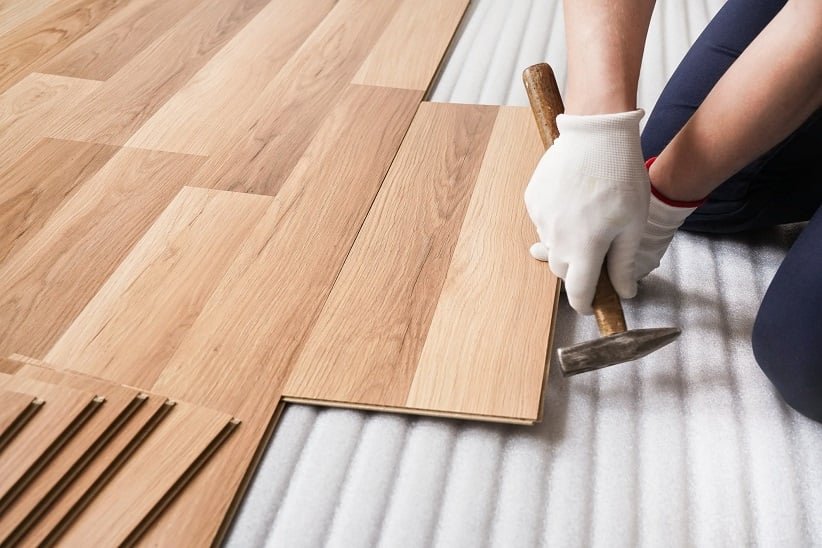
Floating floors don’t attach to the subfloor at all. Instead, the planks lock together using a click-lock system or tongue-and-groove joints. Once connected, the floor forms a unified surface that rests in place under its own weight, typically with the help of underlayment and baseboards to secure the edges.
This method is especially popular for laminate flooring, luxury vinyl planks (LVP), and some engineered hardwoods. It’s favored in residential installations due to its ease, speed, and affordability.
Unlike glue-down or nail-down methods, floating floors can be installed over a wide variety of subfloors—including tile, concrete, plywood, and even some existing flooring—making them ideal for remodeling projects where you want minimal demolition.
Click-Lock Systems are user-friendly and typically used for DIY installations. Boards are angled, clicked, and pressed flat into place. Tongue-and-groove floating systems may require tapping blocks to tighten joints.
Installation Tips:
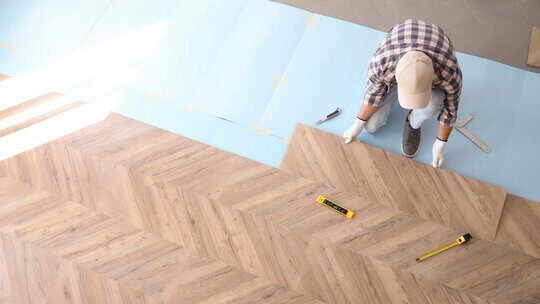
- Always install a high-quality underlayment to improve sound absorption, provide cushioning, and protect against minor moisture issues.
- Allow planks to acclimate to the room’s temperature and humidity for at least 48 hours before installation.
- Use spacers along the walls to maintain a ⅜” to ¾” expansion gap—this prevents buckling when the floor naturally expands.
Pros:
- Quick and easy to install with minimal tools
- Can be installed over existing floors
- Allows for future disassembly and reinstallation
- Budget-friendly and DIY-friendly
- Compatible with radiant heating systems when properly rated
Cons:
- May sound hollow or feel soft without quality underlayment
- Less stable under heavy furniture or foot traffic
- Not recommended for consistently humid or wet environments
- Requires expansion gaps and careful layout planning
Best Used For:
- Laminate flooring installation methods
- Vinyl plank flooring installation methods with click-lock
- Engineered hardwood in floating configuration
- DIY home renovations and rentals
Tip: Floating floors expand and contract with environmental changes. Never fasten them to the subfloor or install tight against walls or cabinets—doing so may cause buckling.
Common Installation Mistakes to Avoid
Even experienced builders can slip up when rushing or underestimating prep work. Here are frequent mistakes to watch for:
- Skipping subfloor prep: Uneven or dirty subfloors lead to squeaks, buckling, and failed adhesion.
- No expansion gaps: Especially with floating floors—no gaps = warped boards.
- Using the wrong adhesive: Not all glue is universal; check compatibility with your flooring type.
- Improper acclimation: Wood and vinyl should adjust to room humidity/temperature for 48–72 hours.
- Ignoring layout planning: Poor alignment or mismatched joints make floors look amateurish.
Avoiding these pitfalls ensures a smoother, longer-lasting floor.
Flooring Layout & Room Design
Direction and layout can dramatically affect how a space feels:
- Parallel to the longest wall: Makes a narrow room appear longer.
- Perpendicular to light source: Enhances natural lighting and plank definition.
- Diagonal layout: Creates visual interest in square or open-plan rooms.
- Multi-room transitions: Use T-moldings or seamless expansion gaps to maintain visual flow.
Always plan layout before starting cuts or glueing—redoing layout is costly and time-consuming.
Professional Advice for Builders
Subfloor Preparation is Key
Leveling and cleaning the subfloor ensures bonding strength and prevents creaks or shifting.
Mind the Moisture
Always test for moisture in concrete. Use vapor barriers when installing over slabs.
Match Method to Material
- Use nail-down for solid wood
- Choose floating for laminate and vinyl
- Opt for glue-down when you need a permanent hold
Consider the Space
For large, high-traffic, or commercial areas, glue-down offers the best durability. For quick residential updates, floating floors are fast and cost-effective.
Summary
Choosing the right flooring installation method depends on your materials, subfloor, and space needs. Whether glue-down, nail-down, or floating, understanding each method helps builders ensure durability, efficiency, and professional results. Pick smart—install smarter.